Monthly Archives: September 2013

Fixing old 9V 7A PSU from TEXTLITE

Hello all ElectronicNoobBlog viewers,


Few day’s ago i got a 9V 7A very old (198x) years switching PSU.

It was “thrown away” because it was blowing fuse inside PSU and in power installation – so short was very massive:).


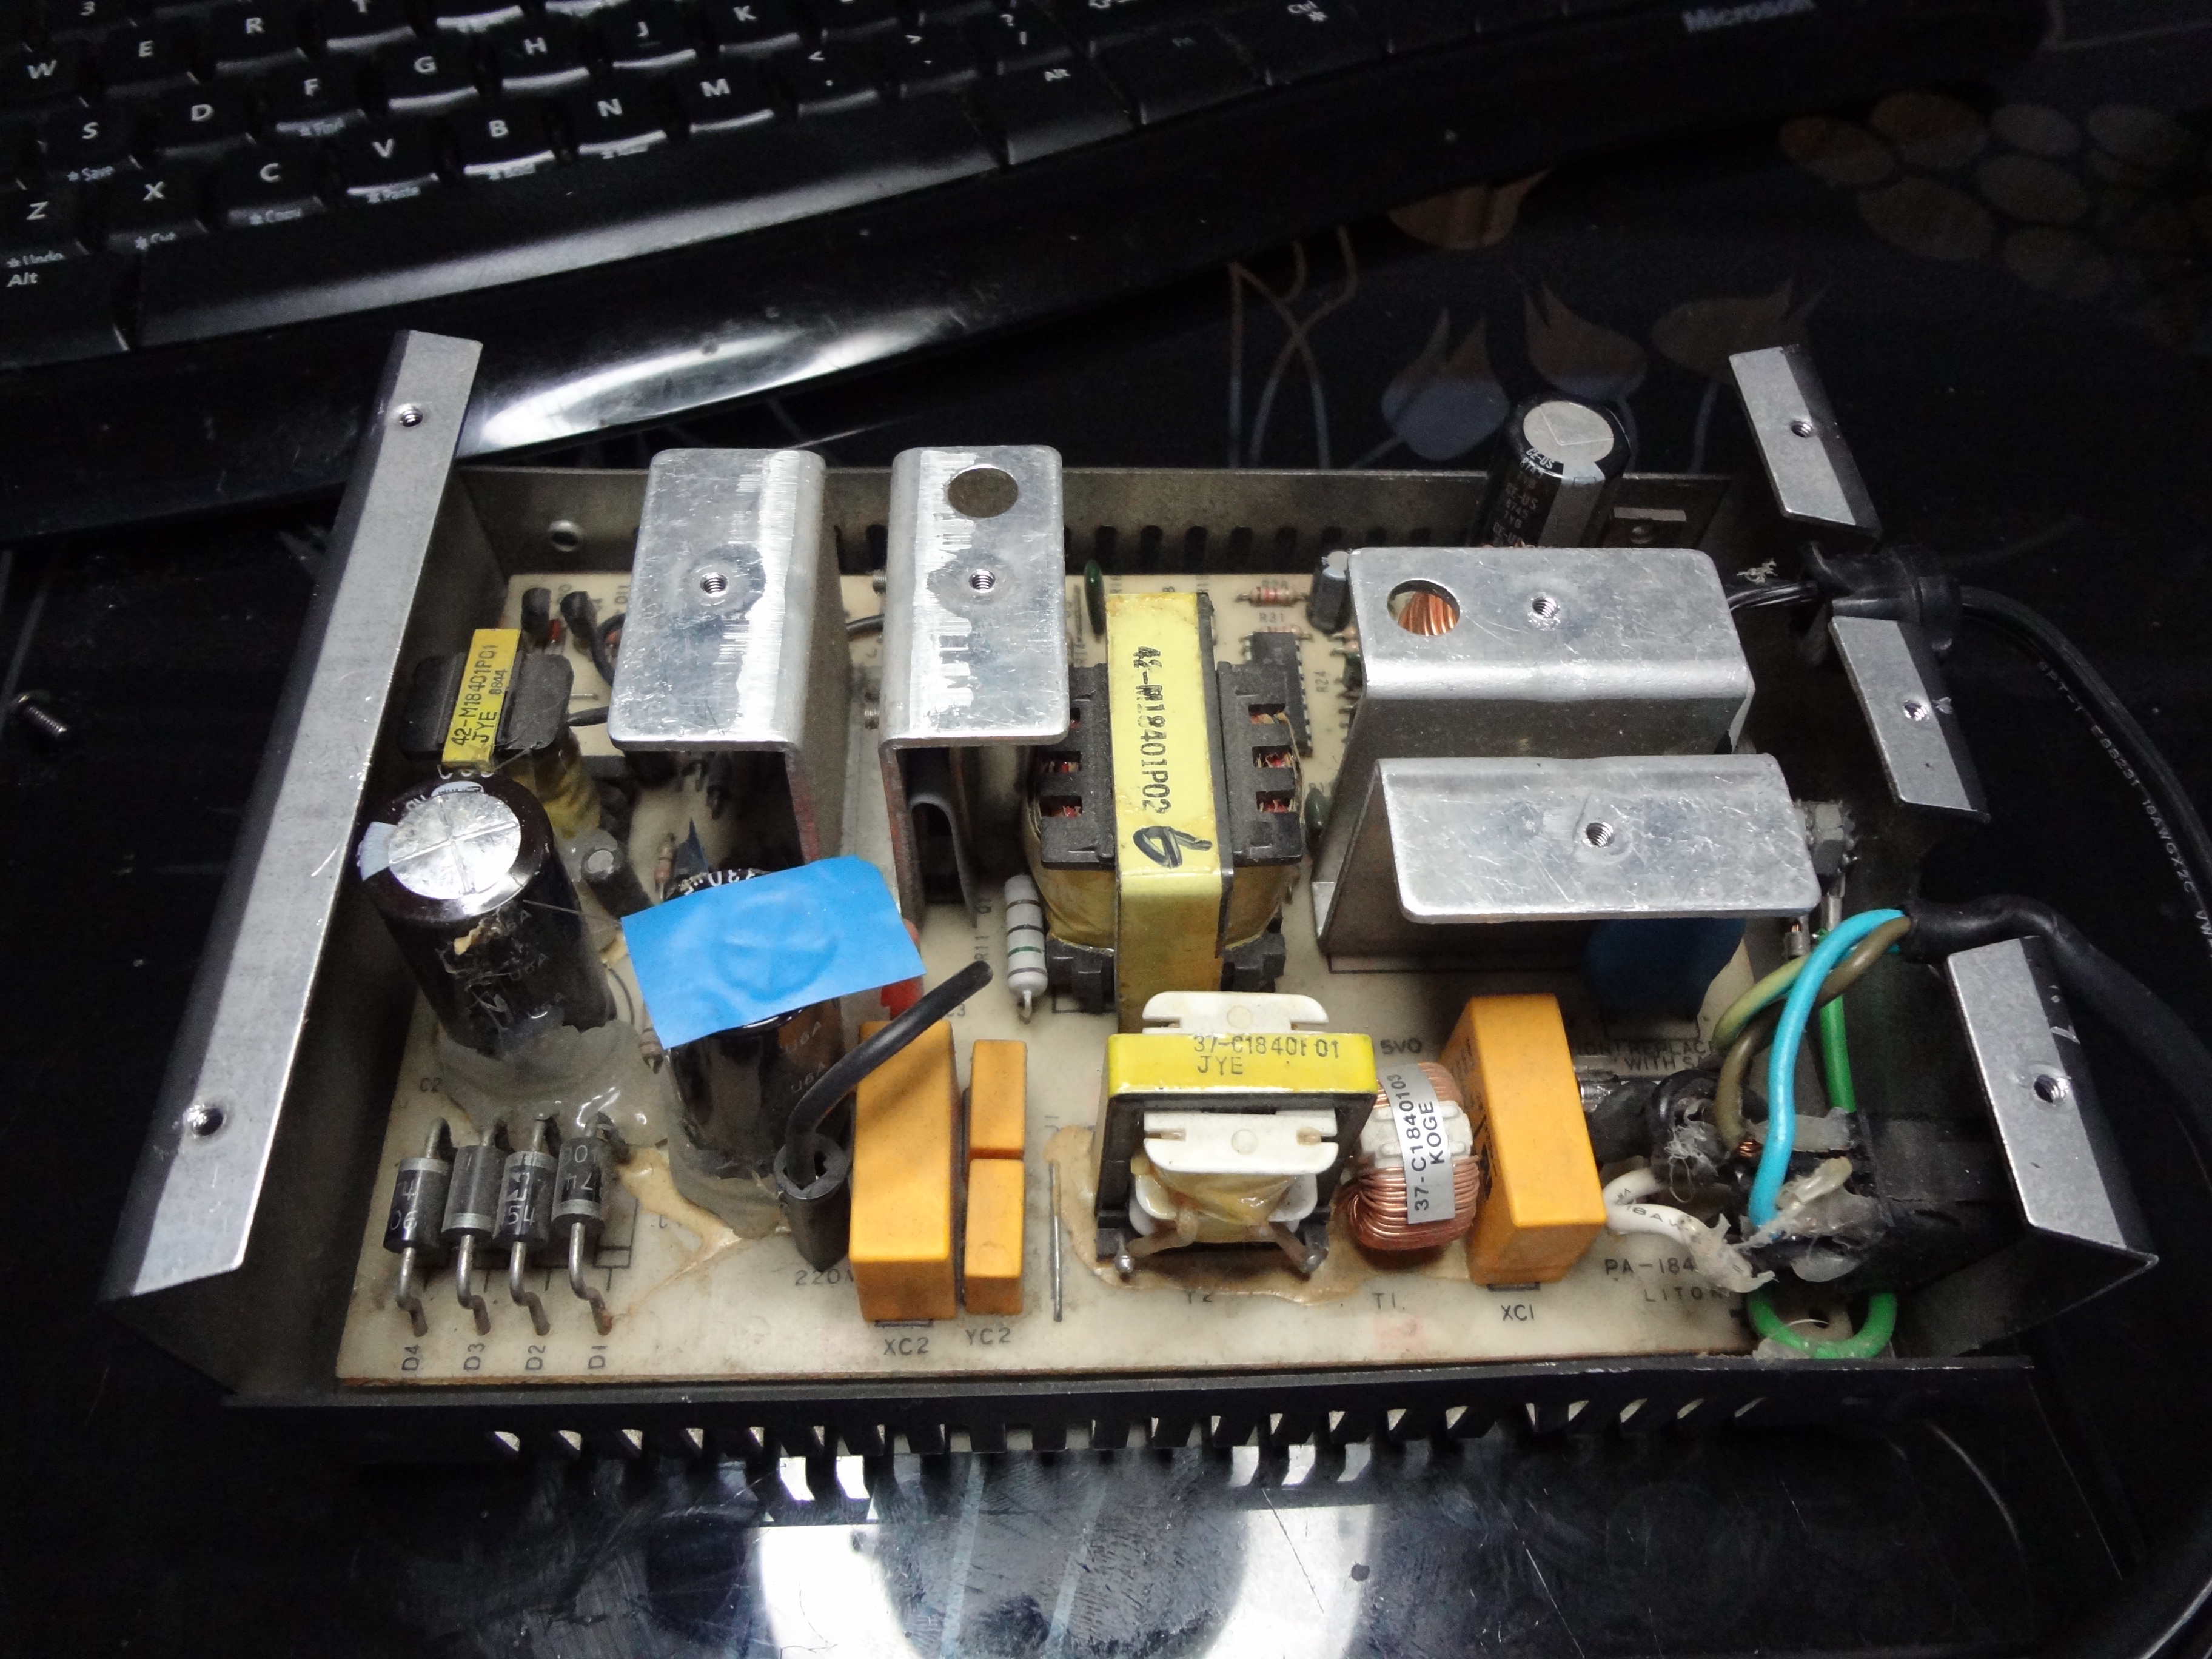
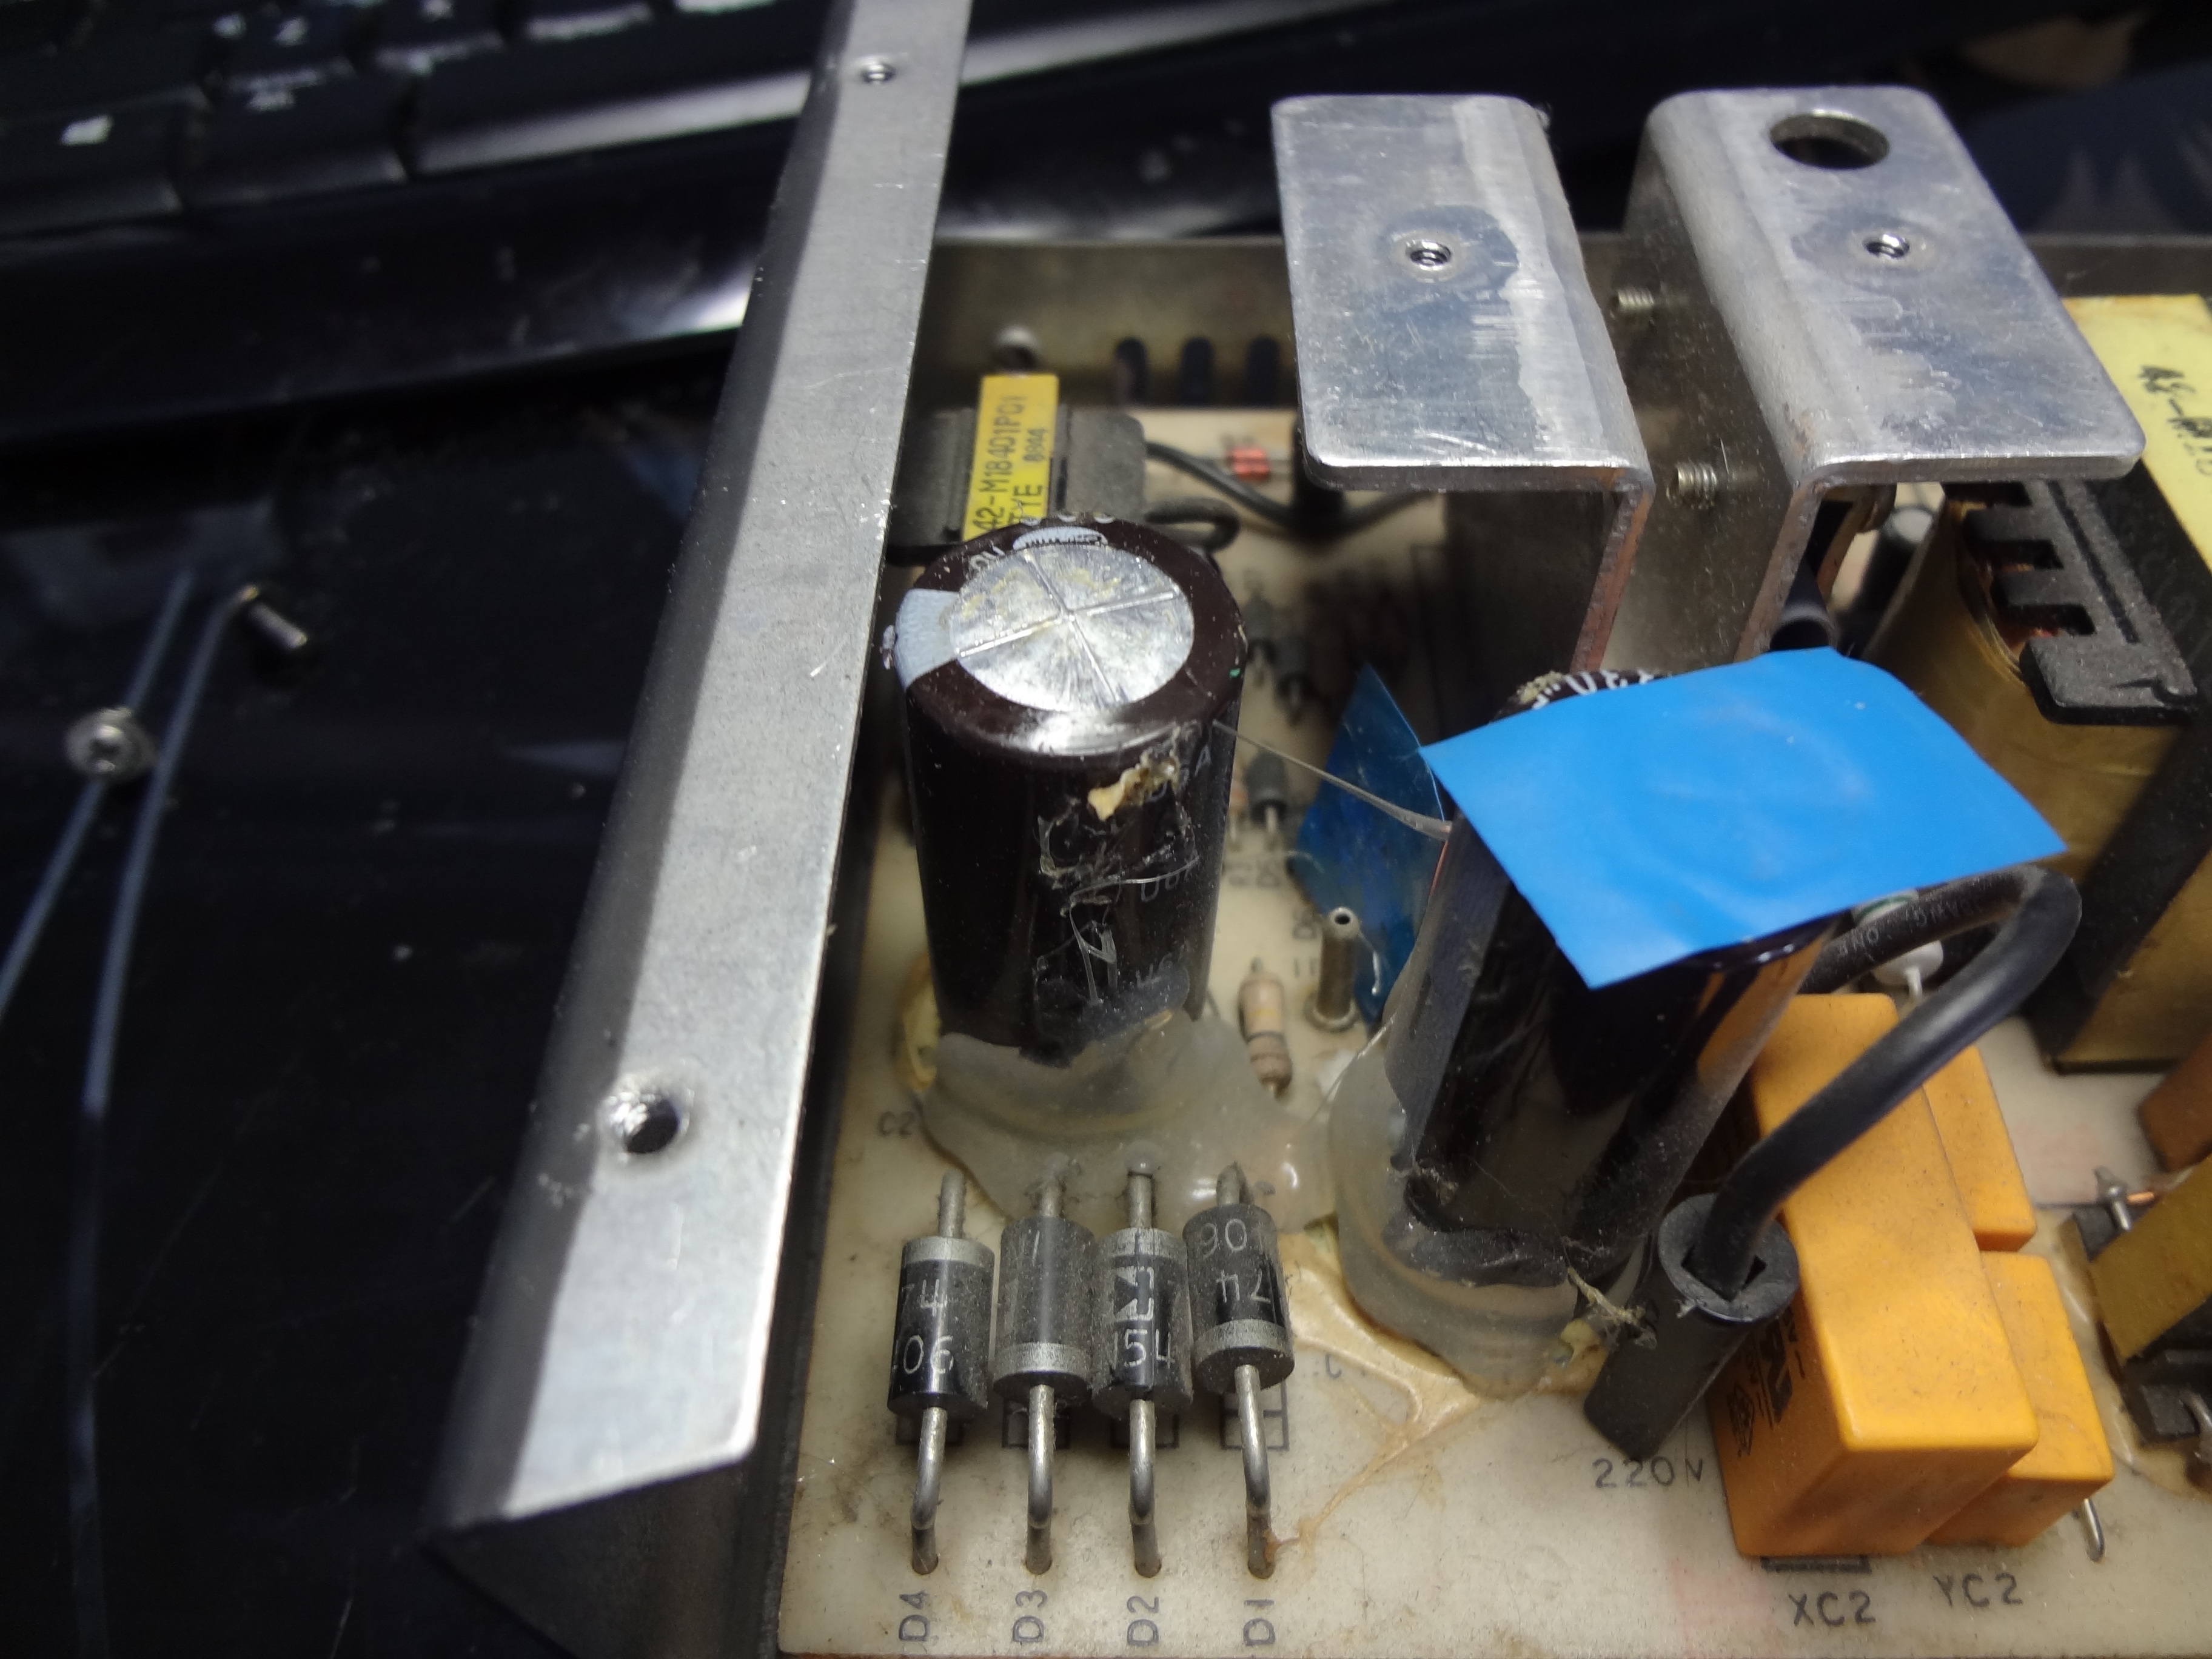
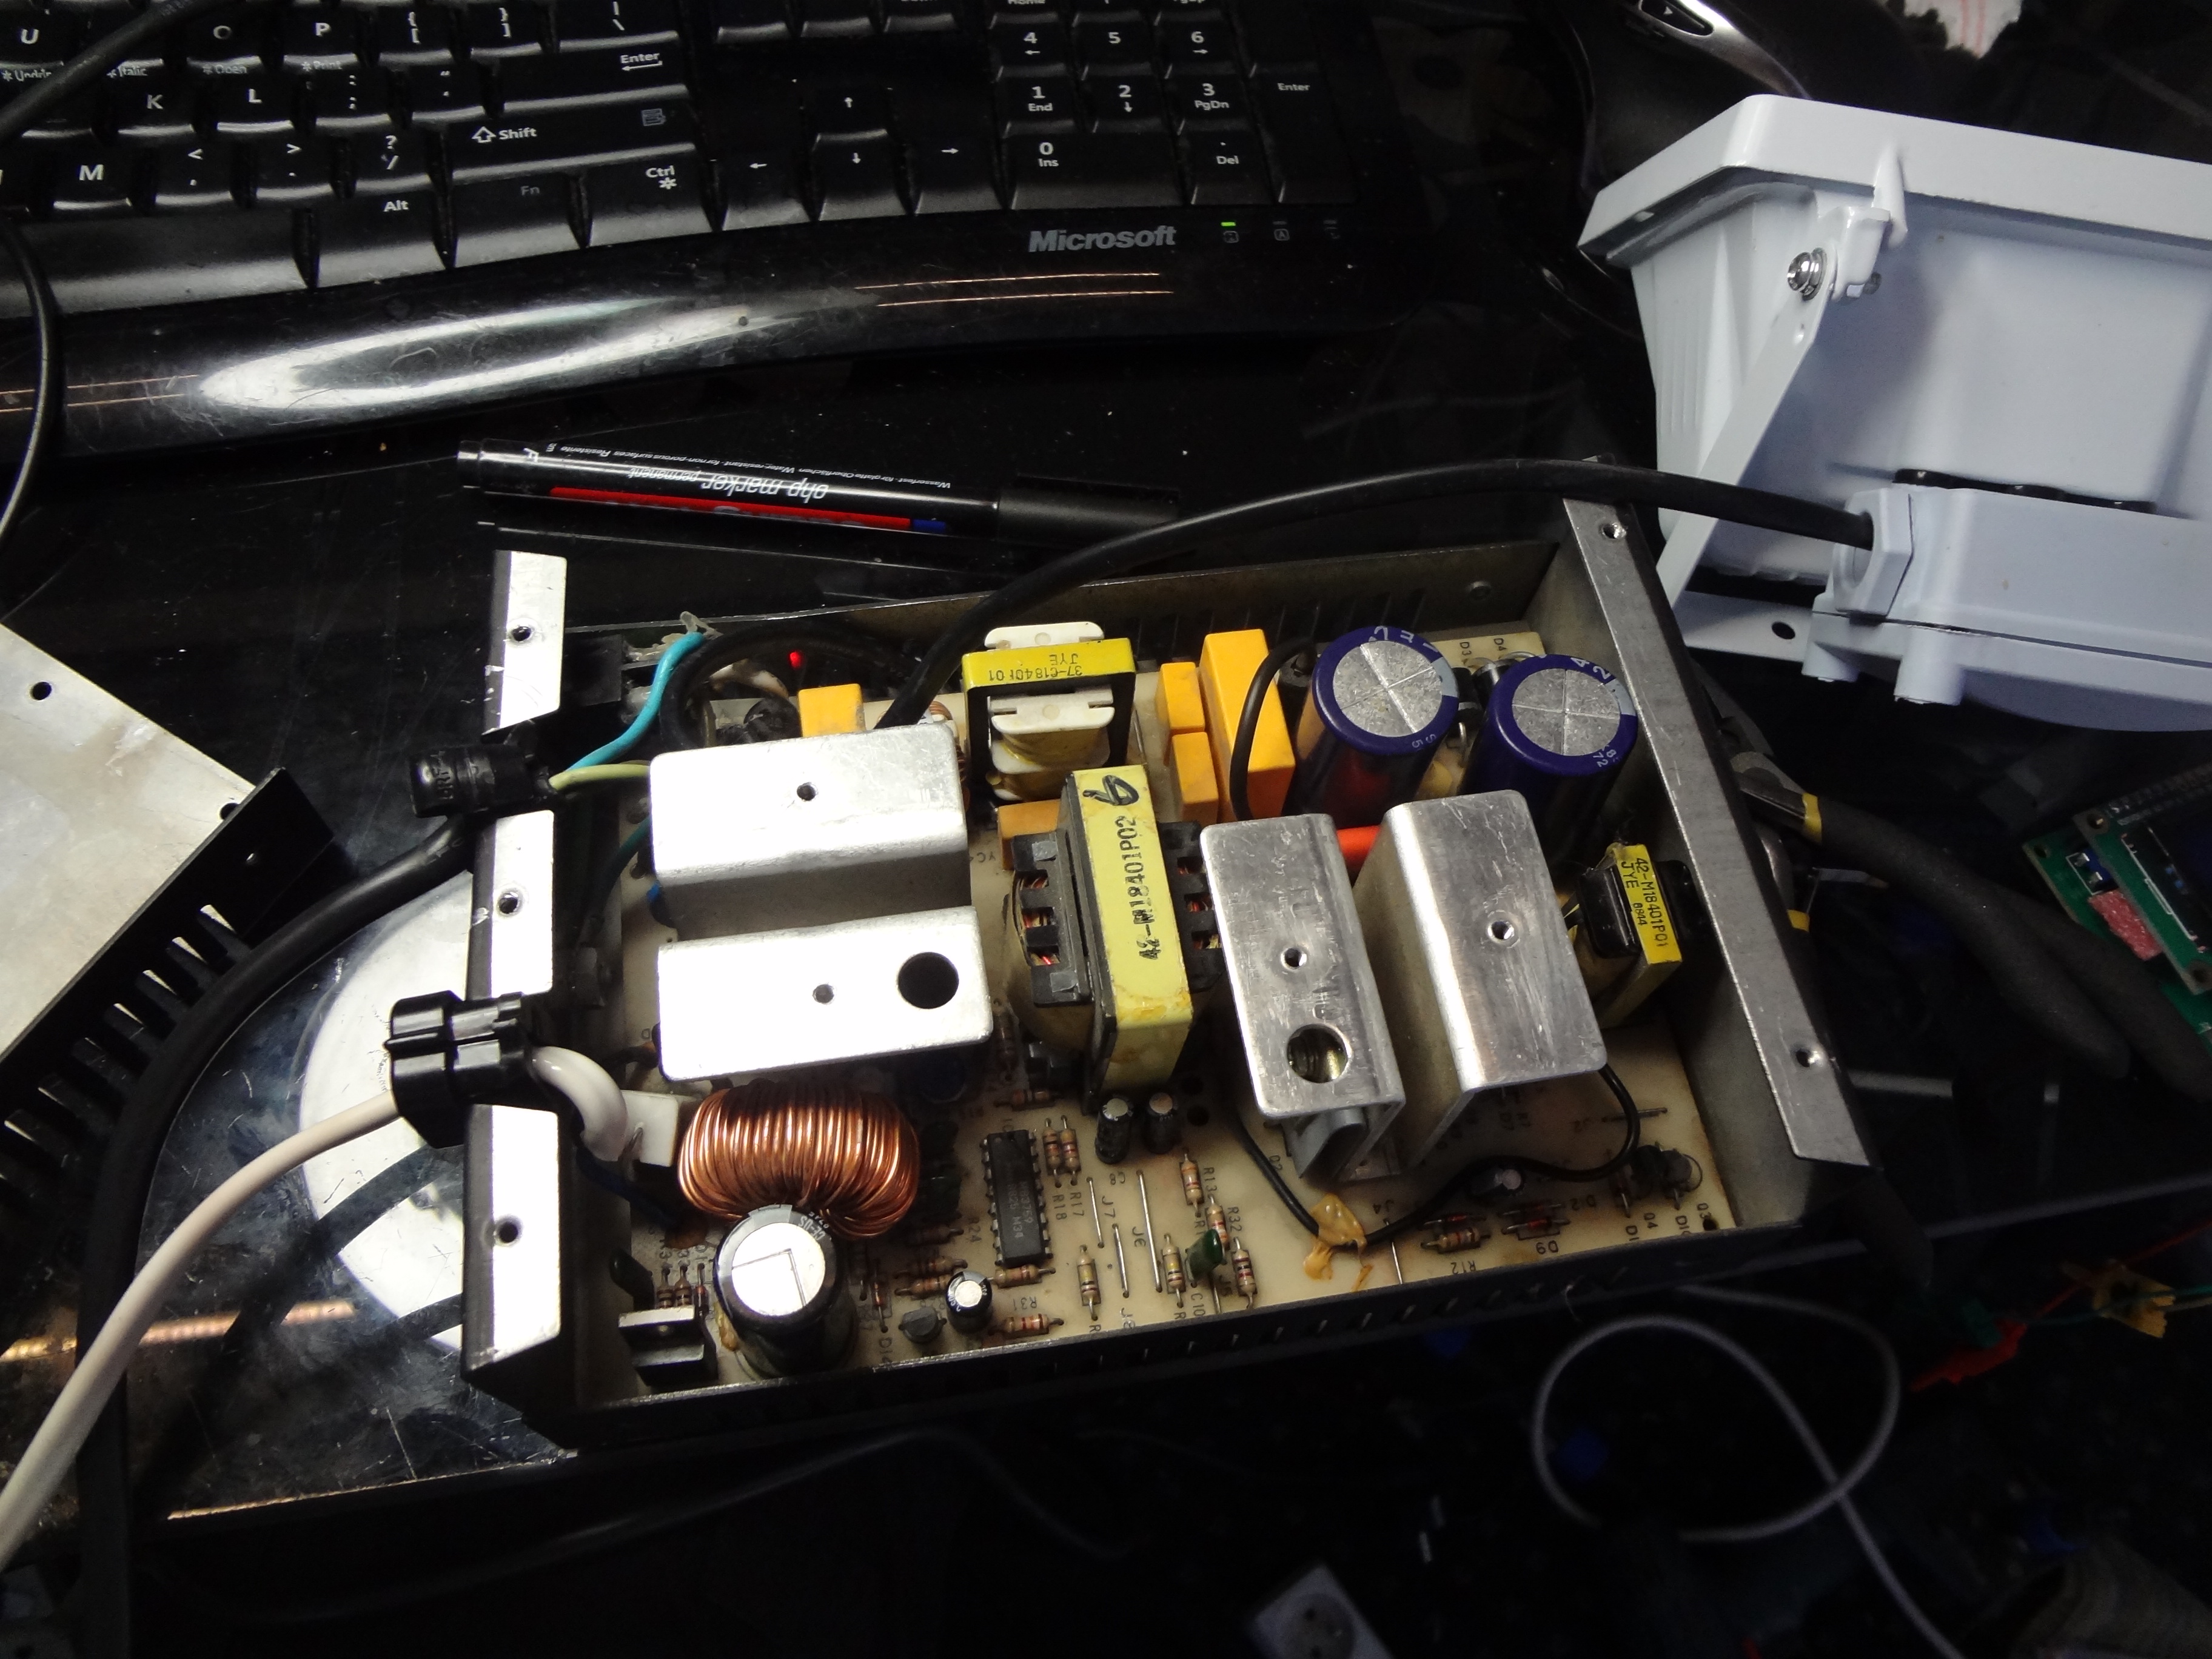
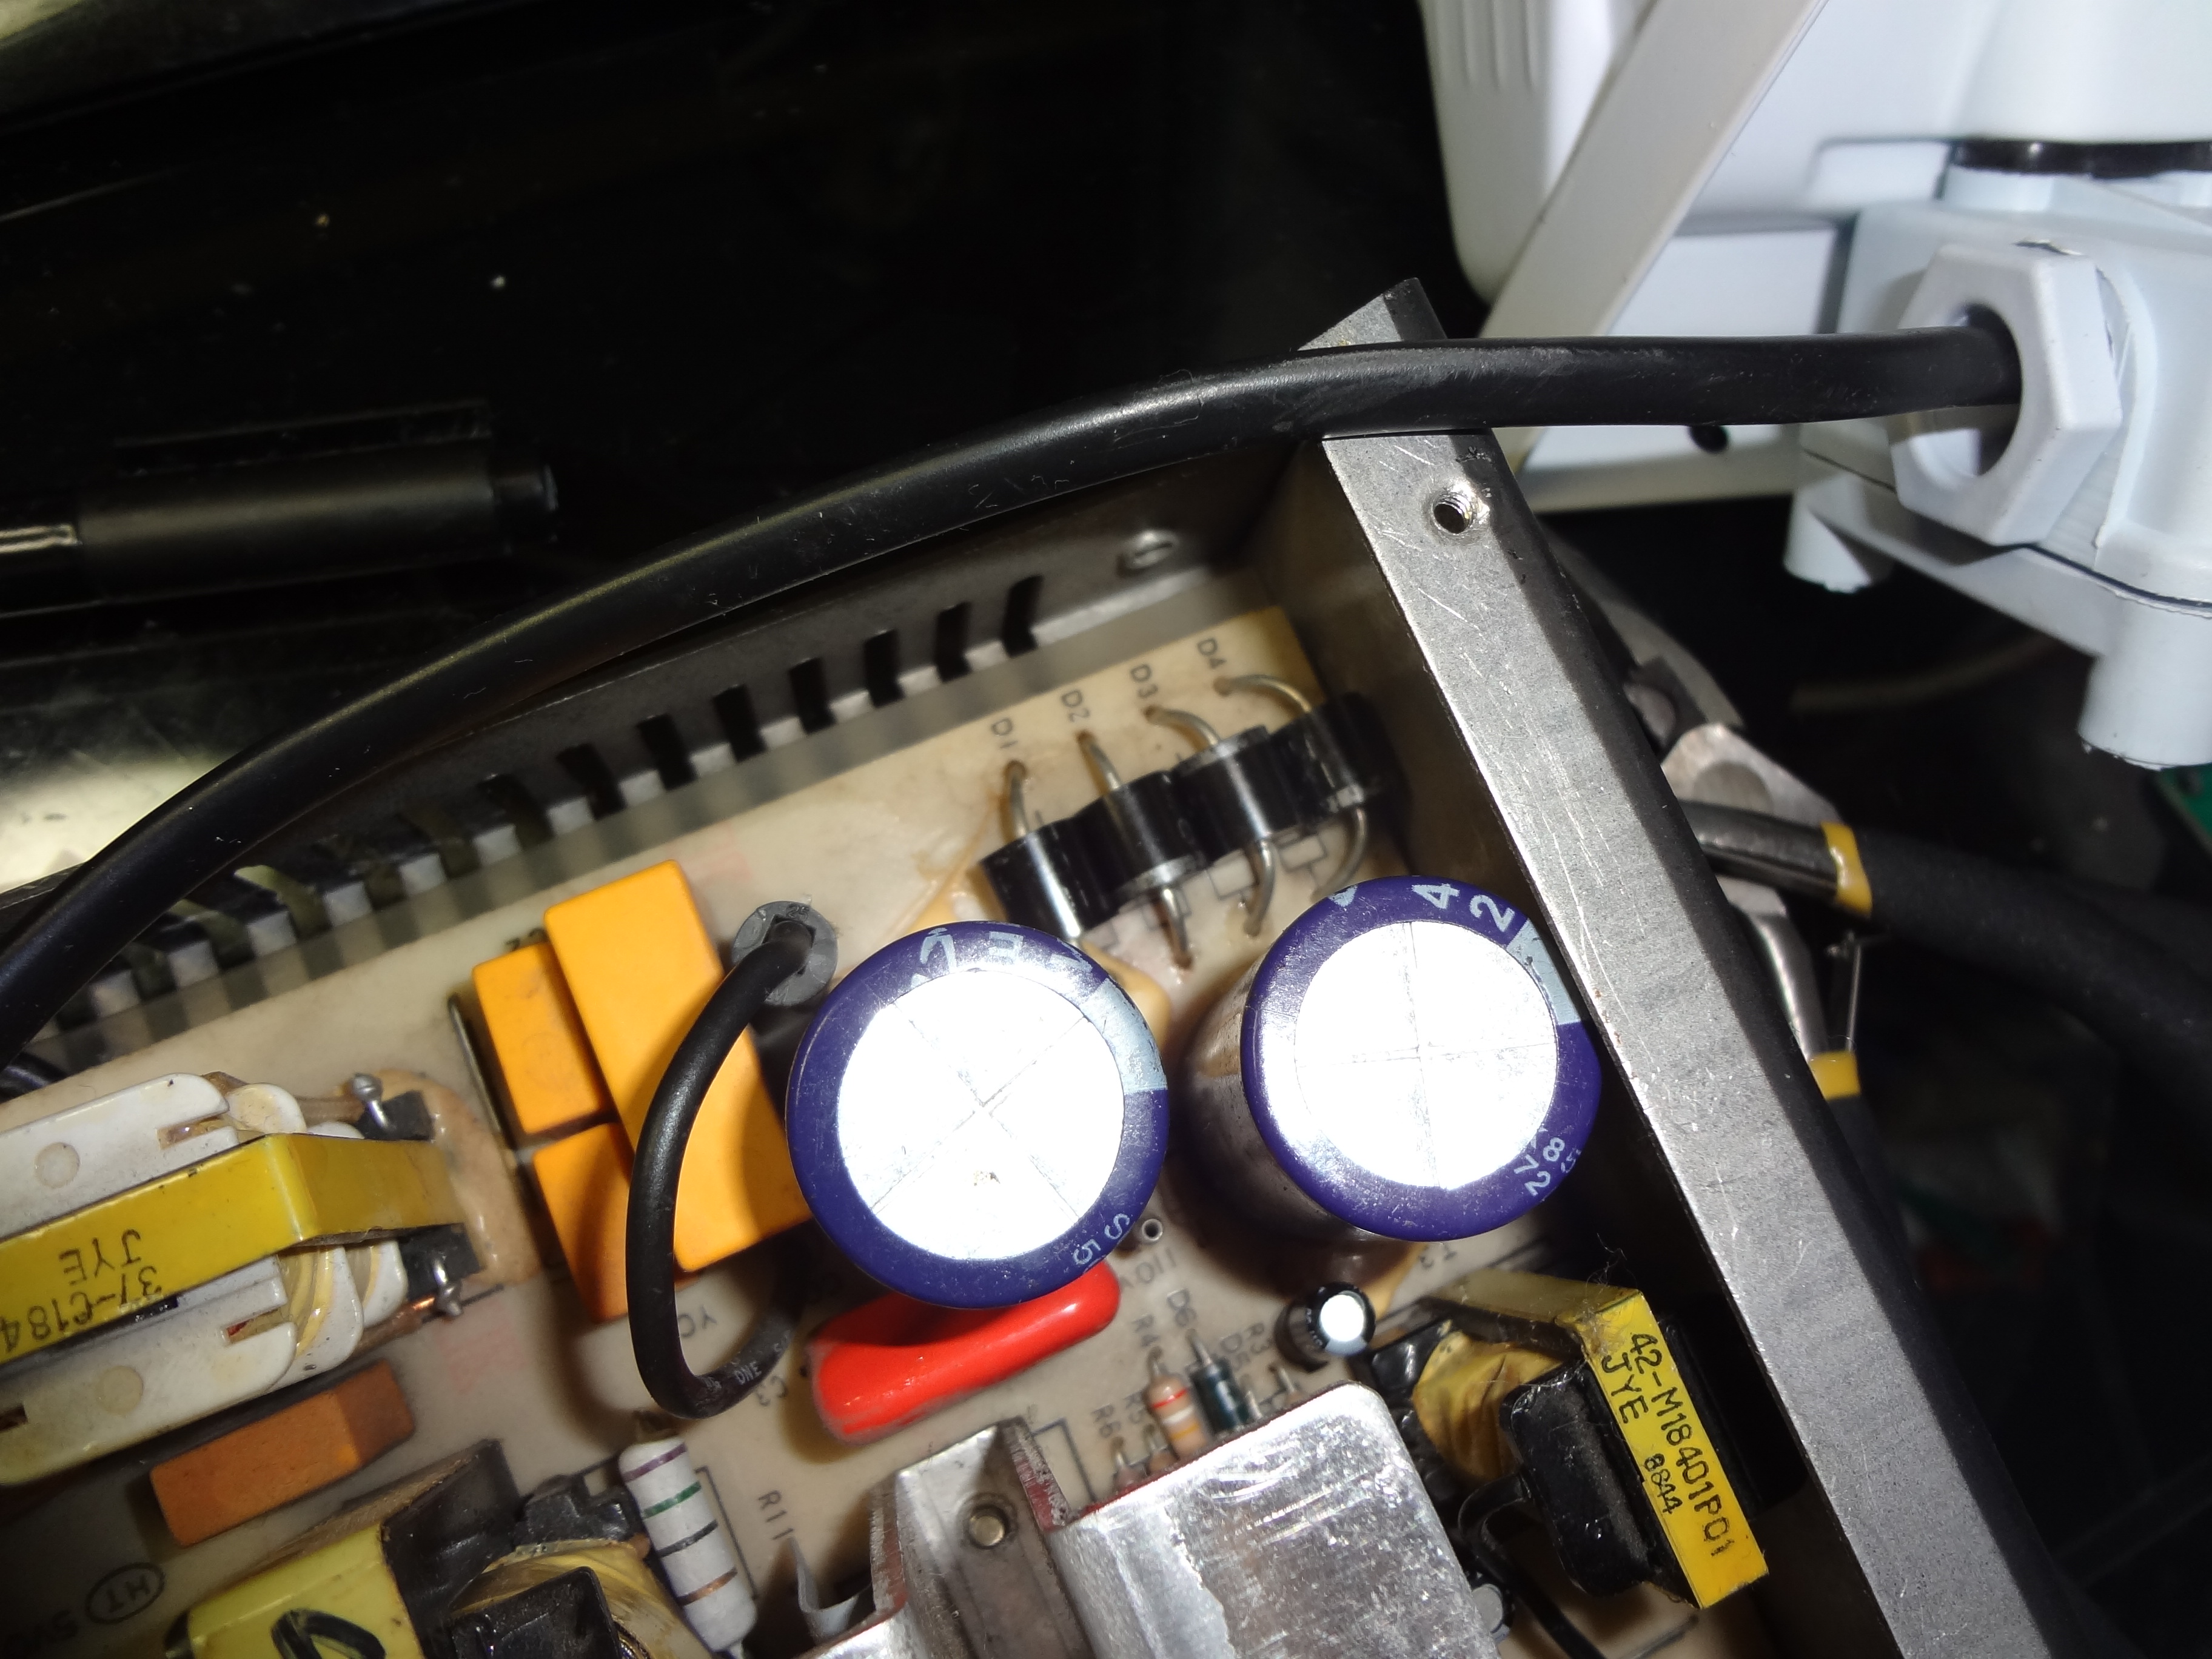
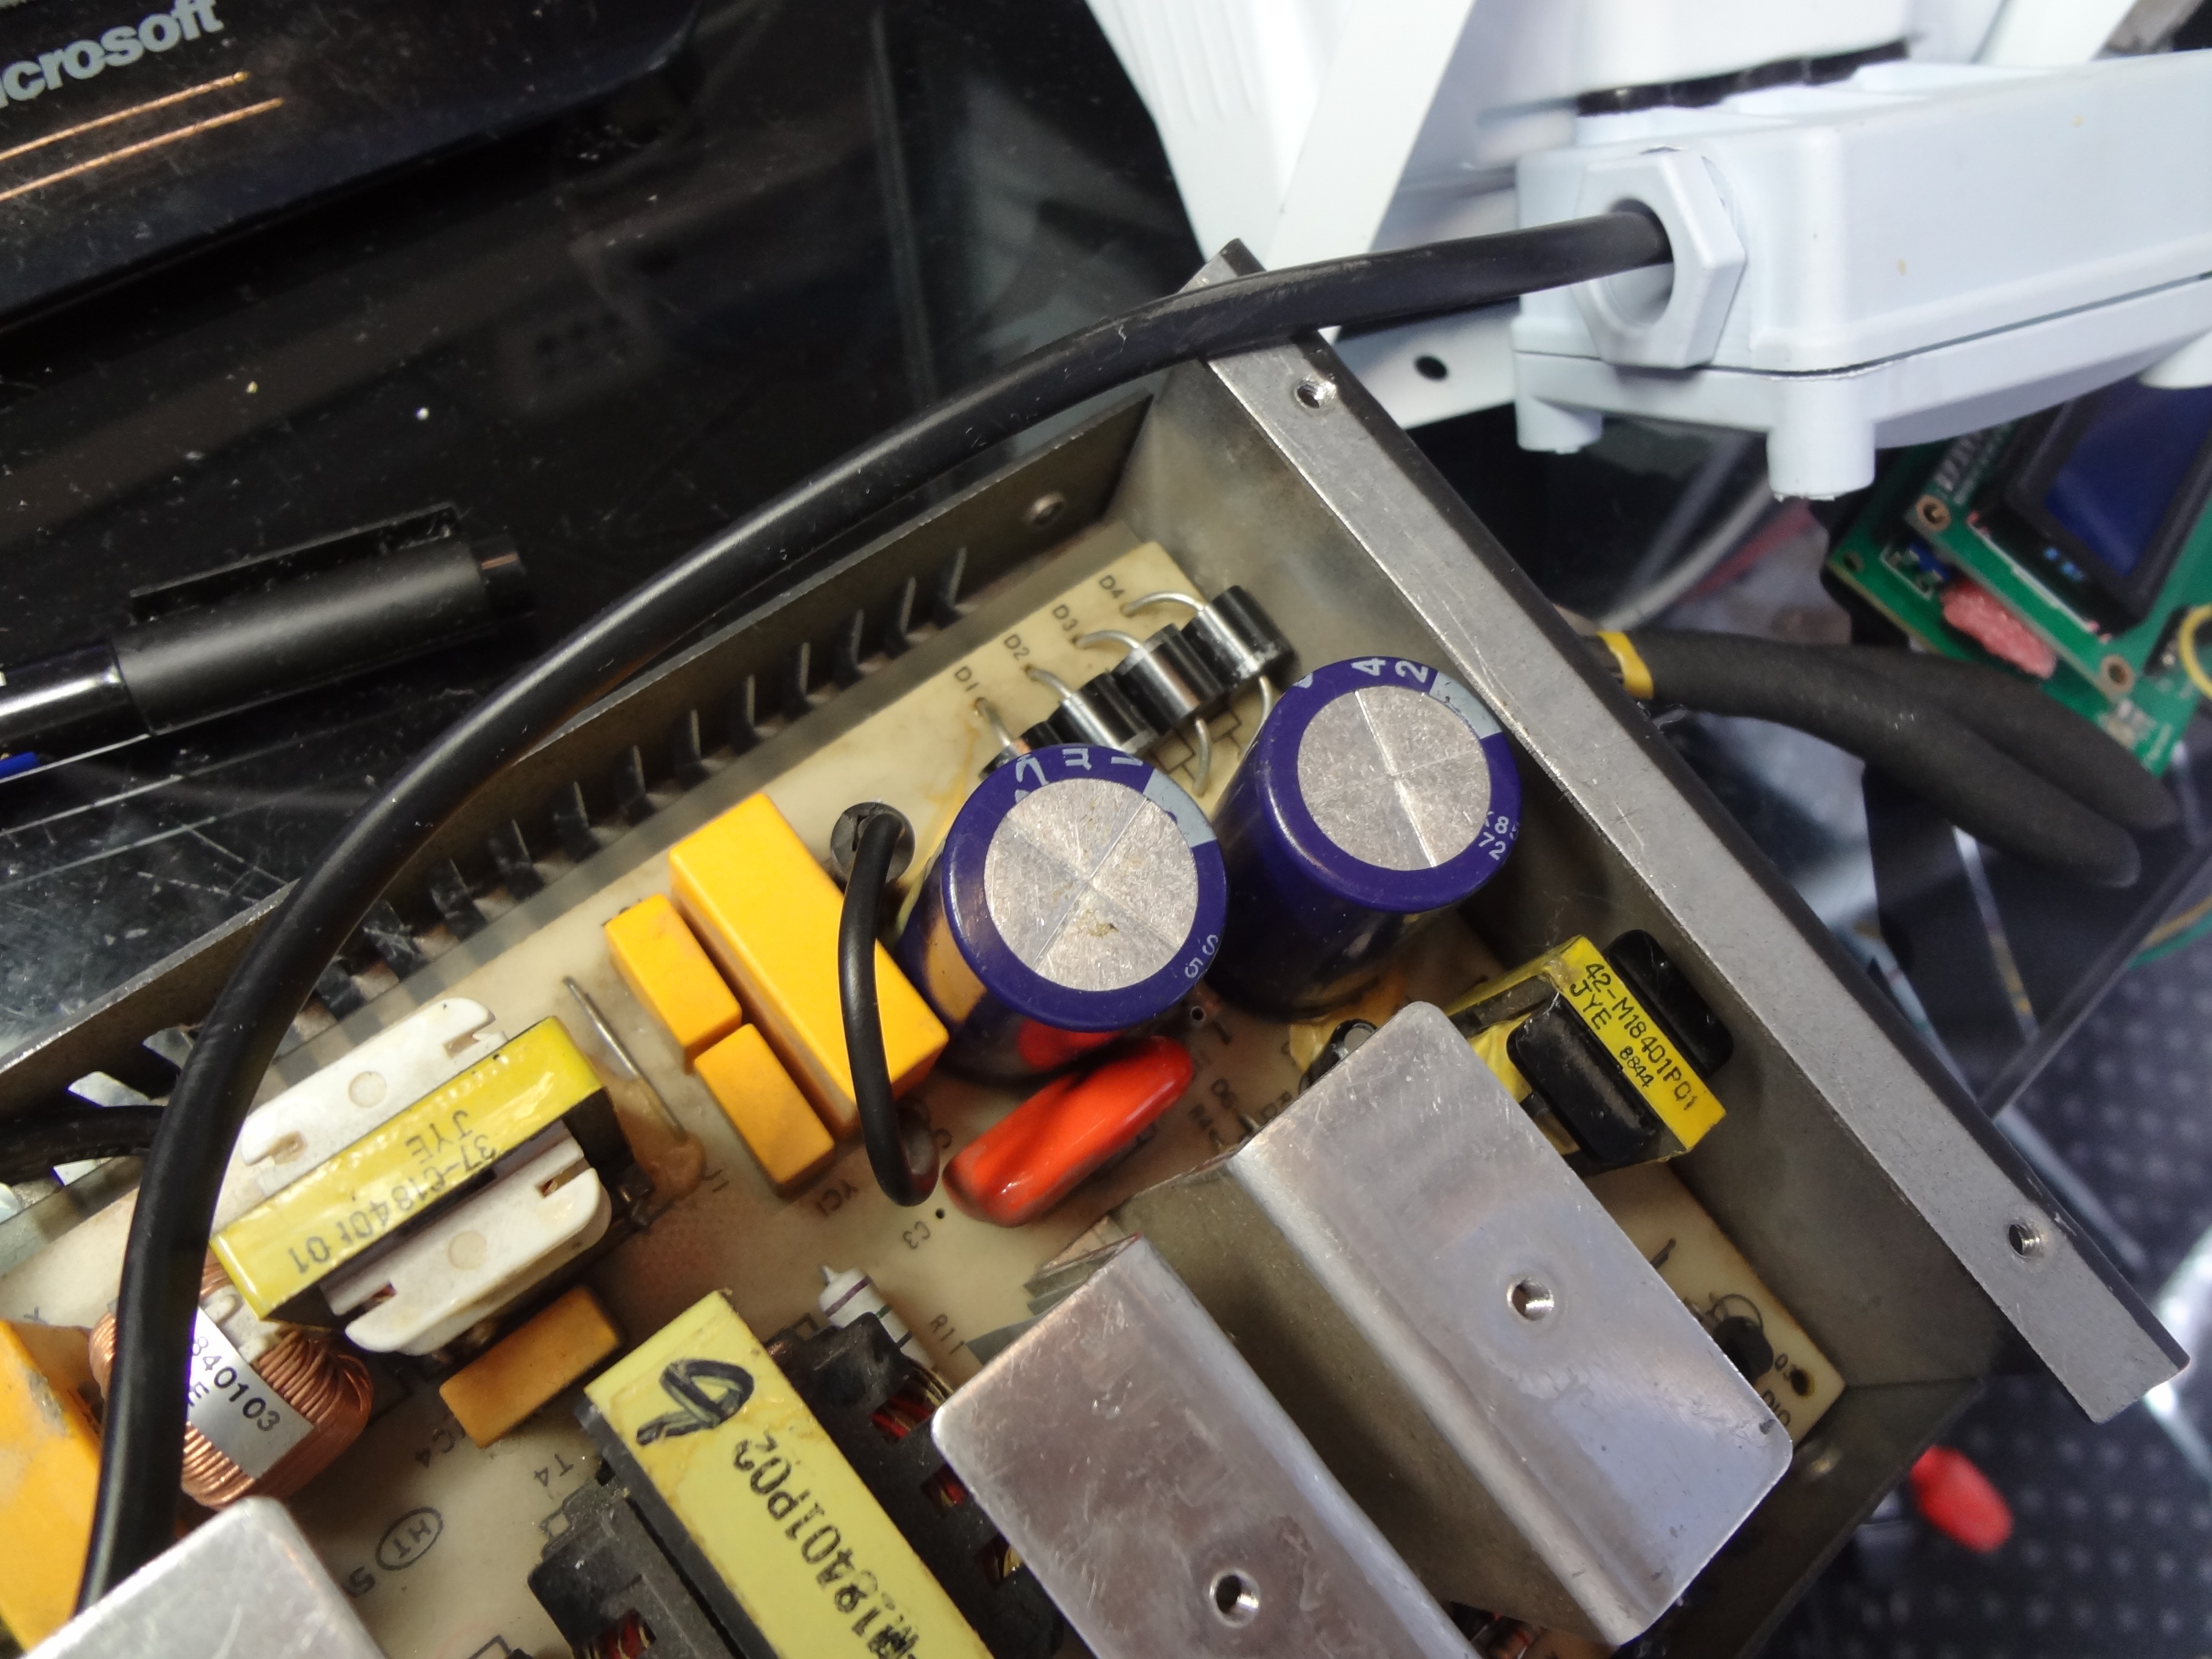
First after opening i spot swollen filter capacitor at 220V side.

I removed that filter cap (both) and replace with new one, then put new fuse in PSU and connect into power…

Bam! blown… fuses in lab goes off.

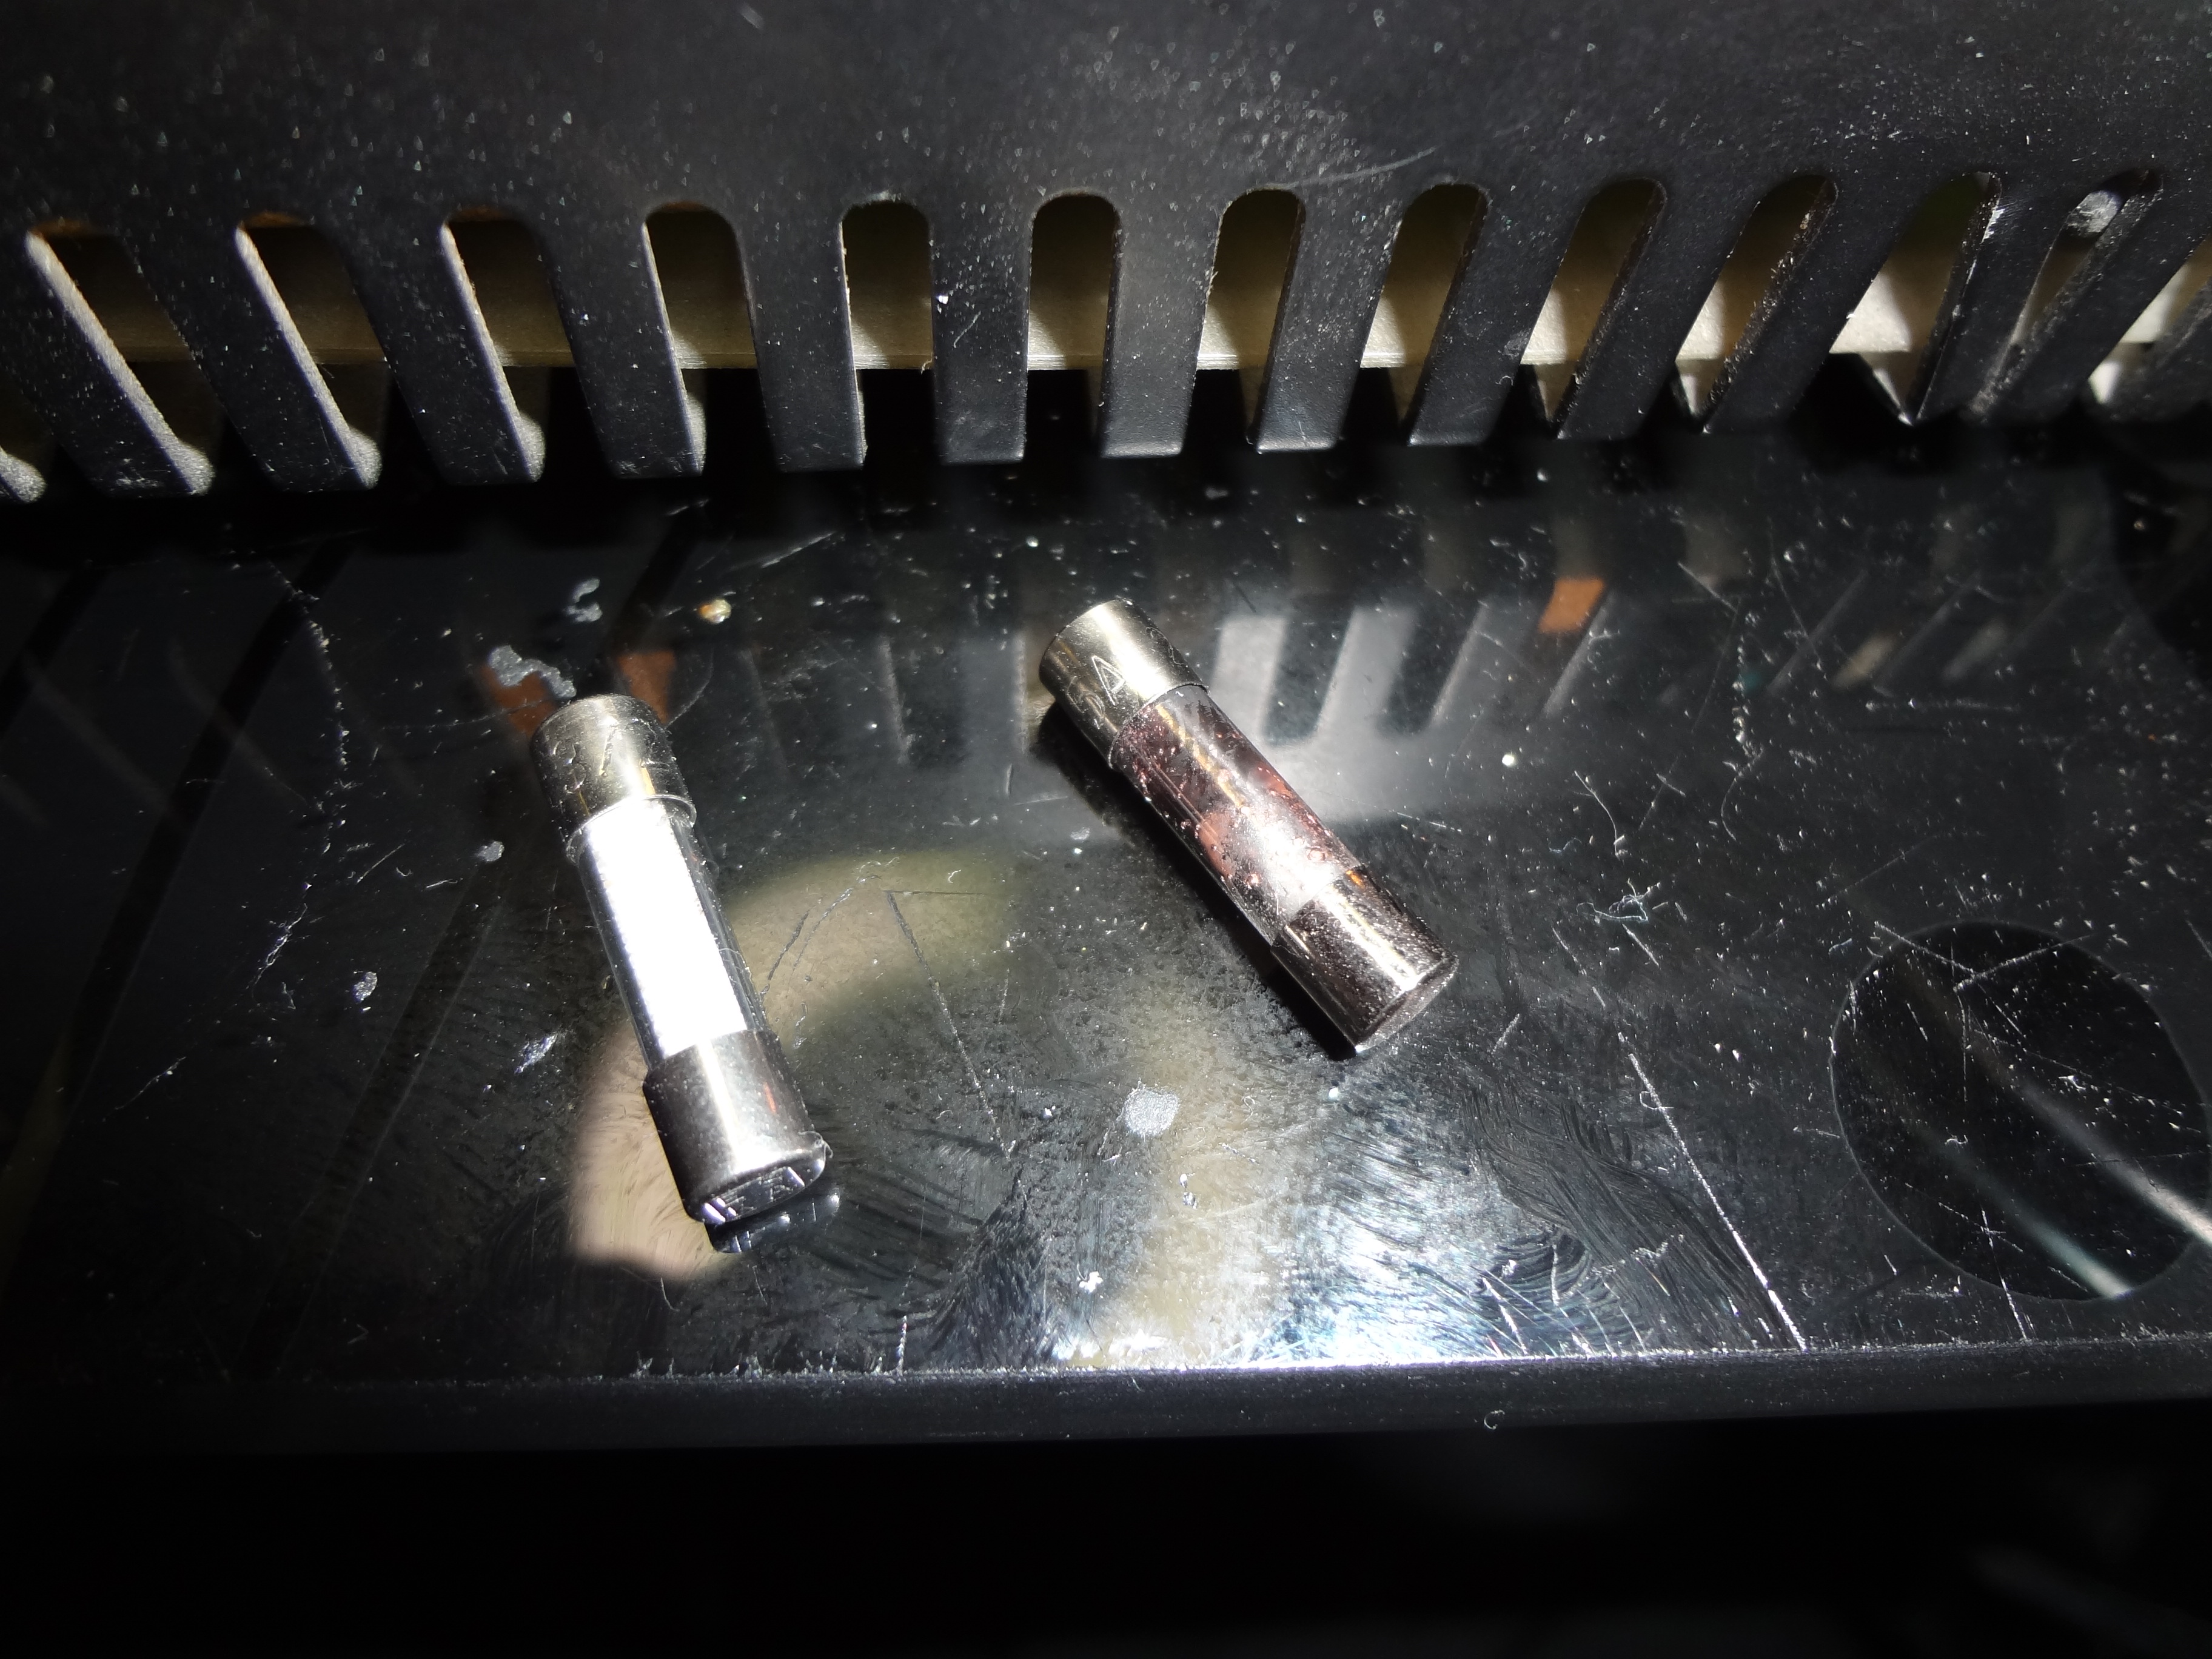
Fuse was very dark, so it’s mean massive short and lot’s of current passing.

To confirm, i soldered in place of FUSE 120W lamp and try again. Lamp was glow at full brightness with little flickering.


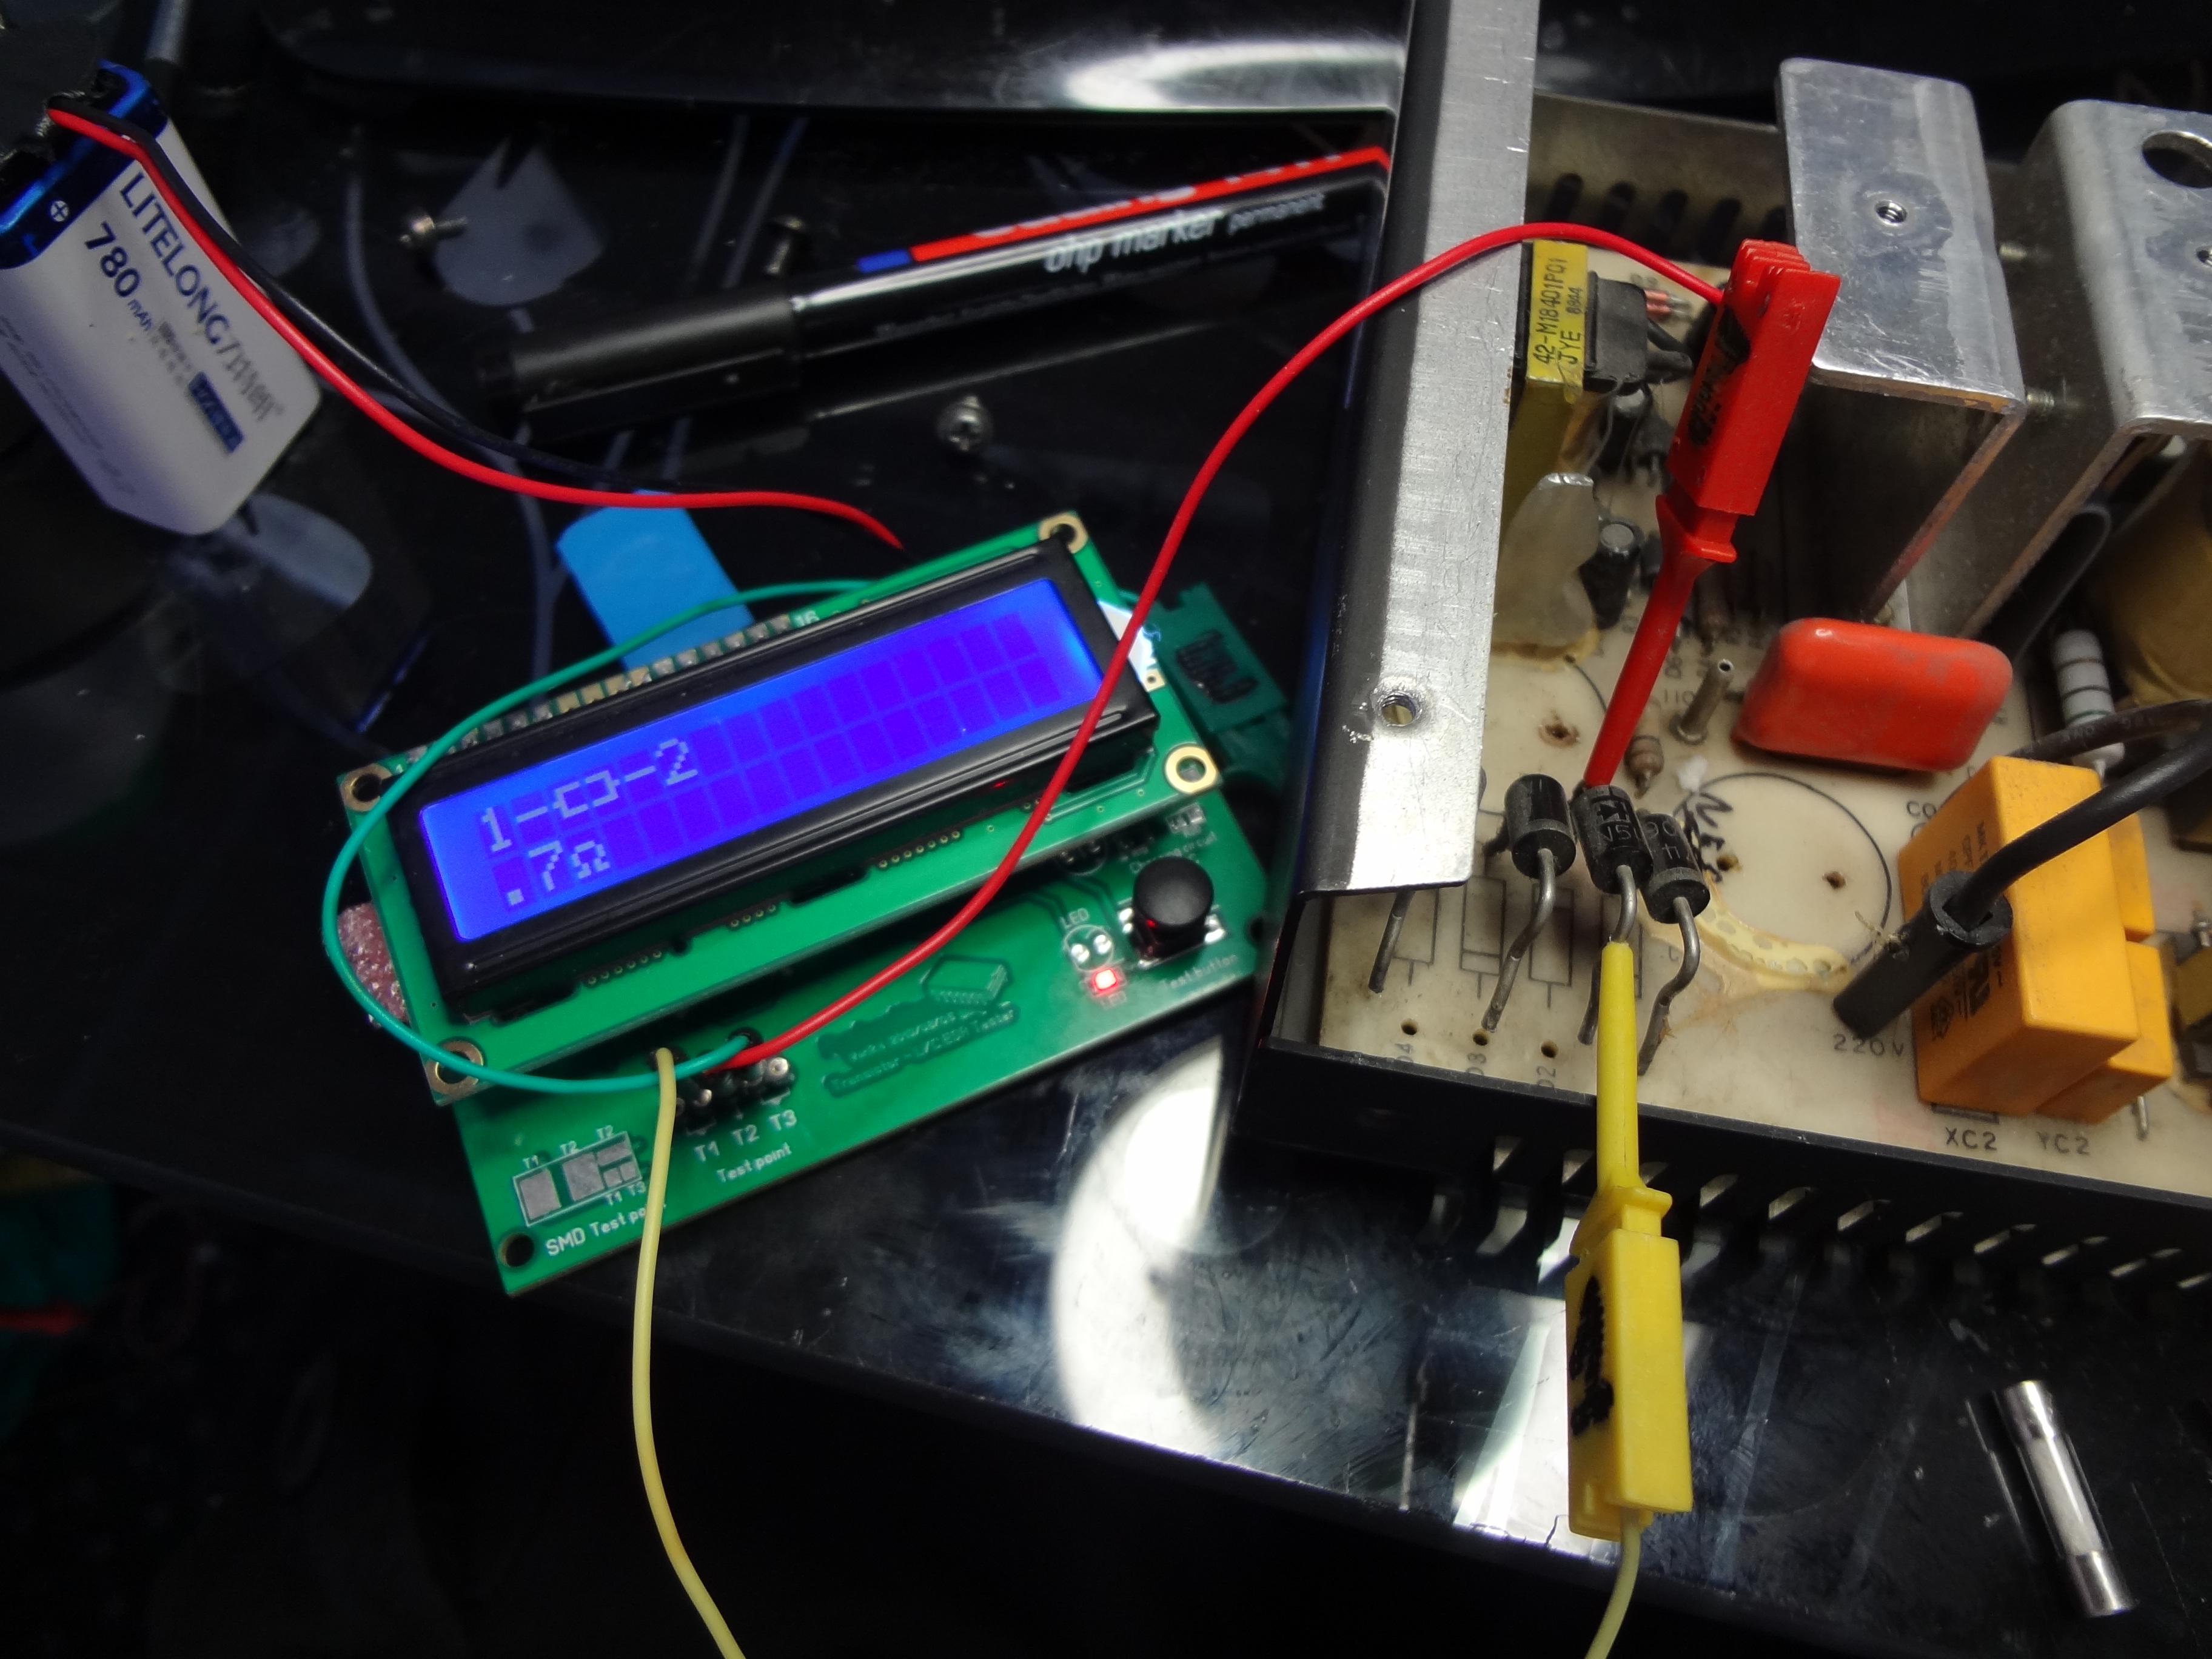
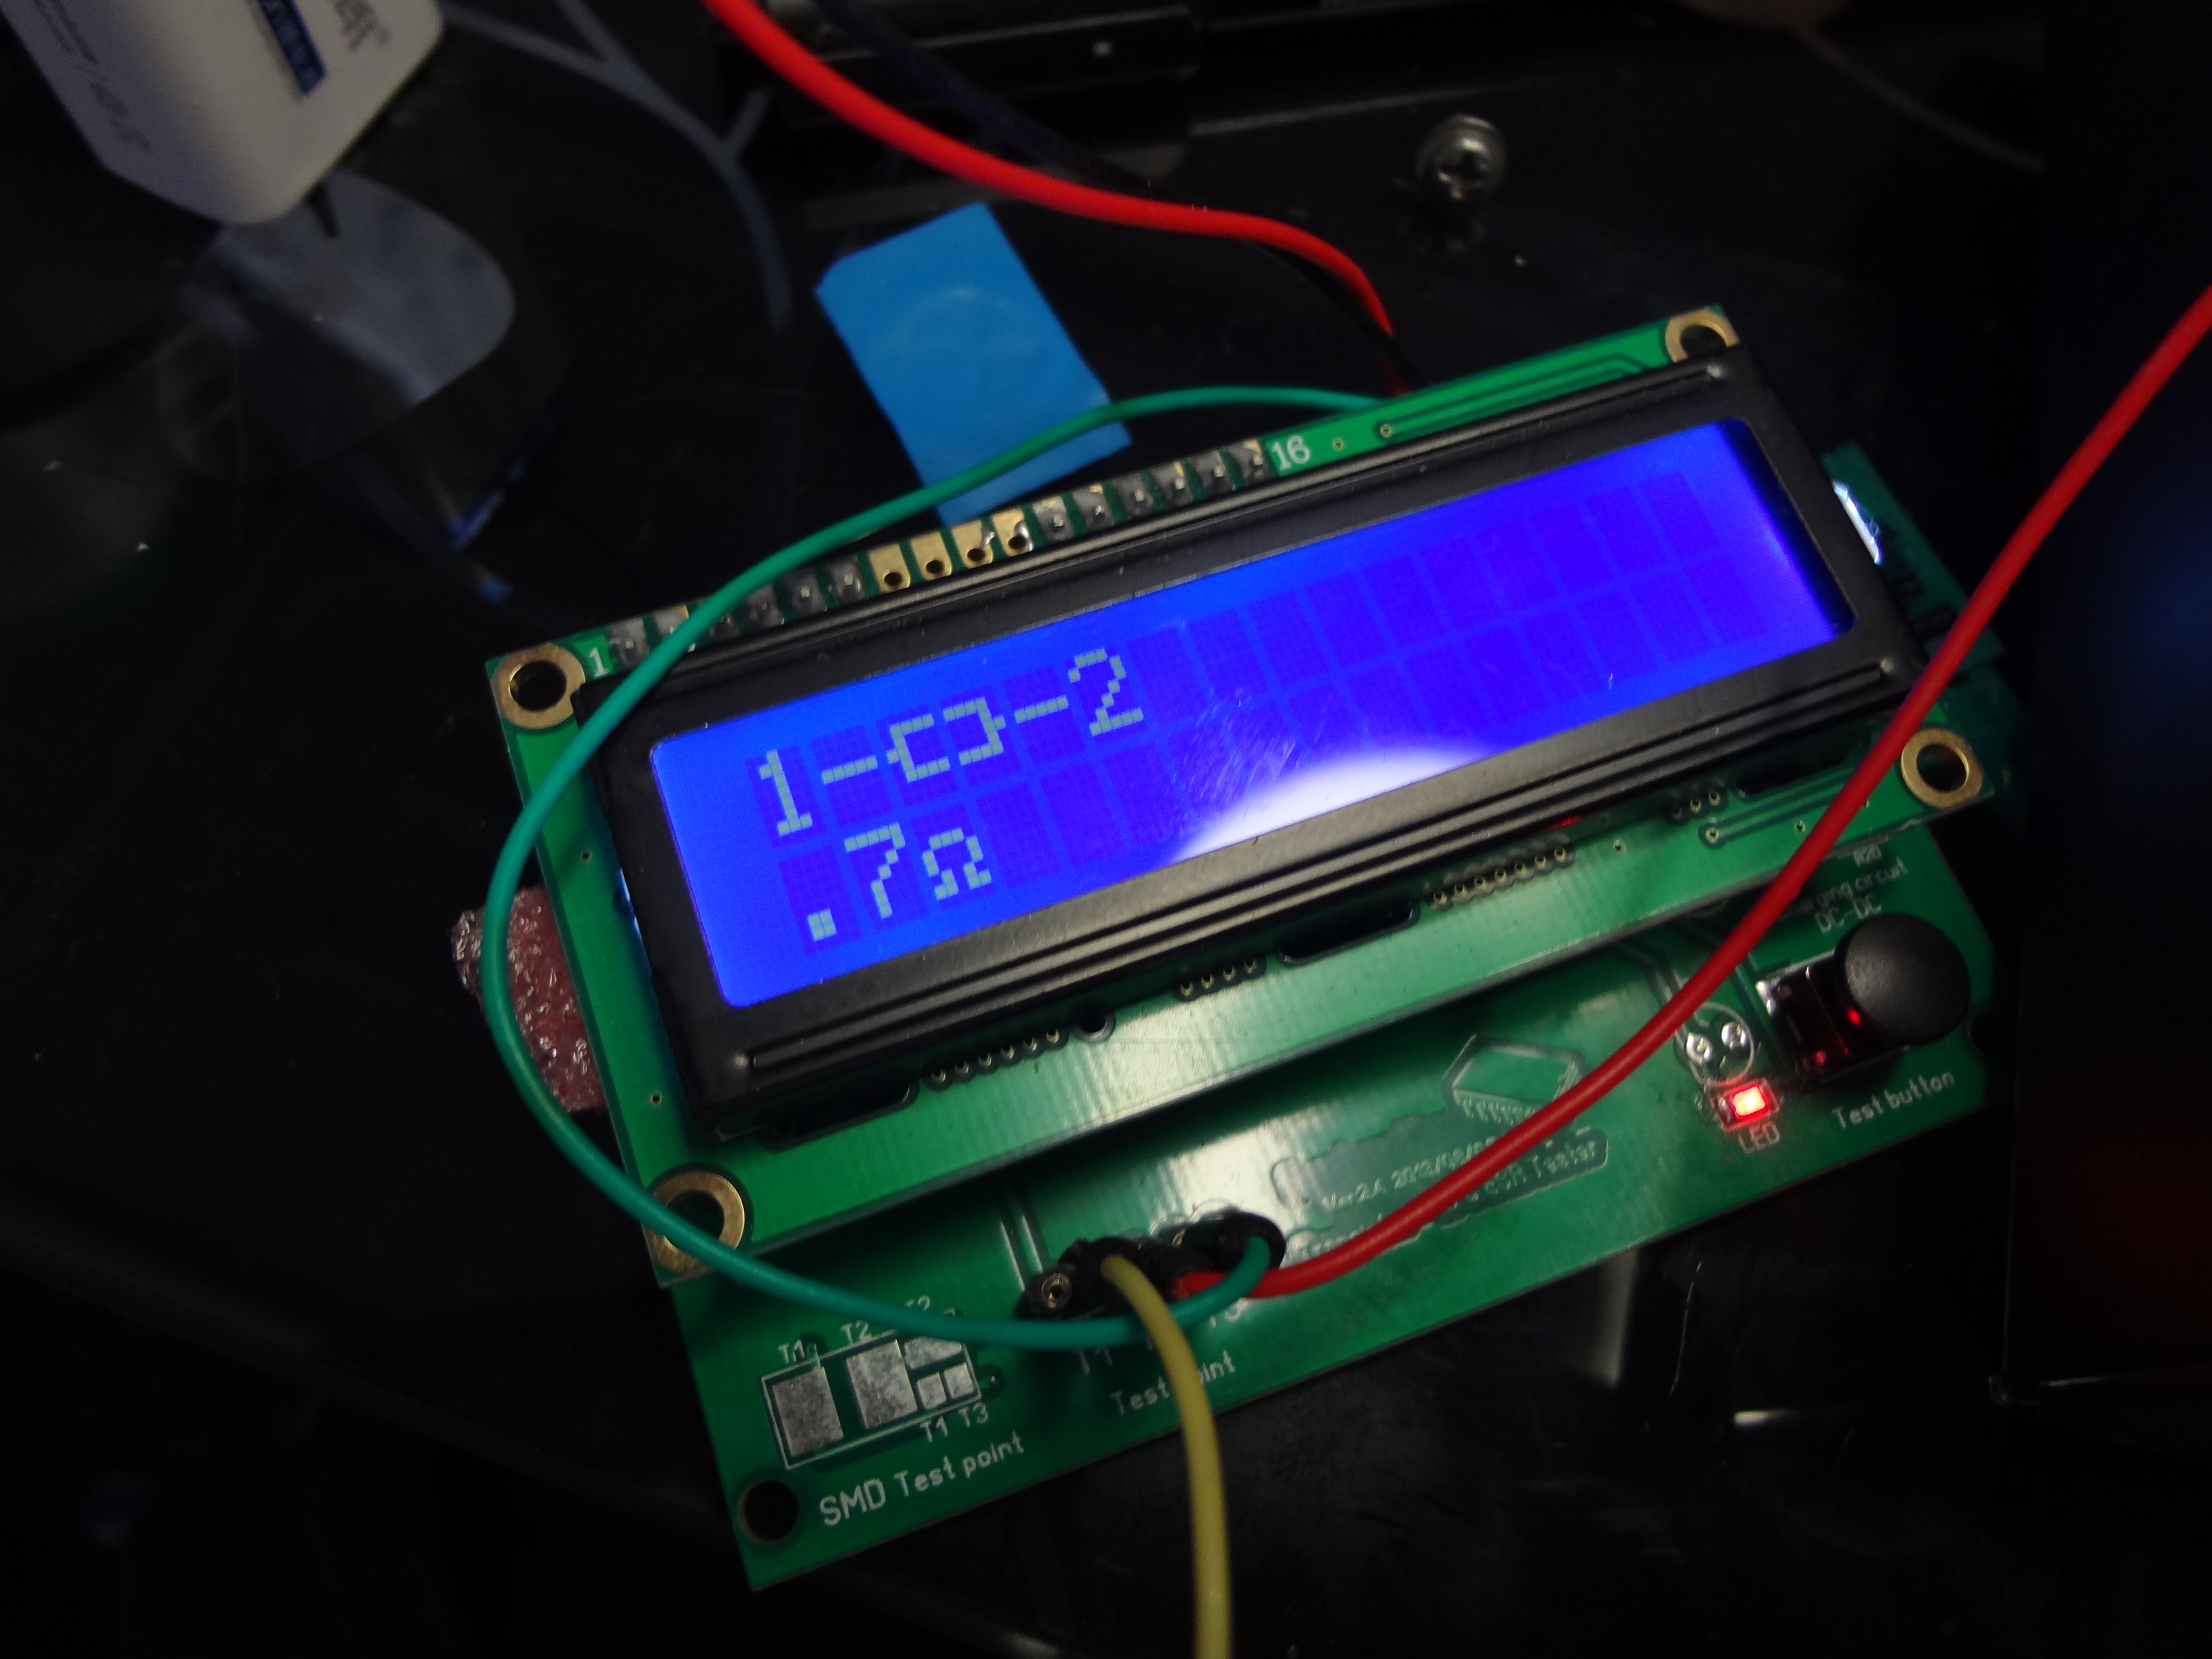
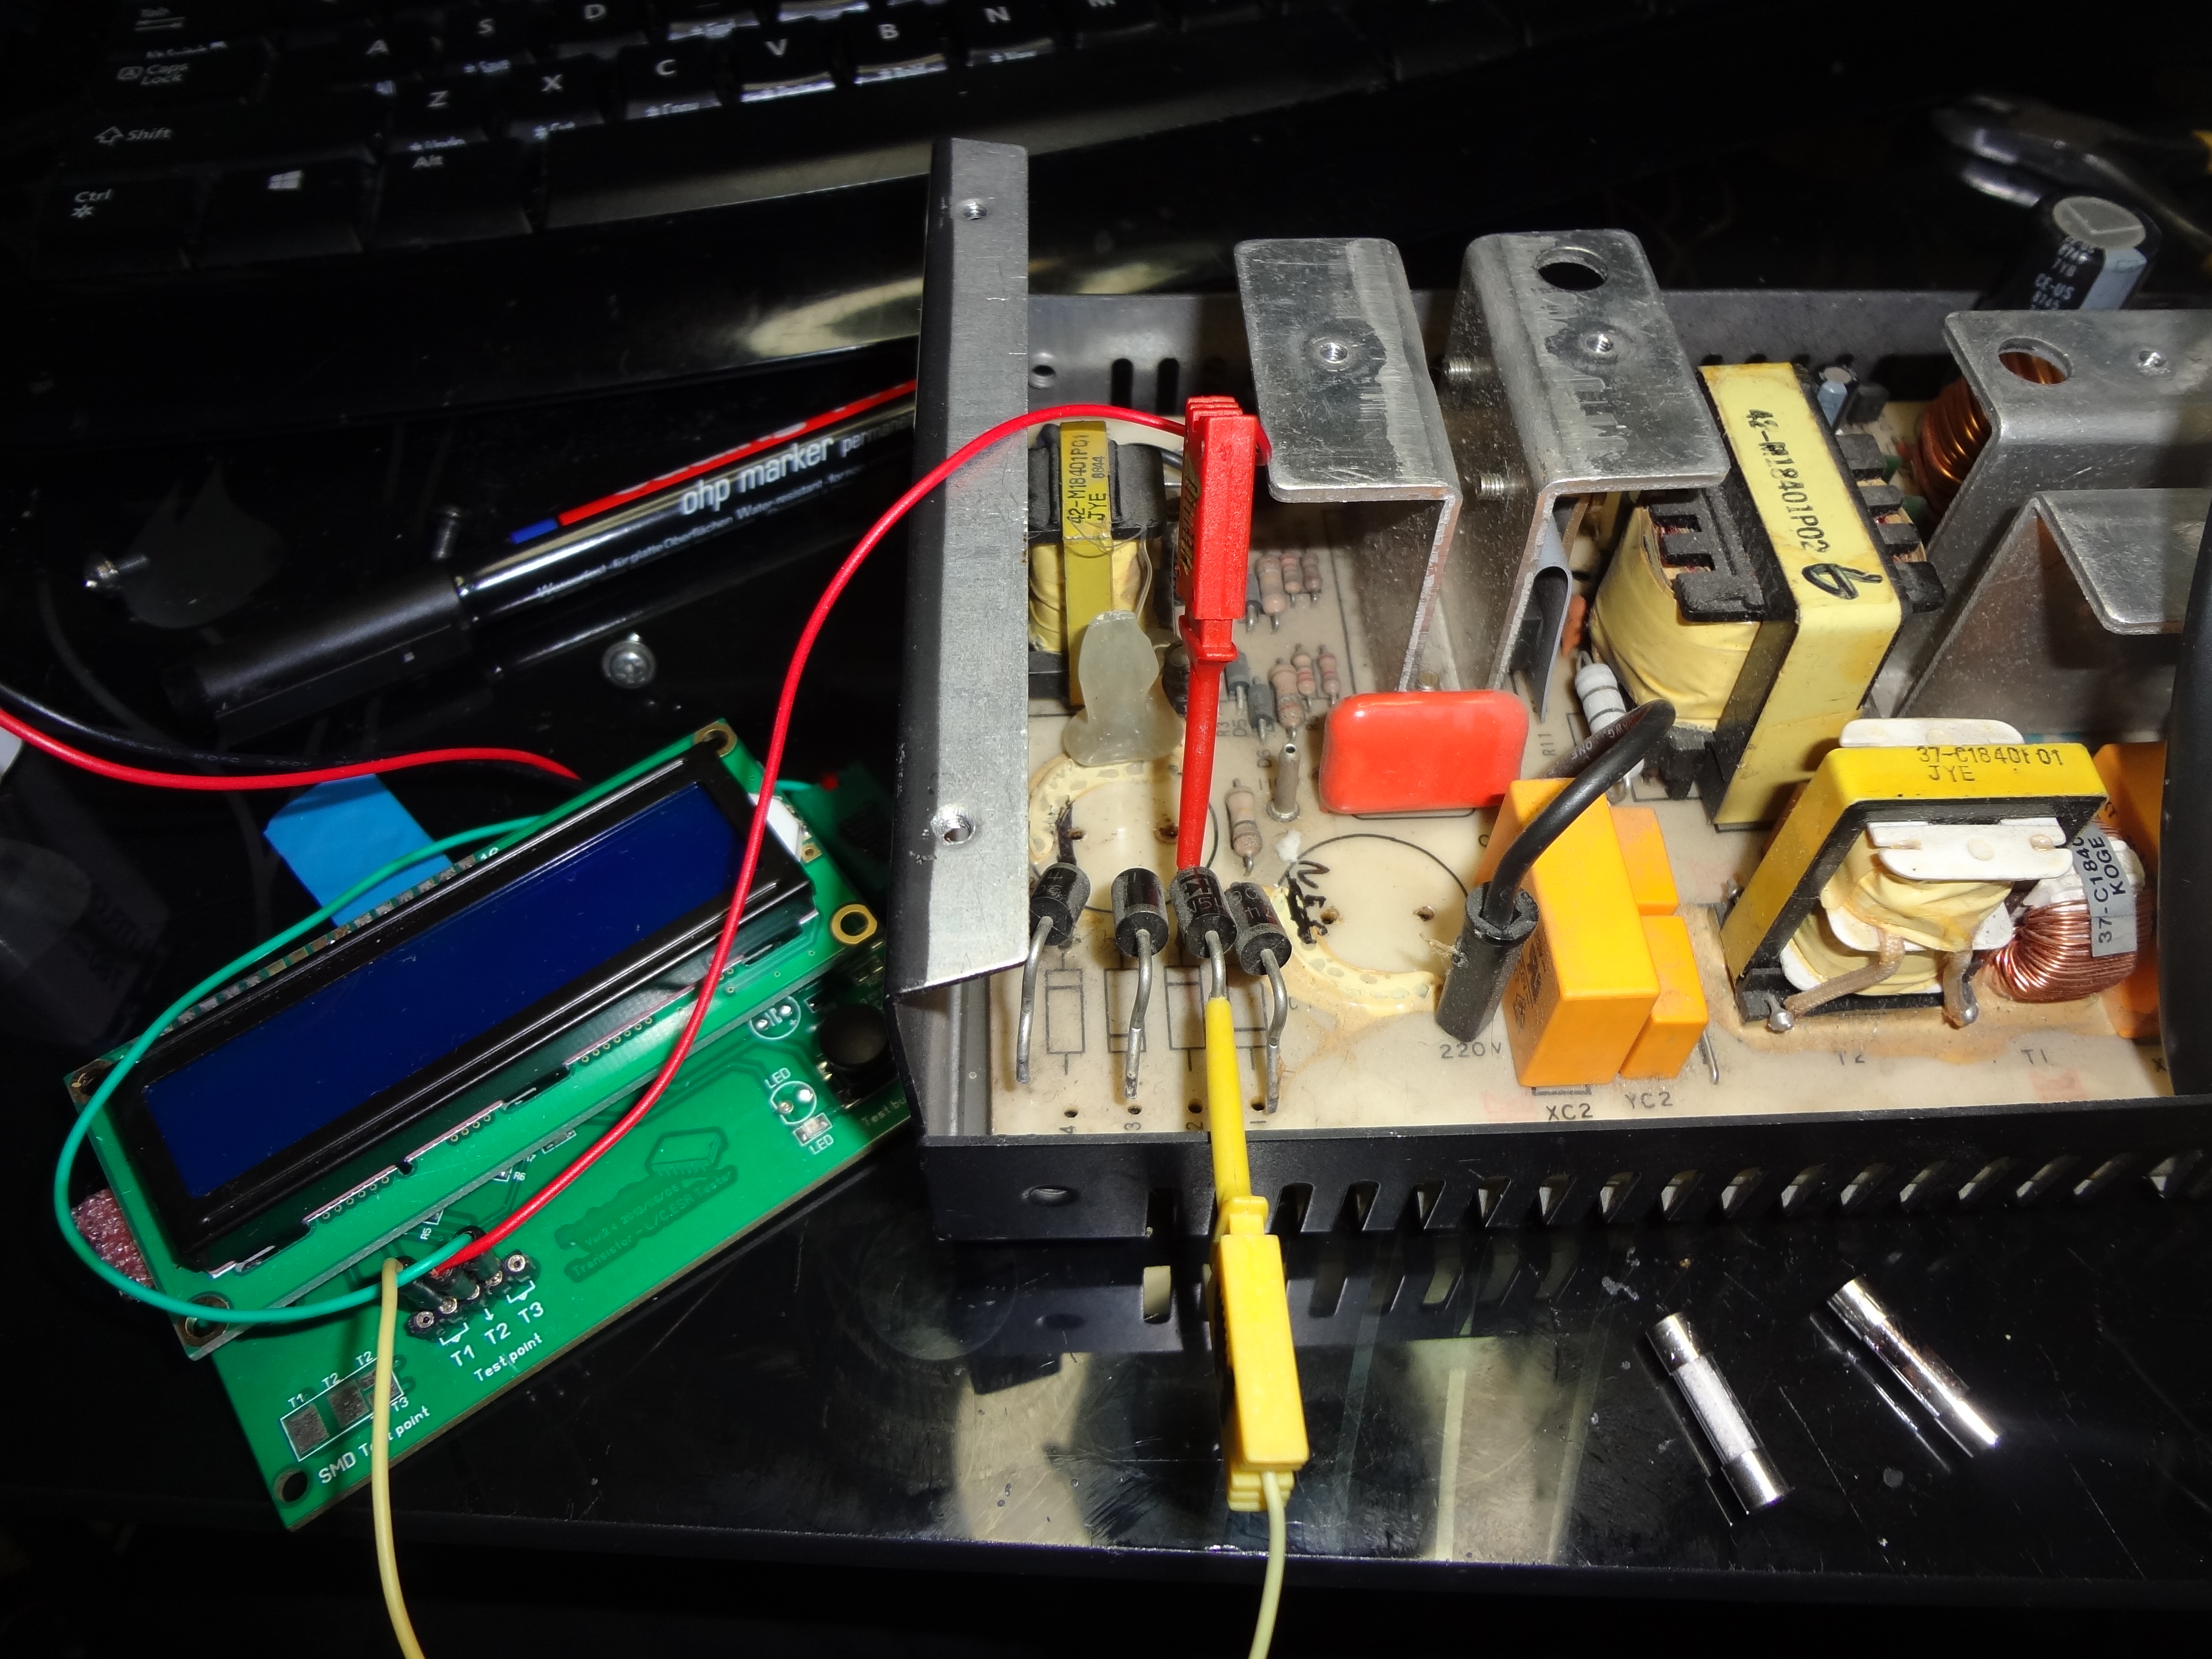
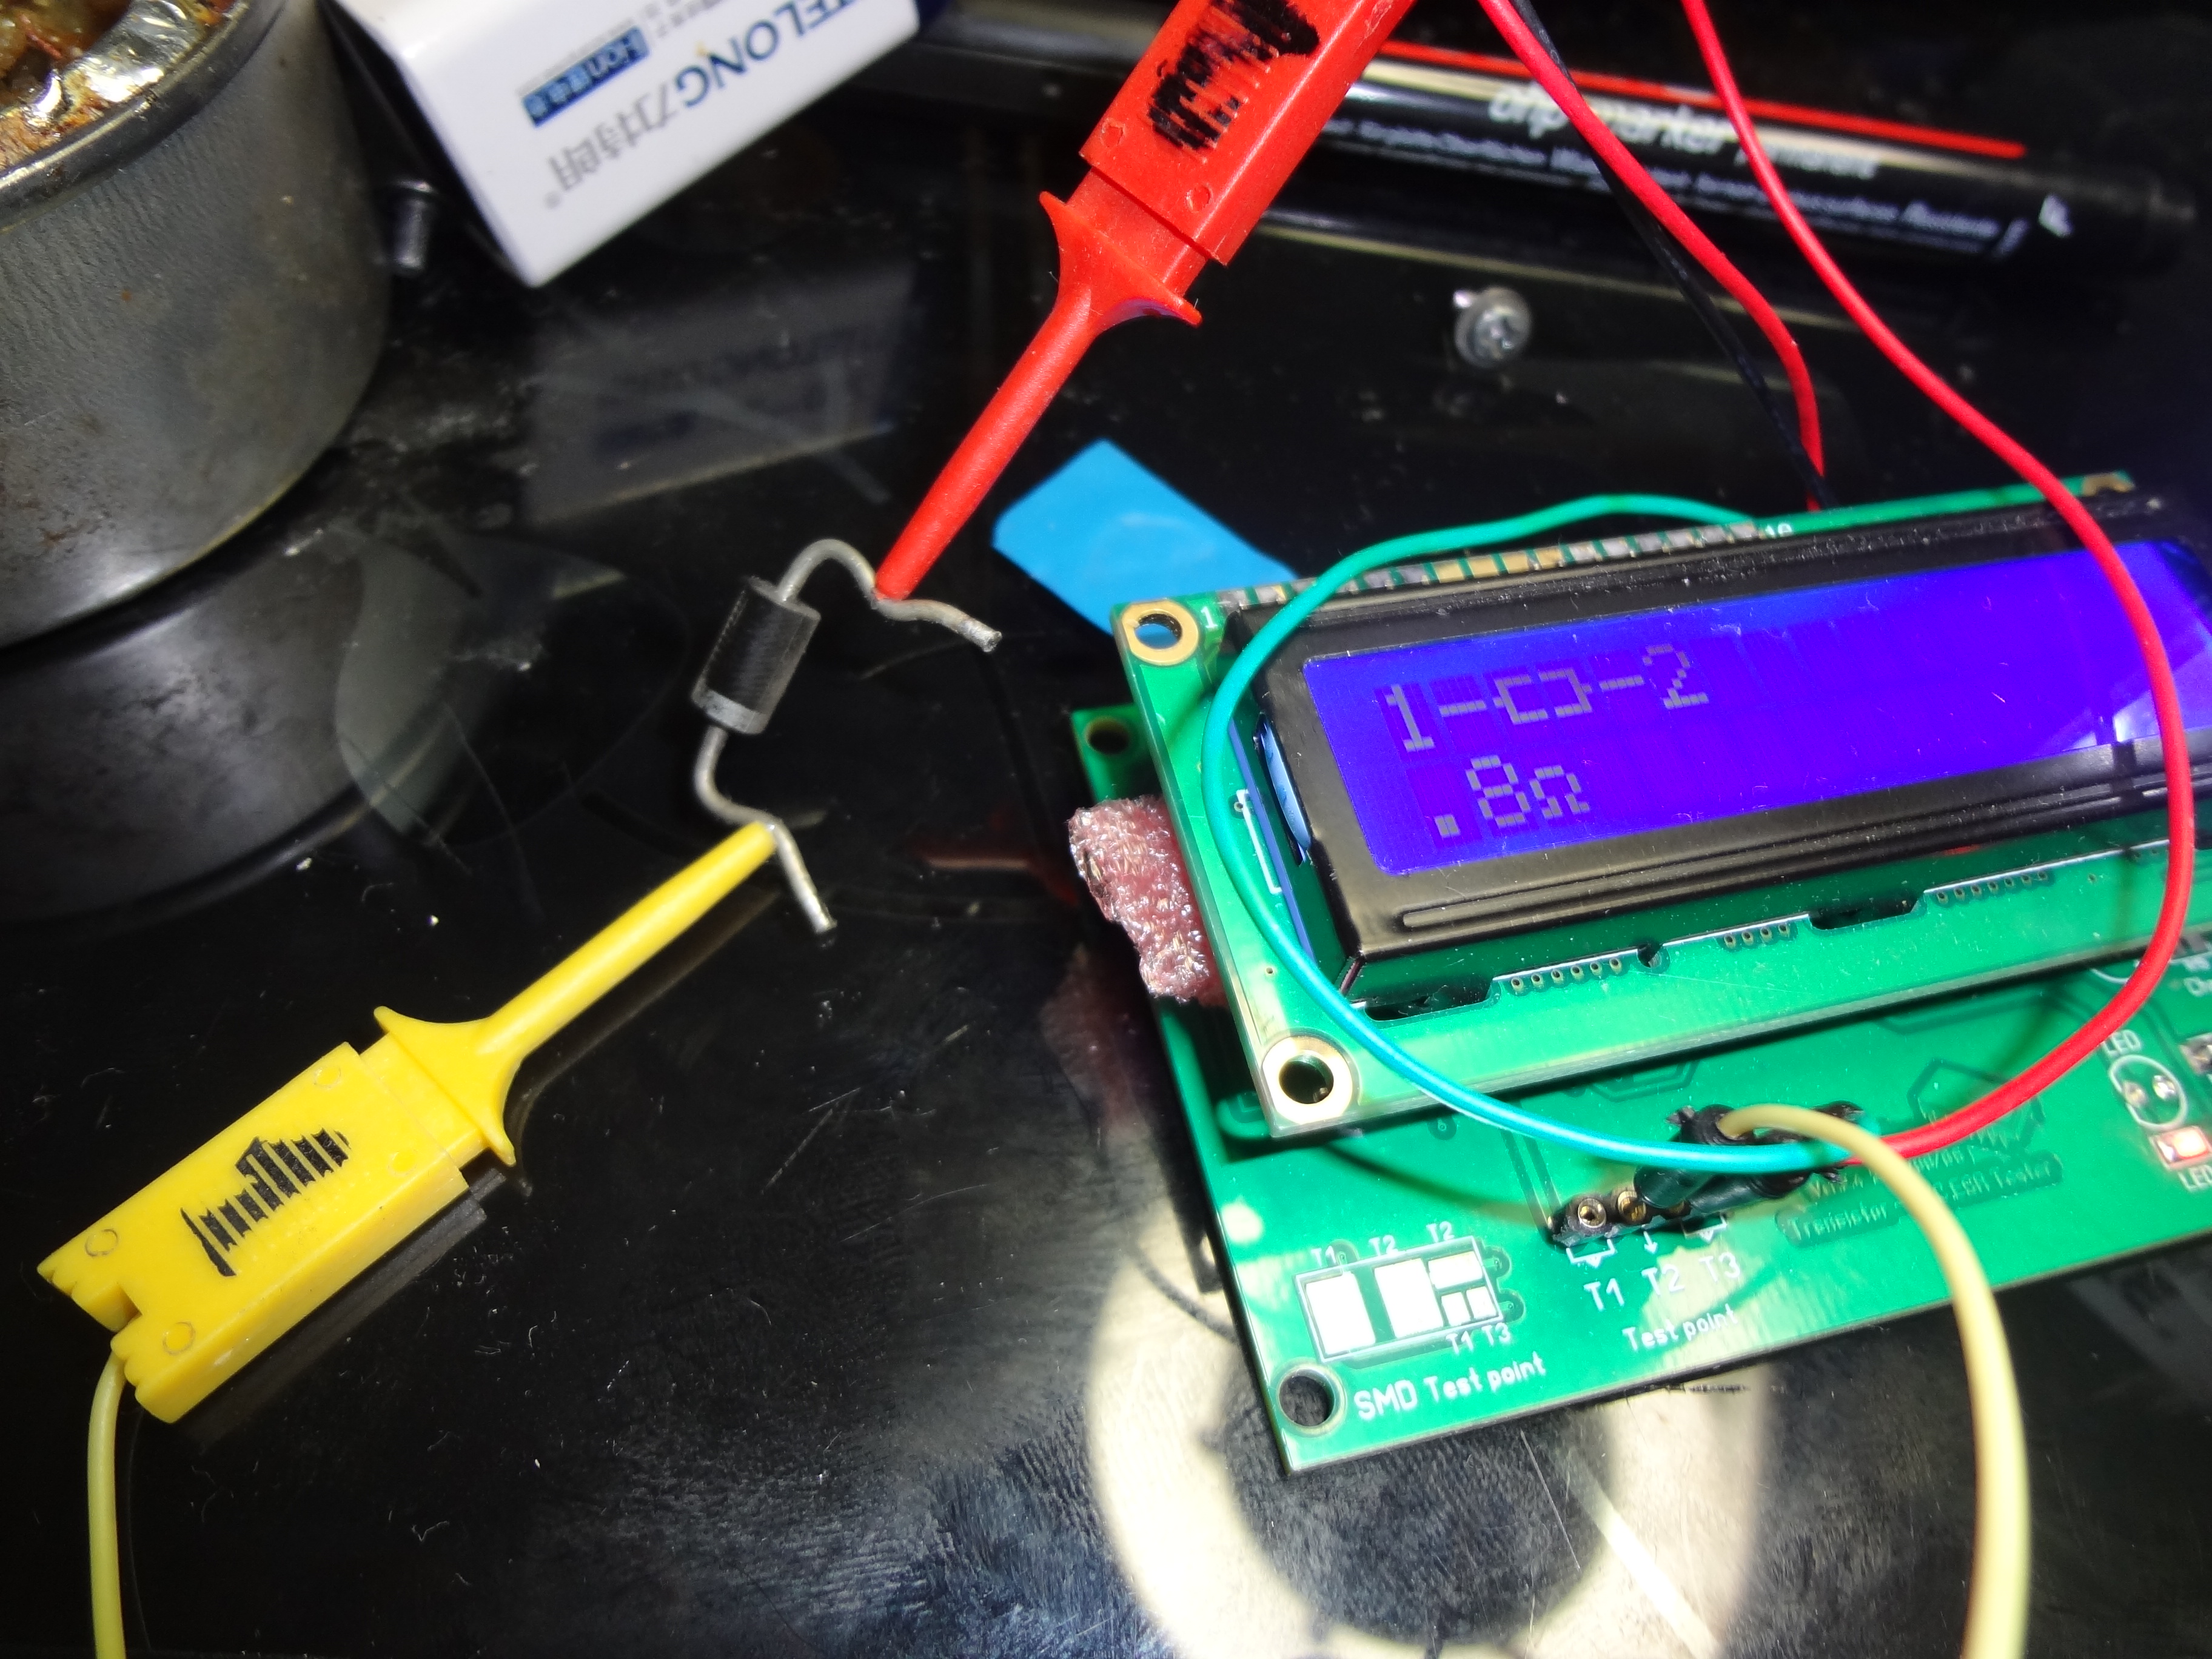
I started from checking rectifier diodes, and found one shorted.

I don’t have same type, so i replace all four  with higher current and voltage.

It was little tight but still looks pretty.


Power again, lamp glow very very little in 1 second (when charging capacitors) and goes off.

After confirming output voltage i remove lamp, put fuse and put everything back for 24H test. – Work perfect!


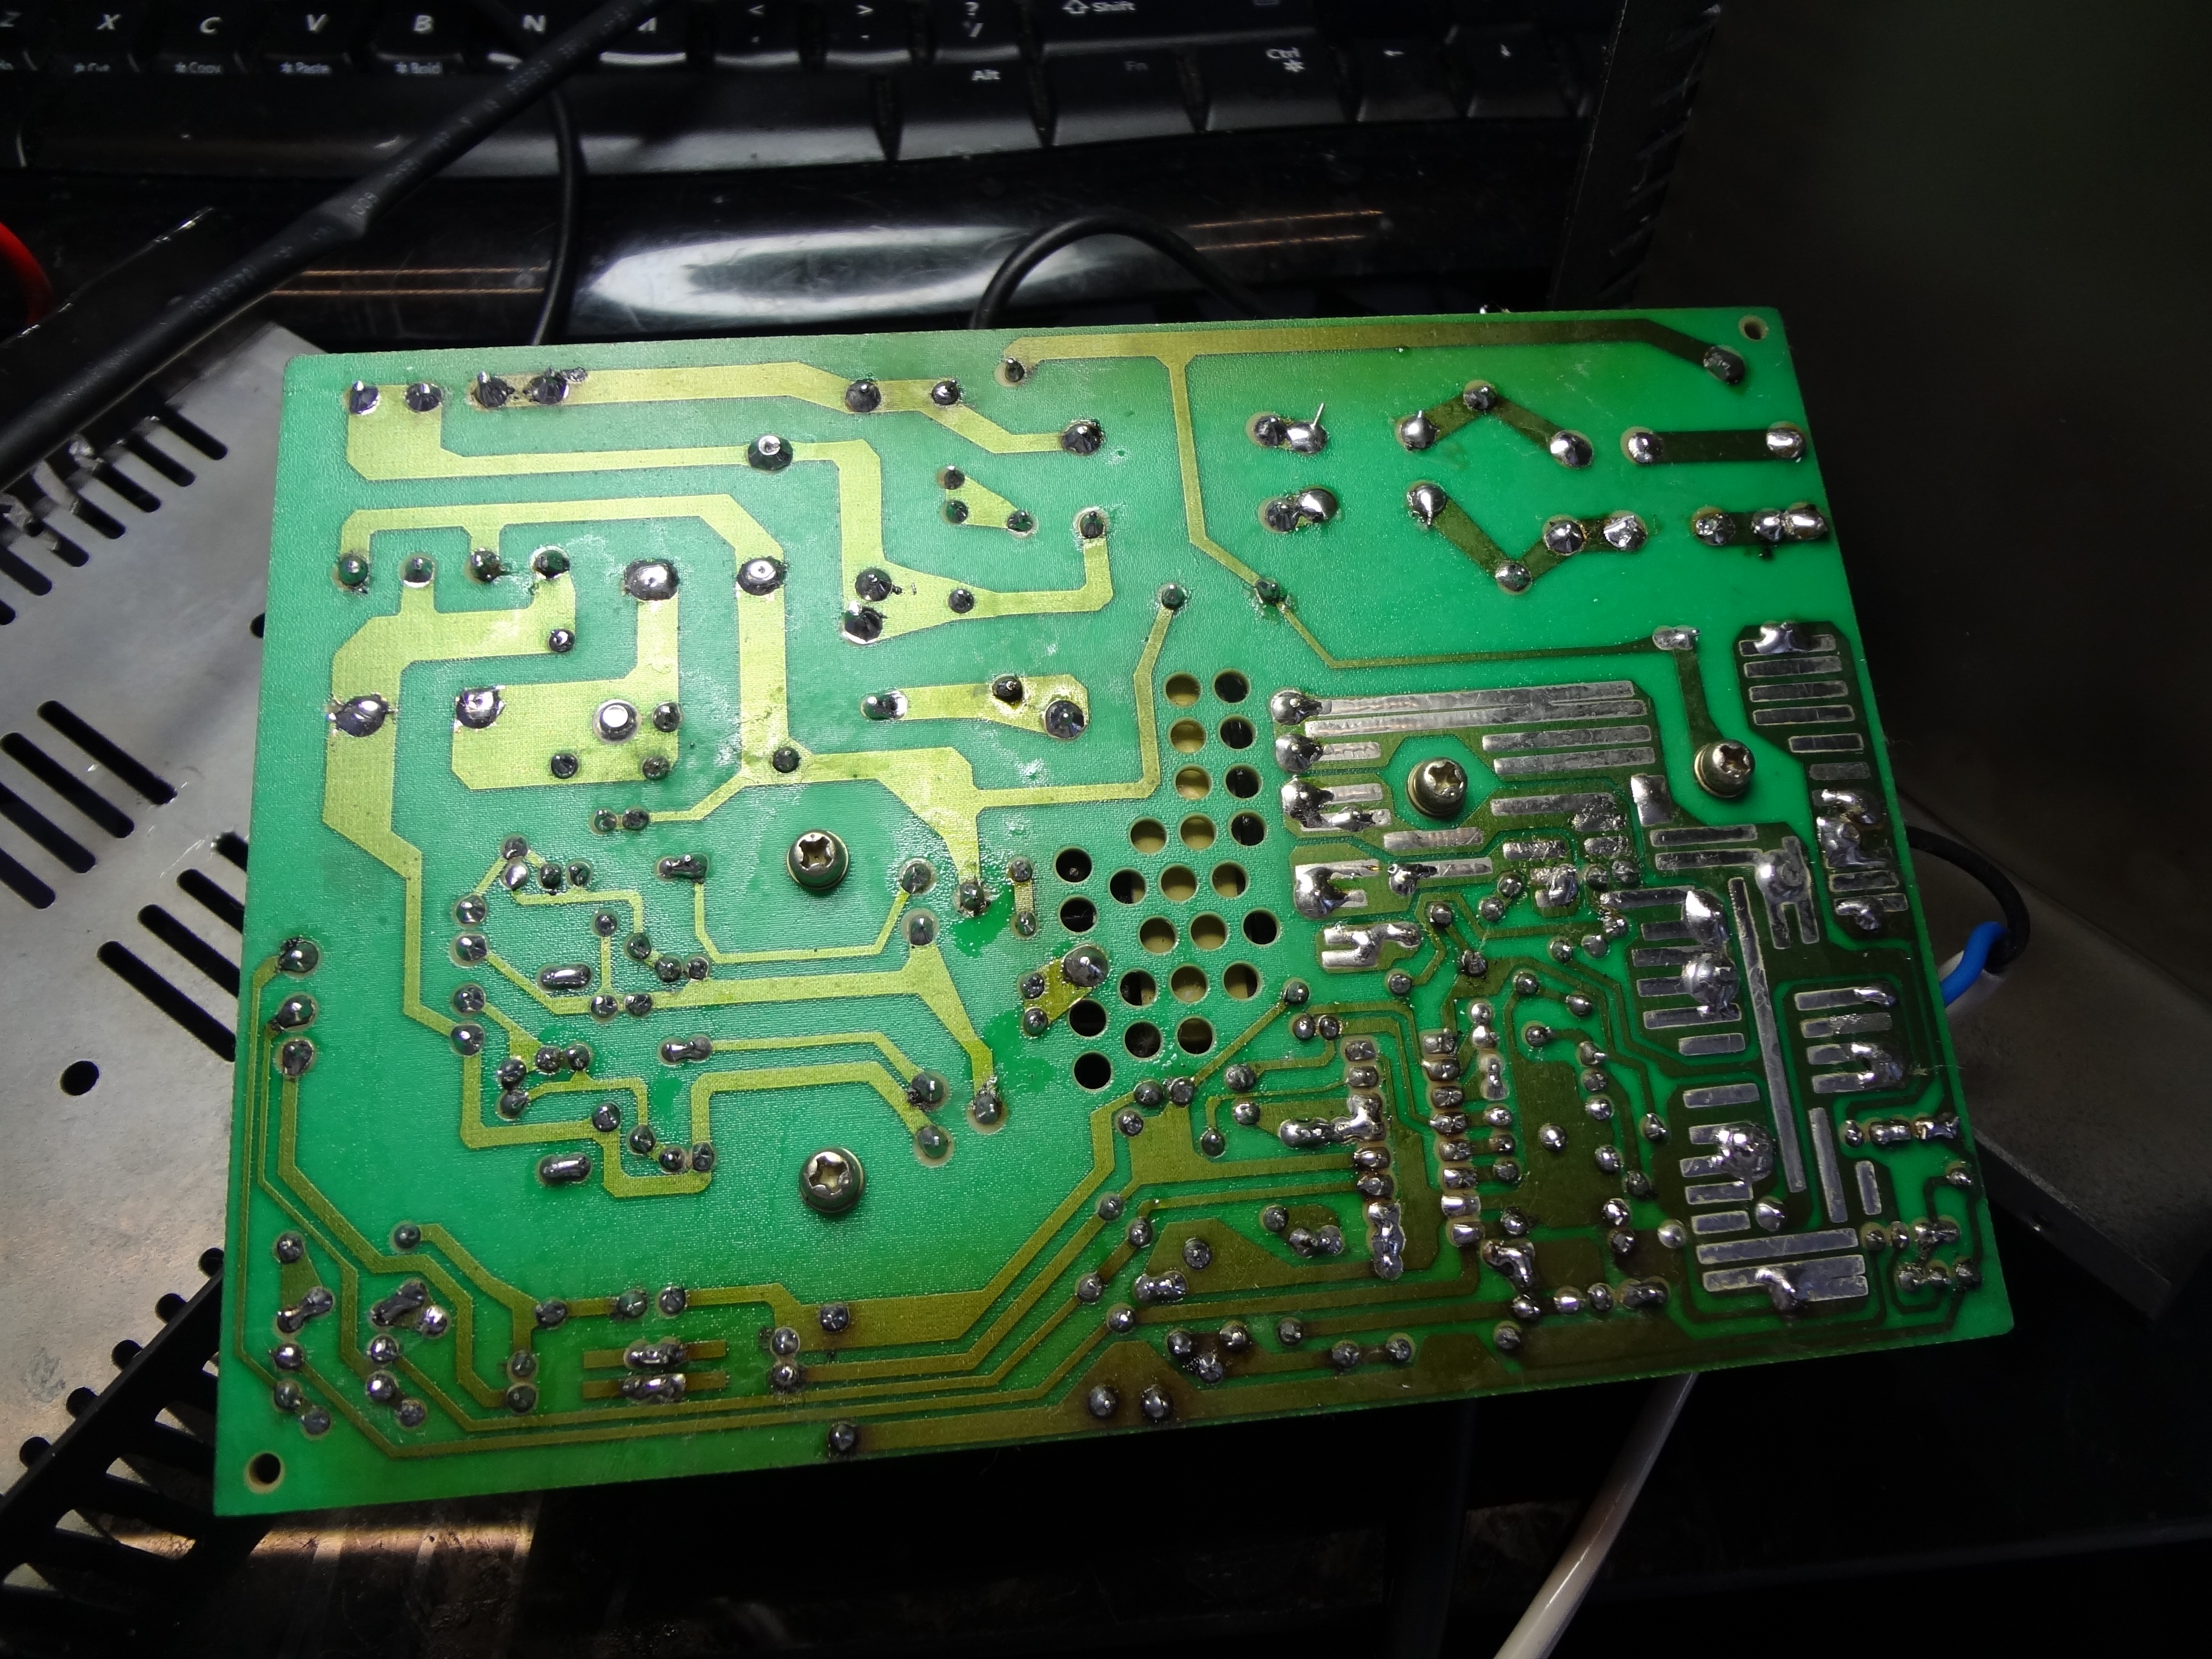
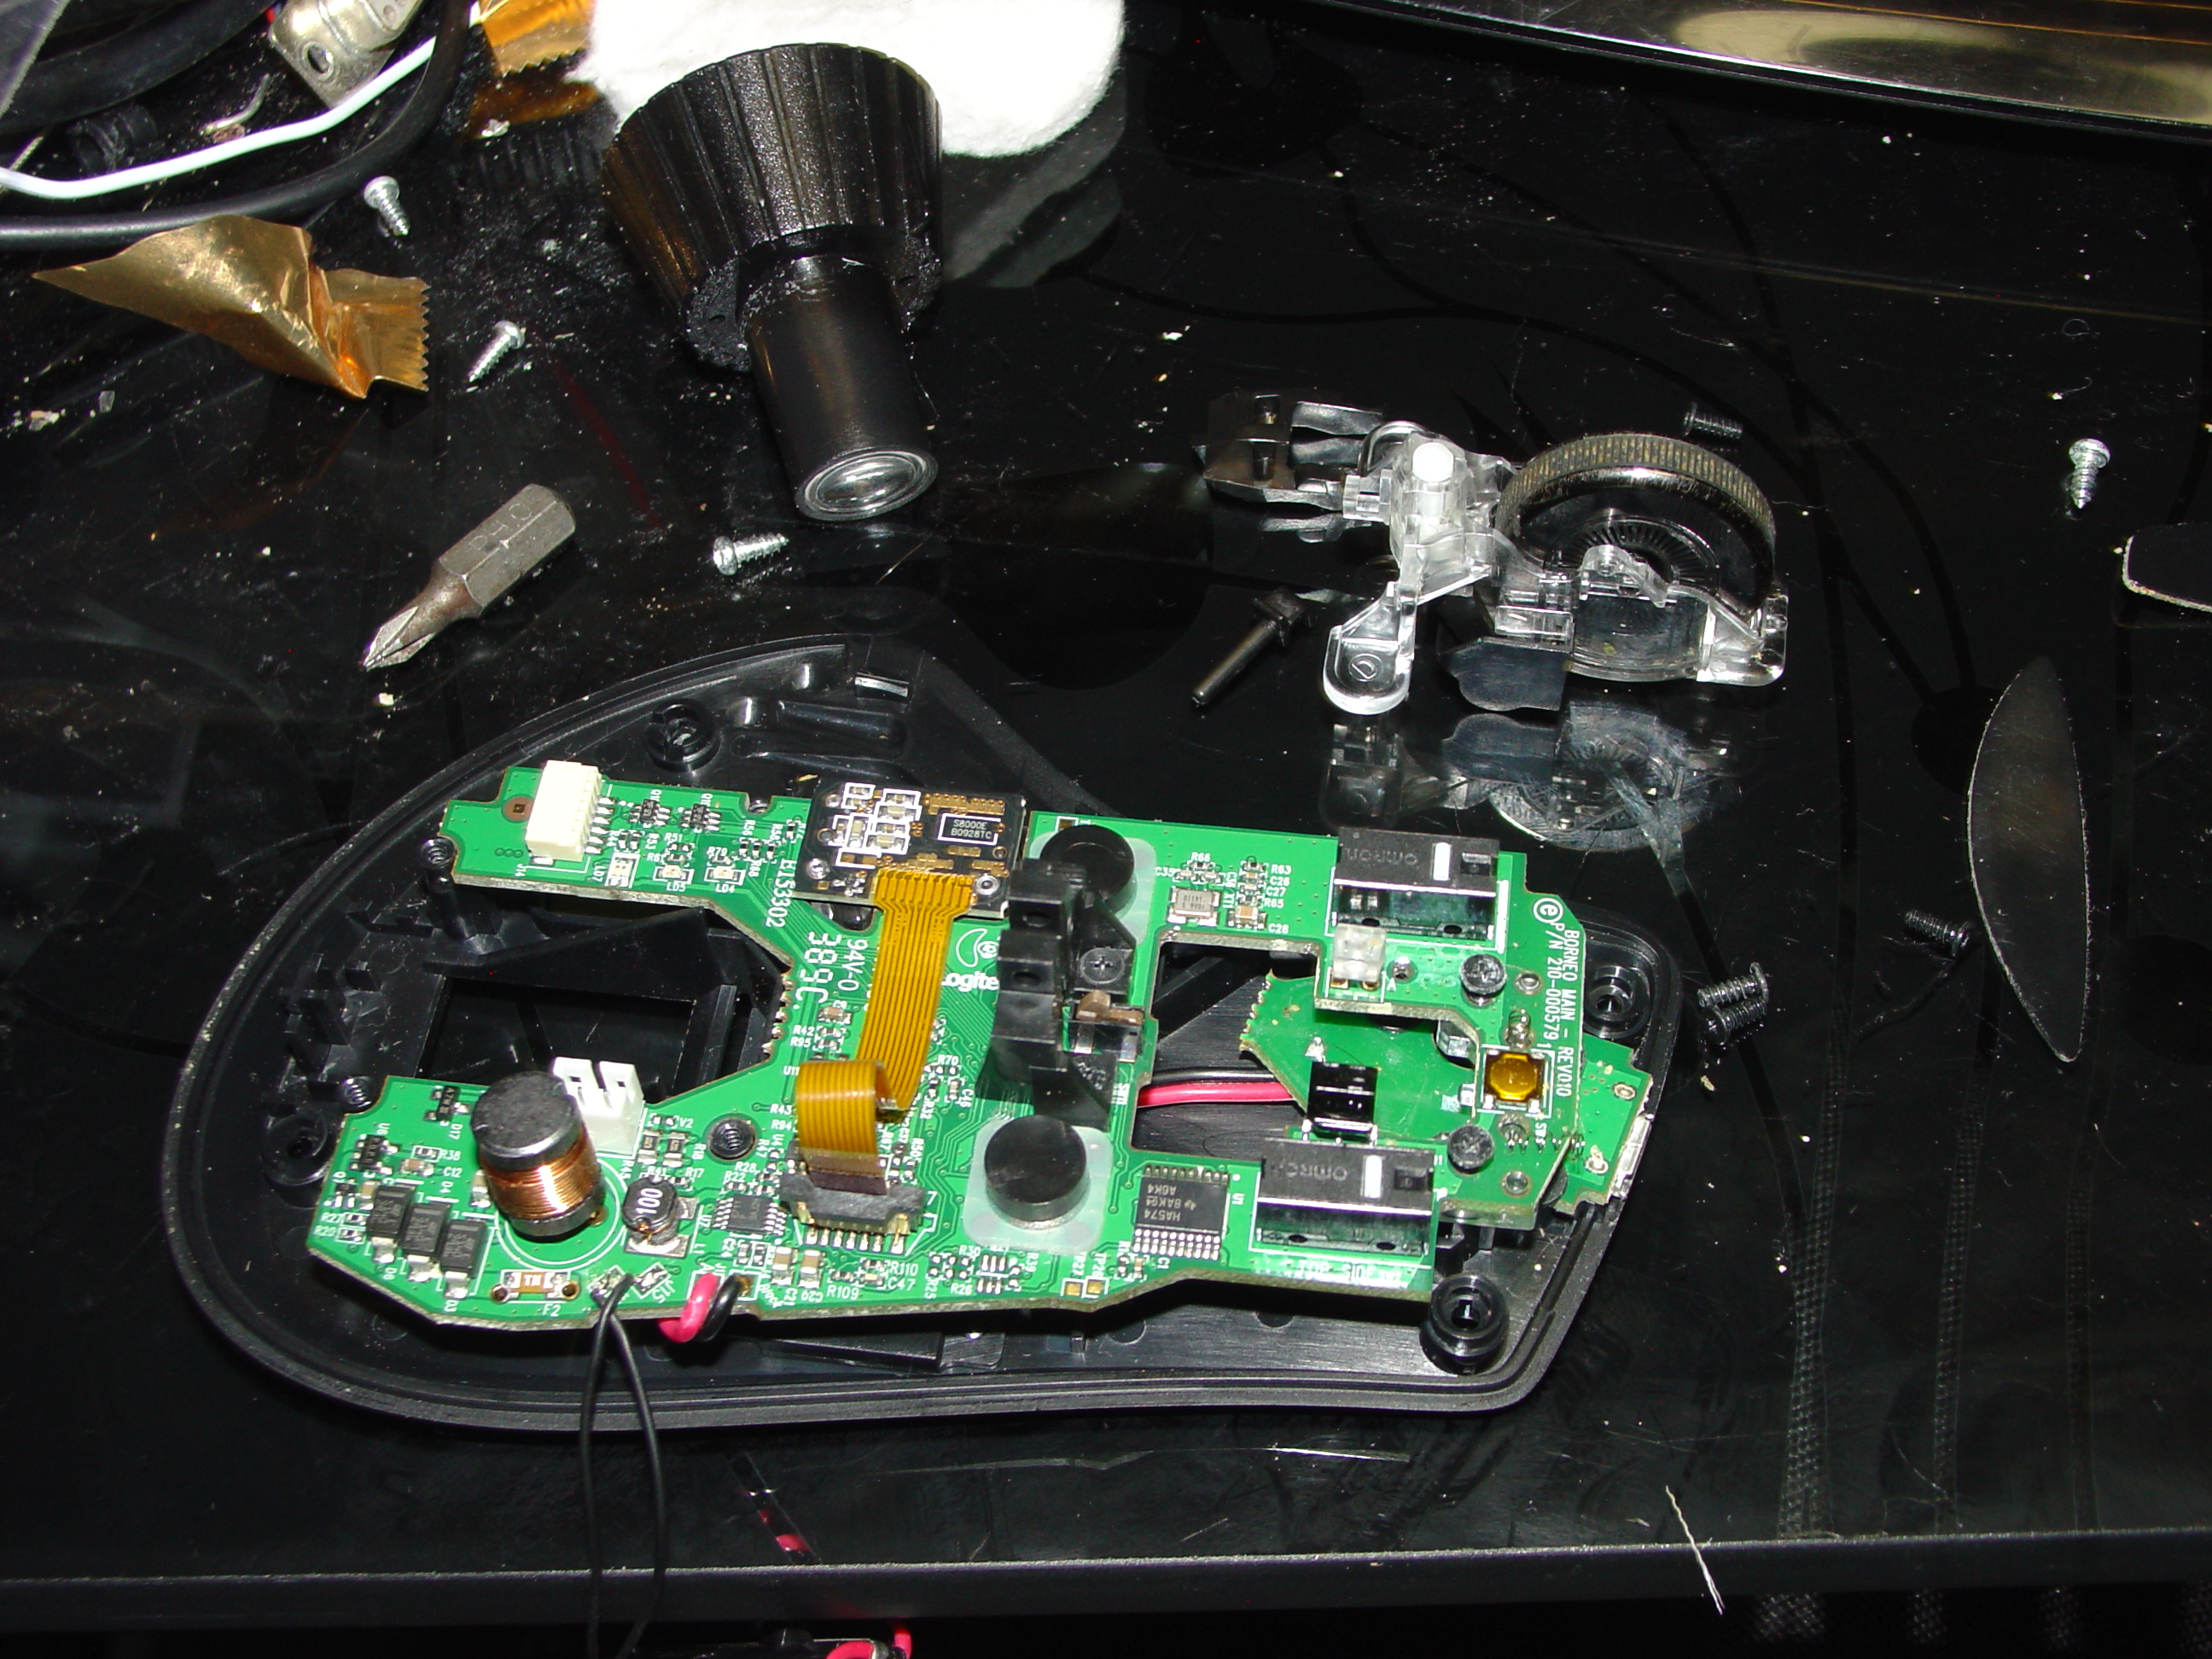
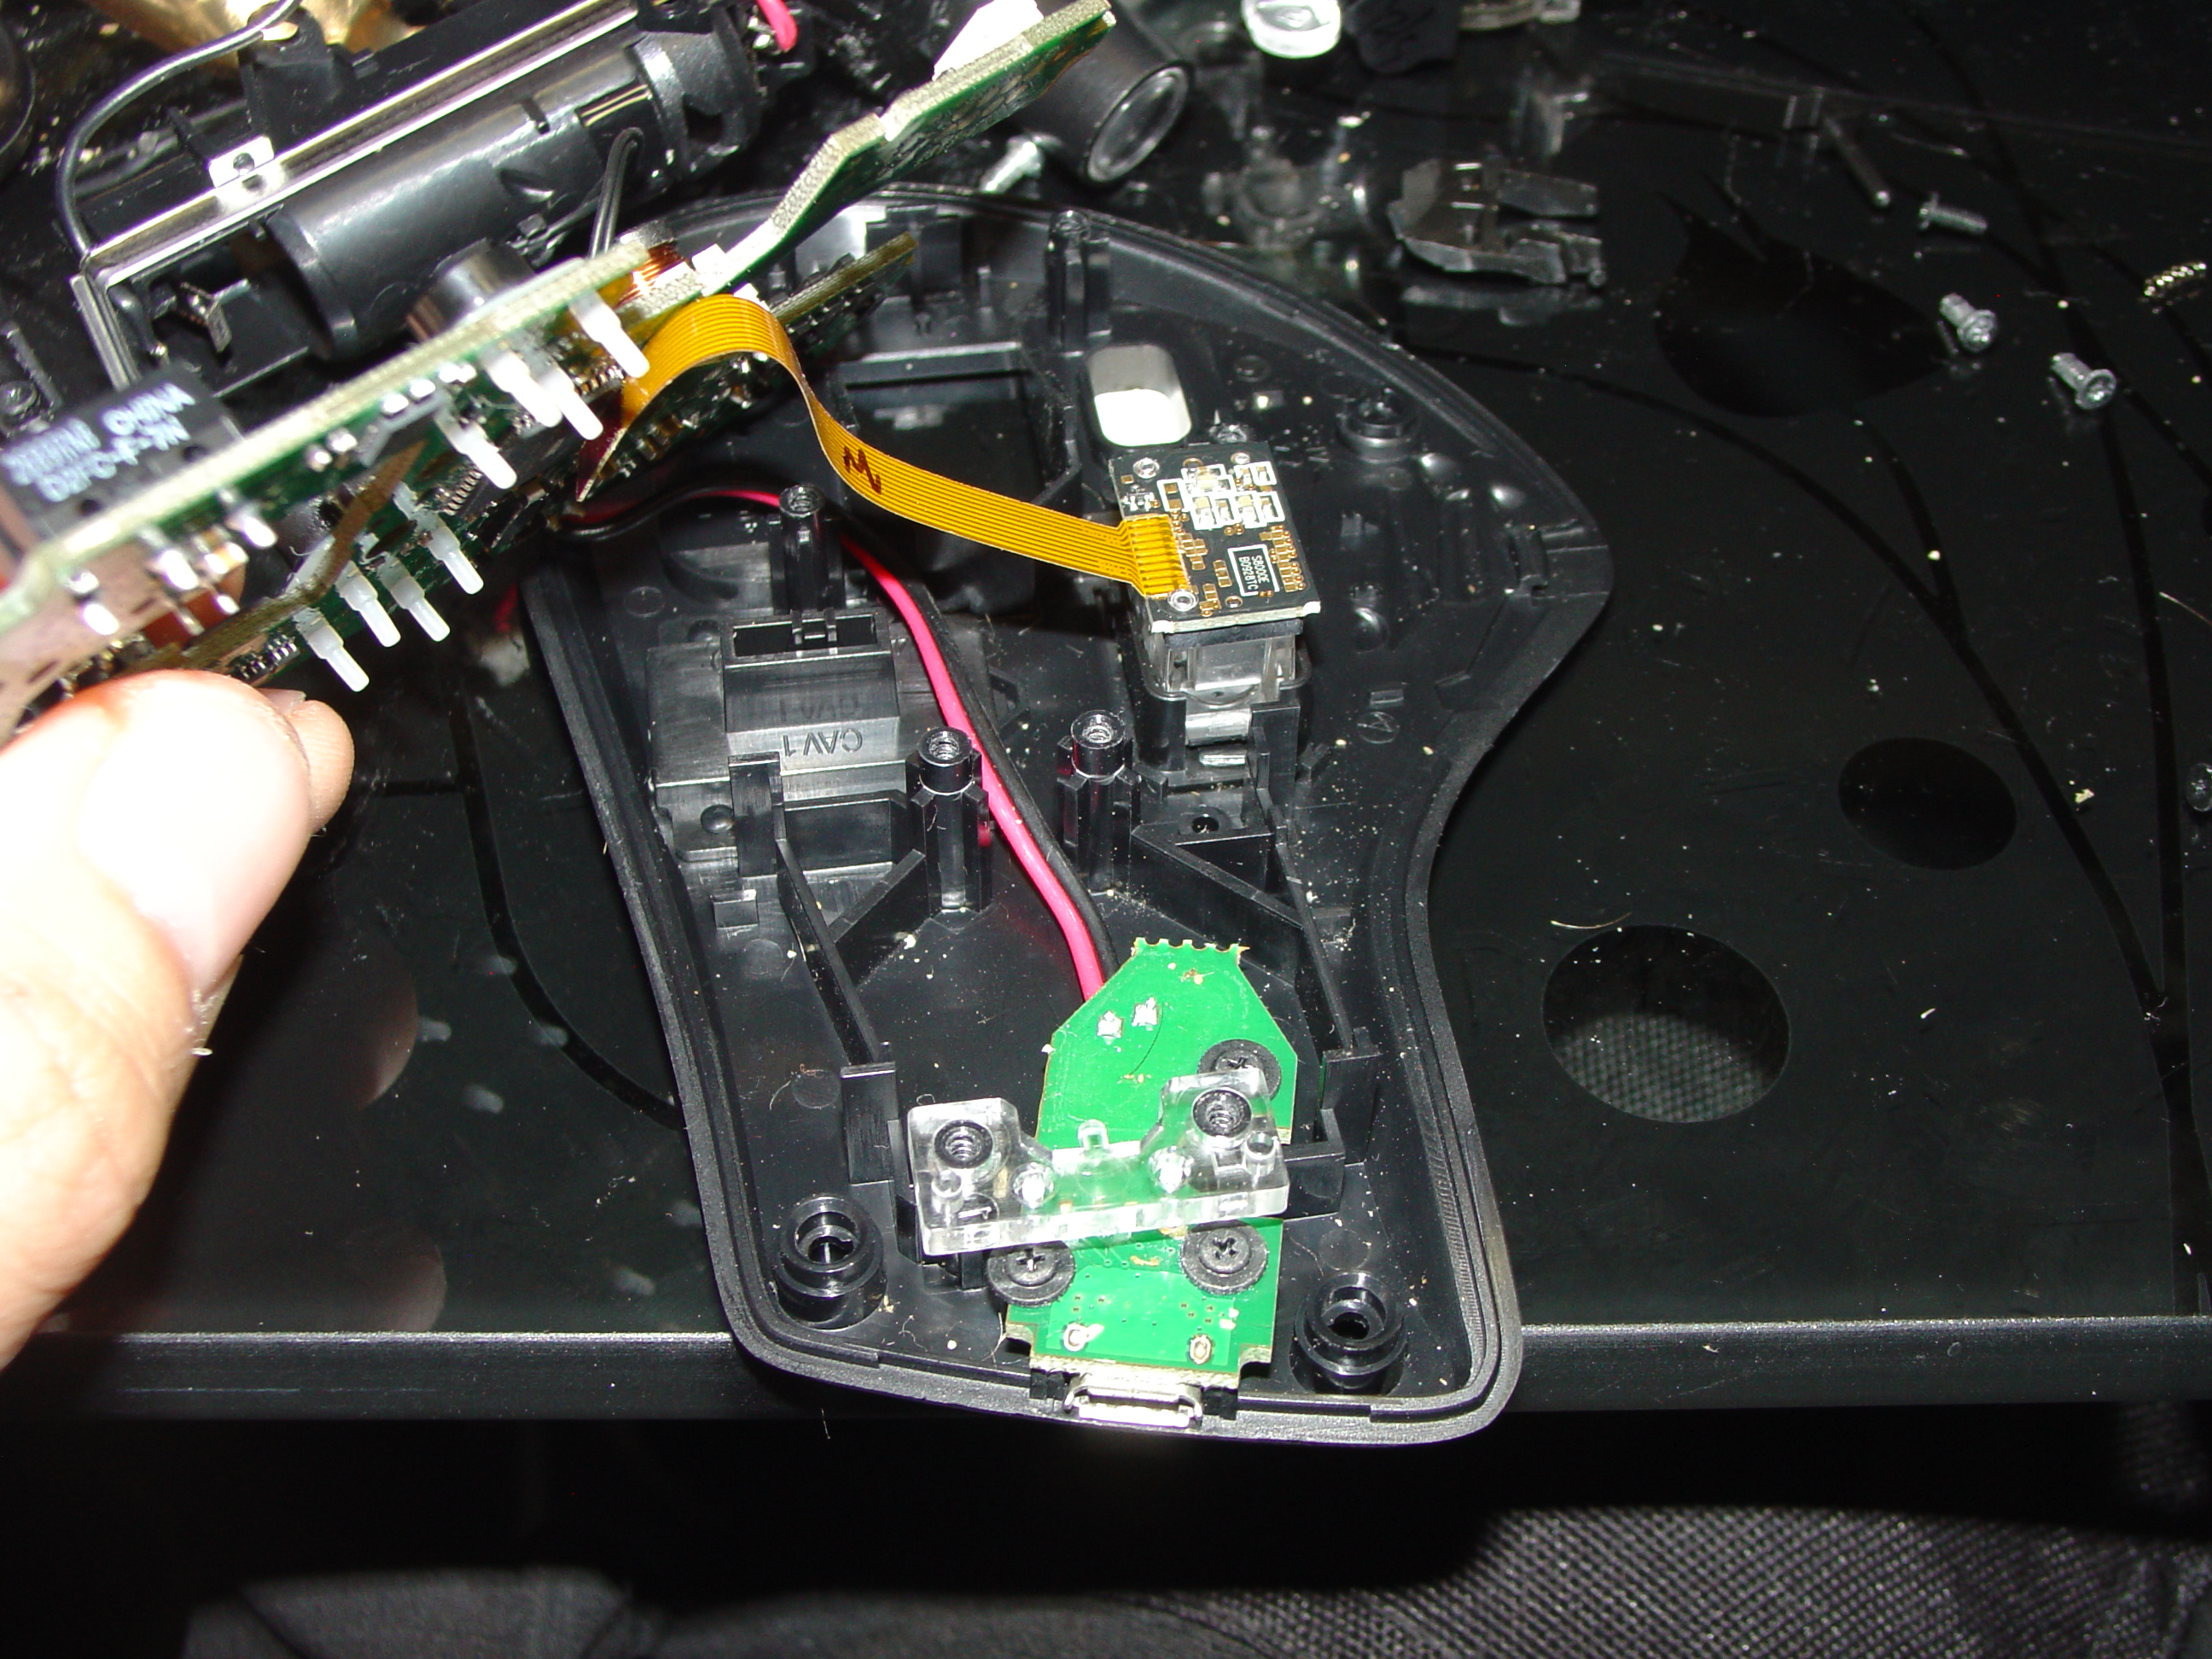
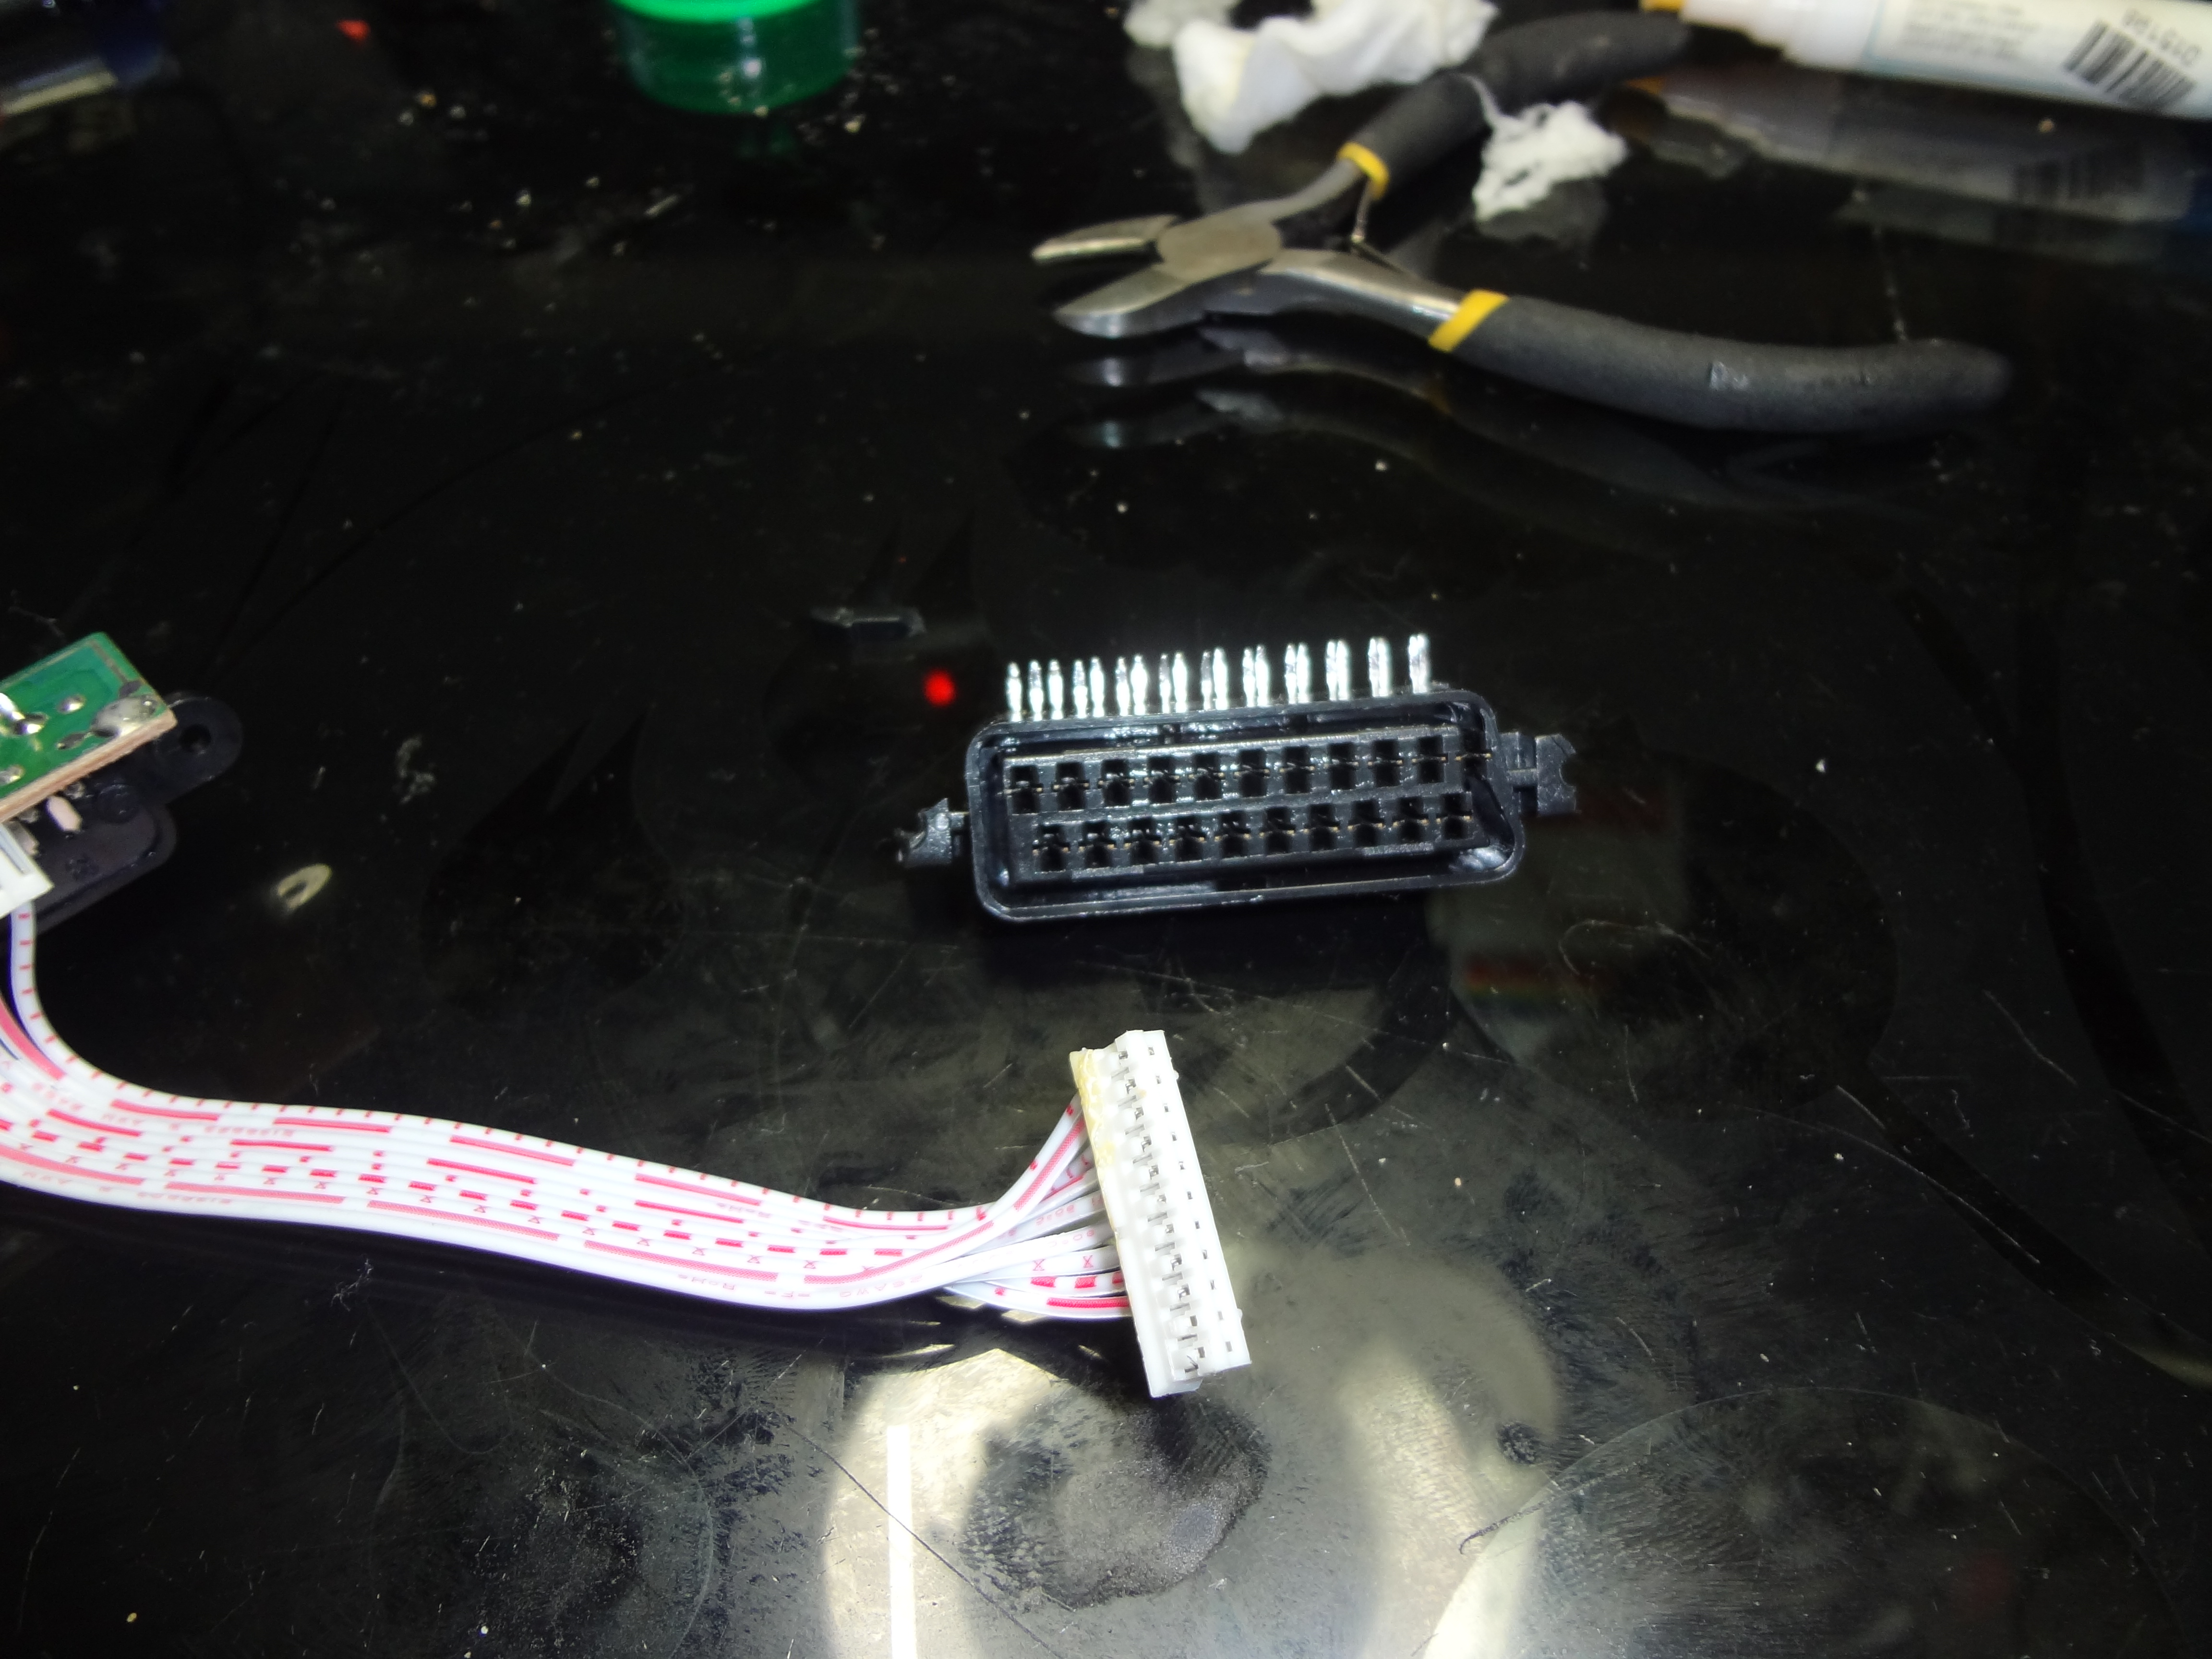
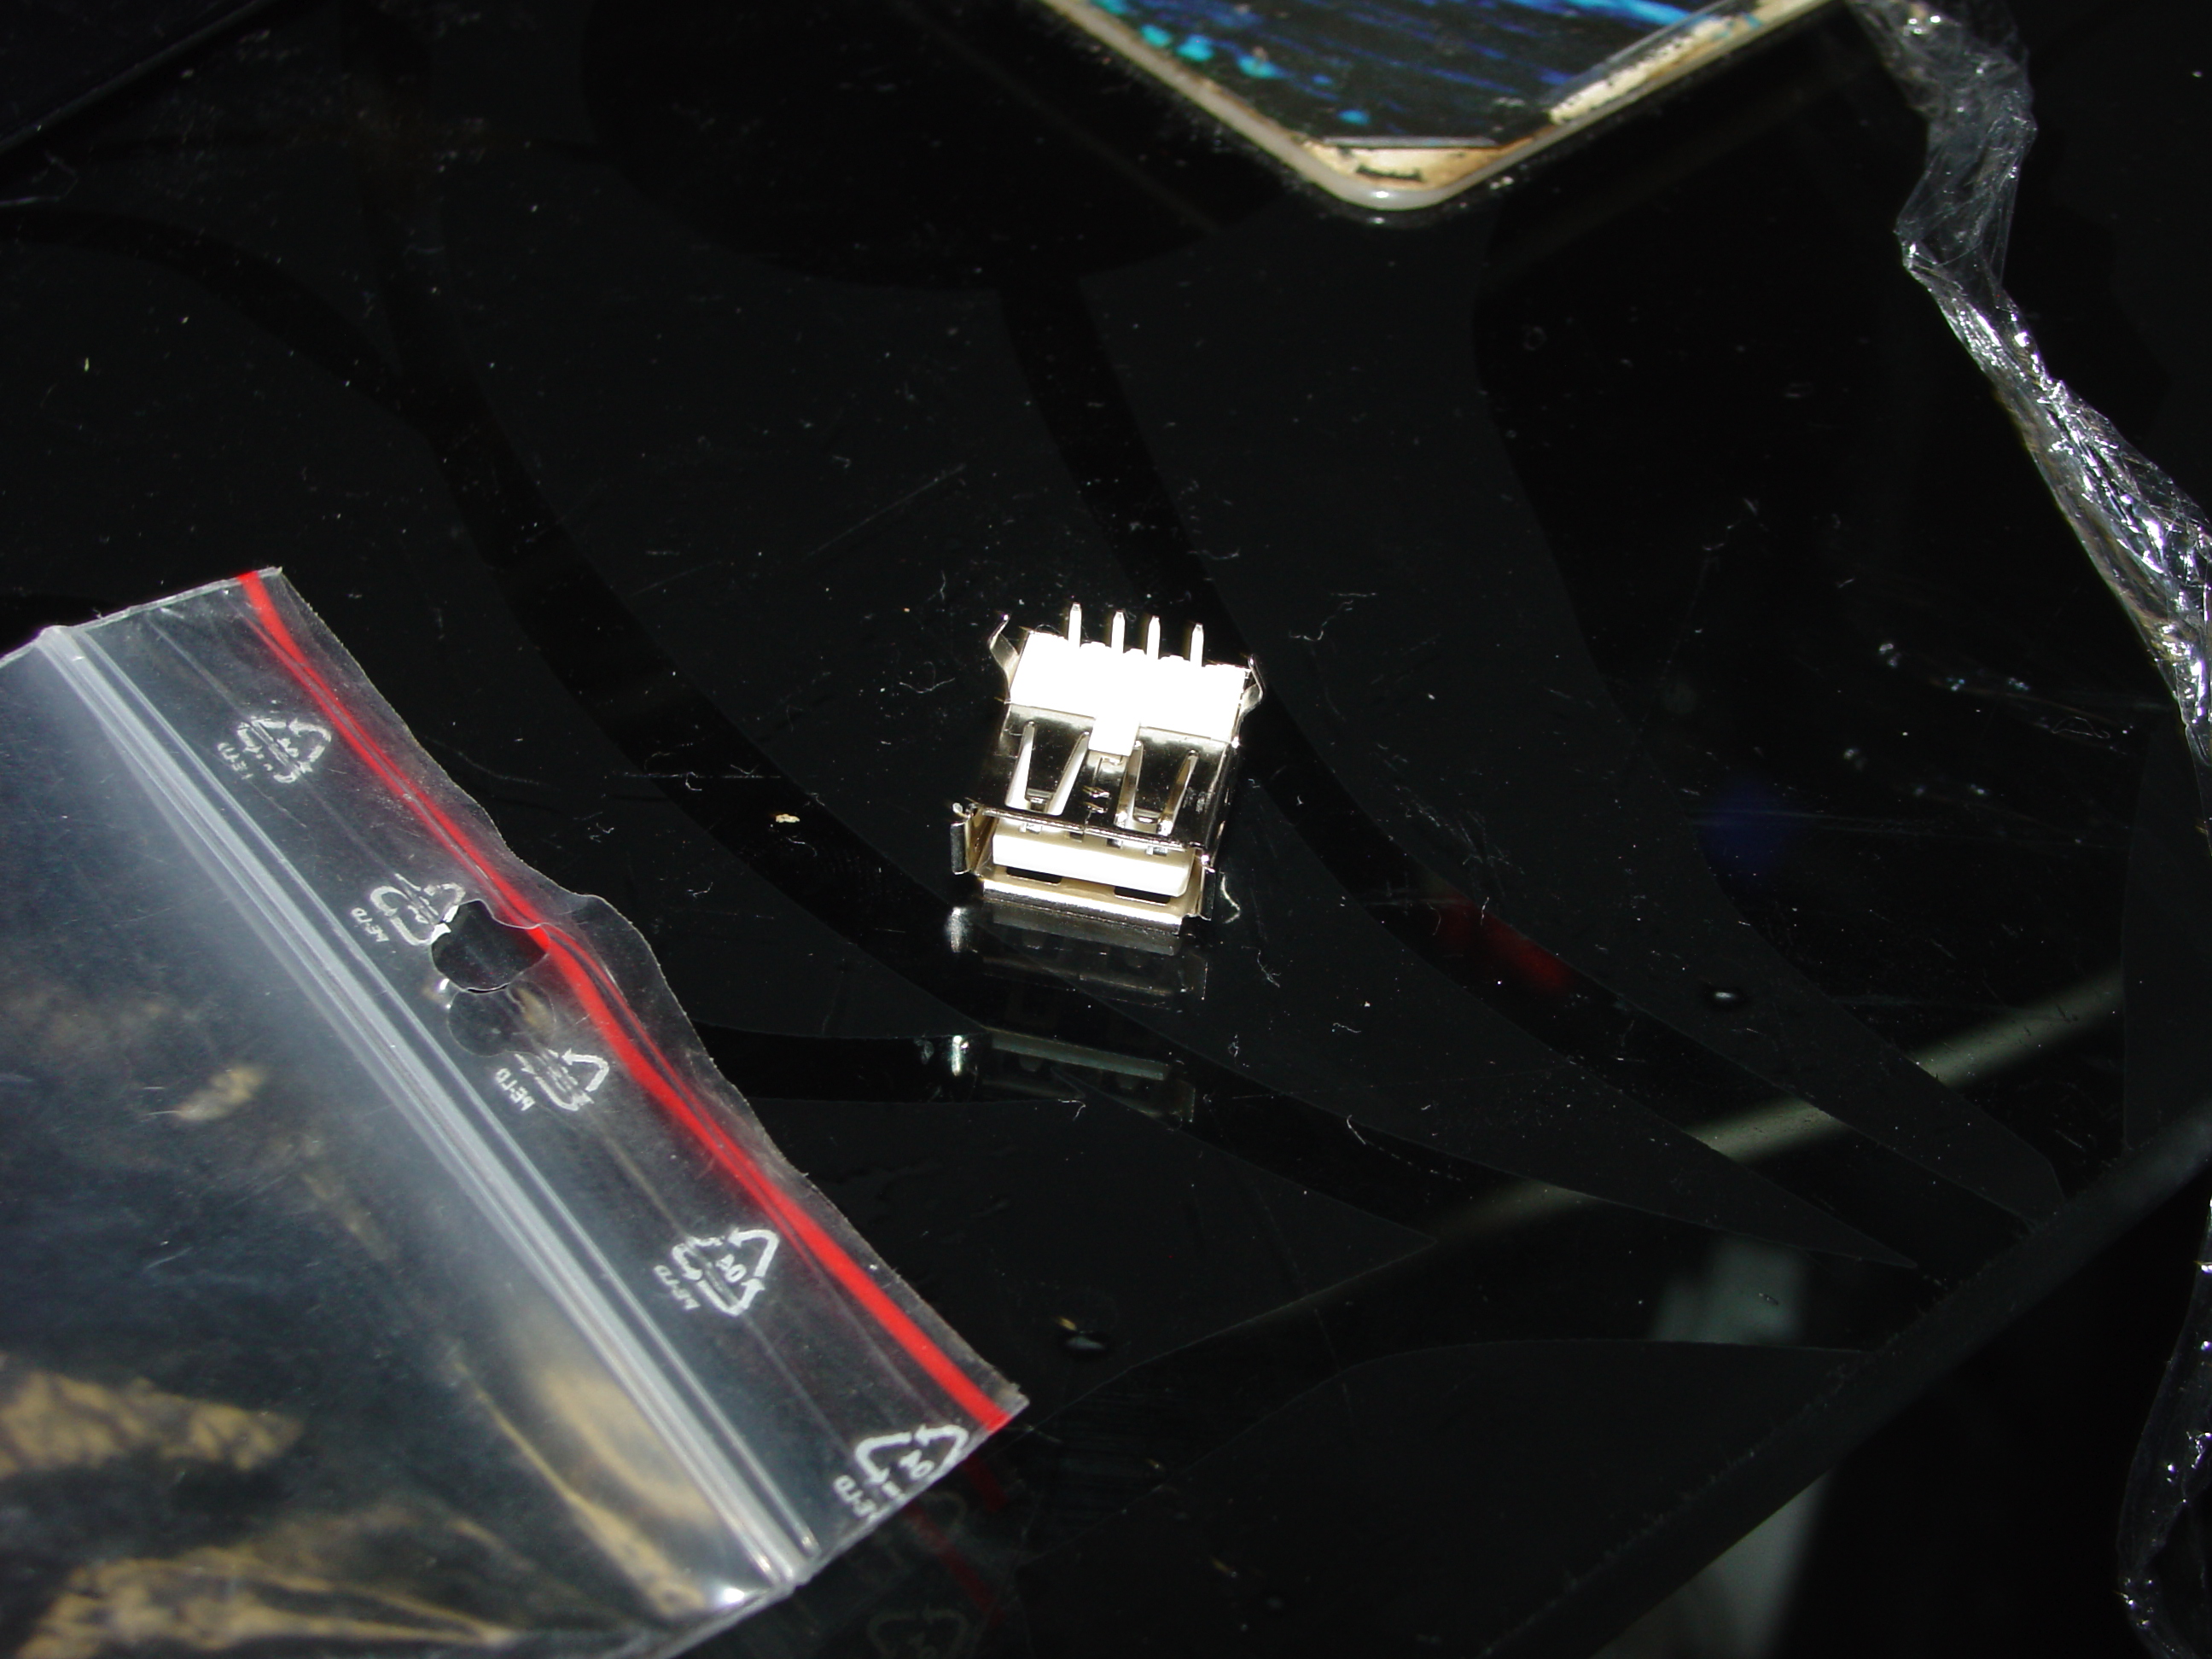
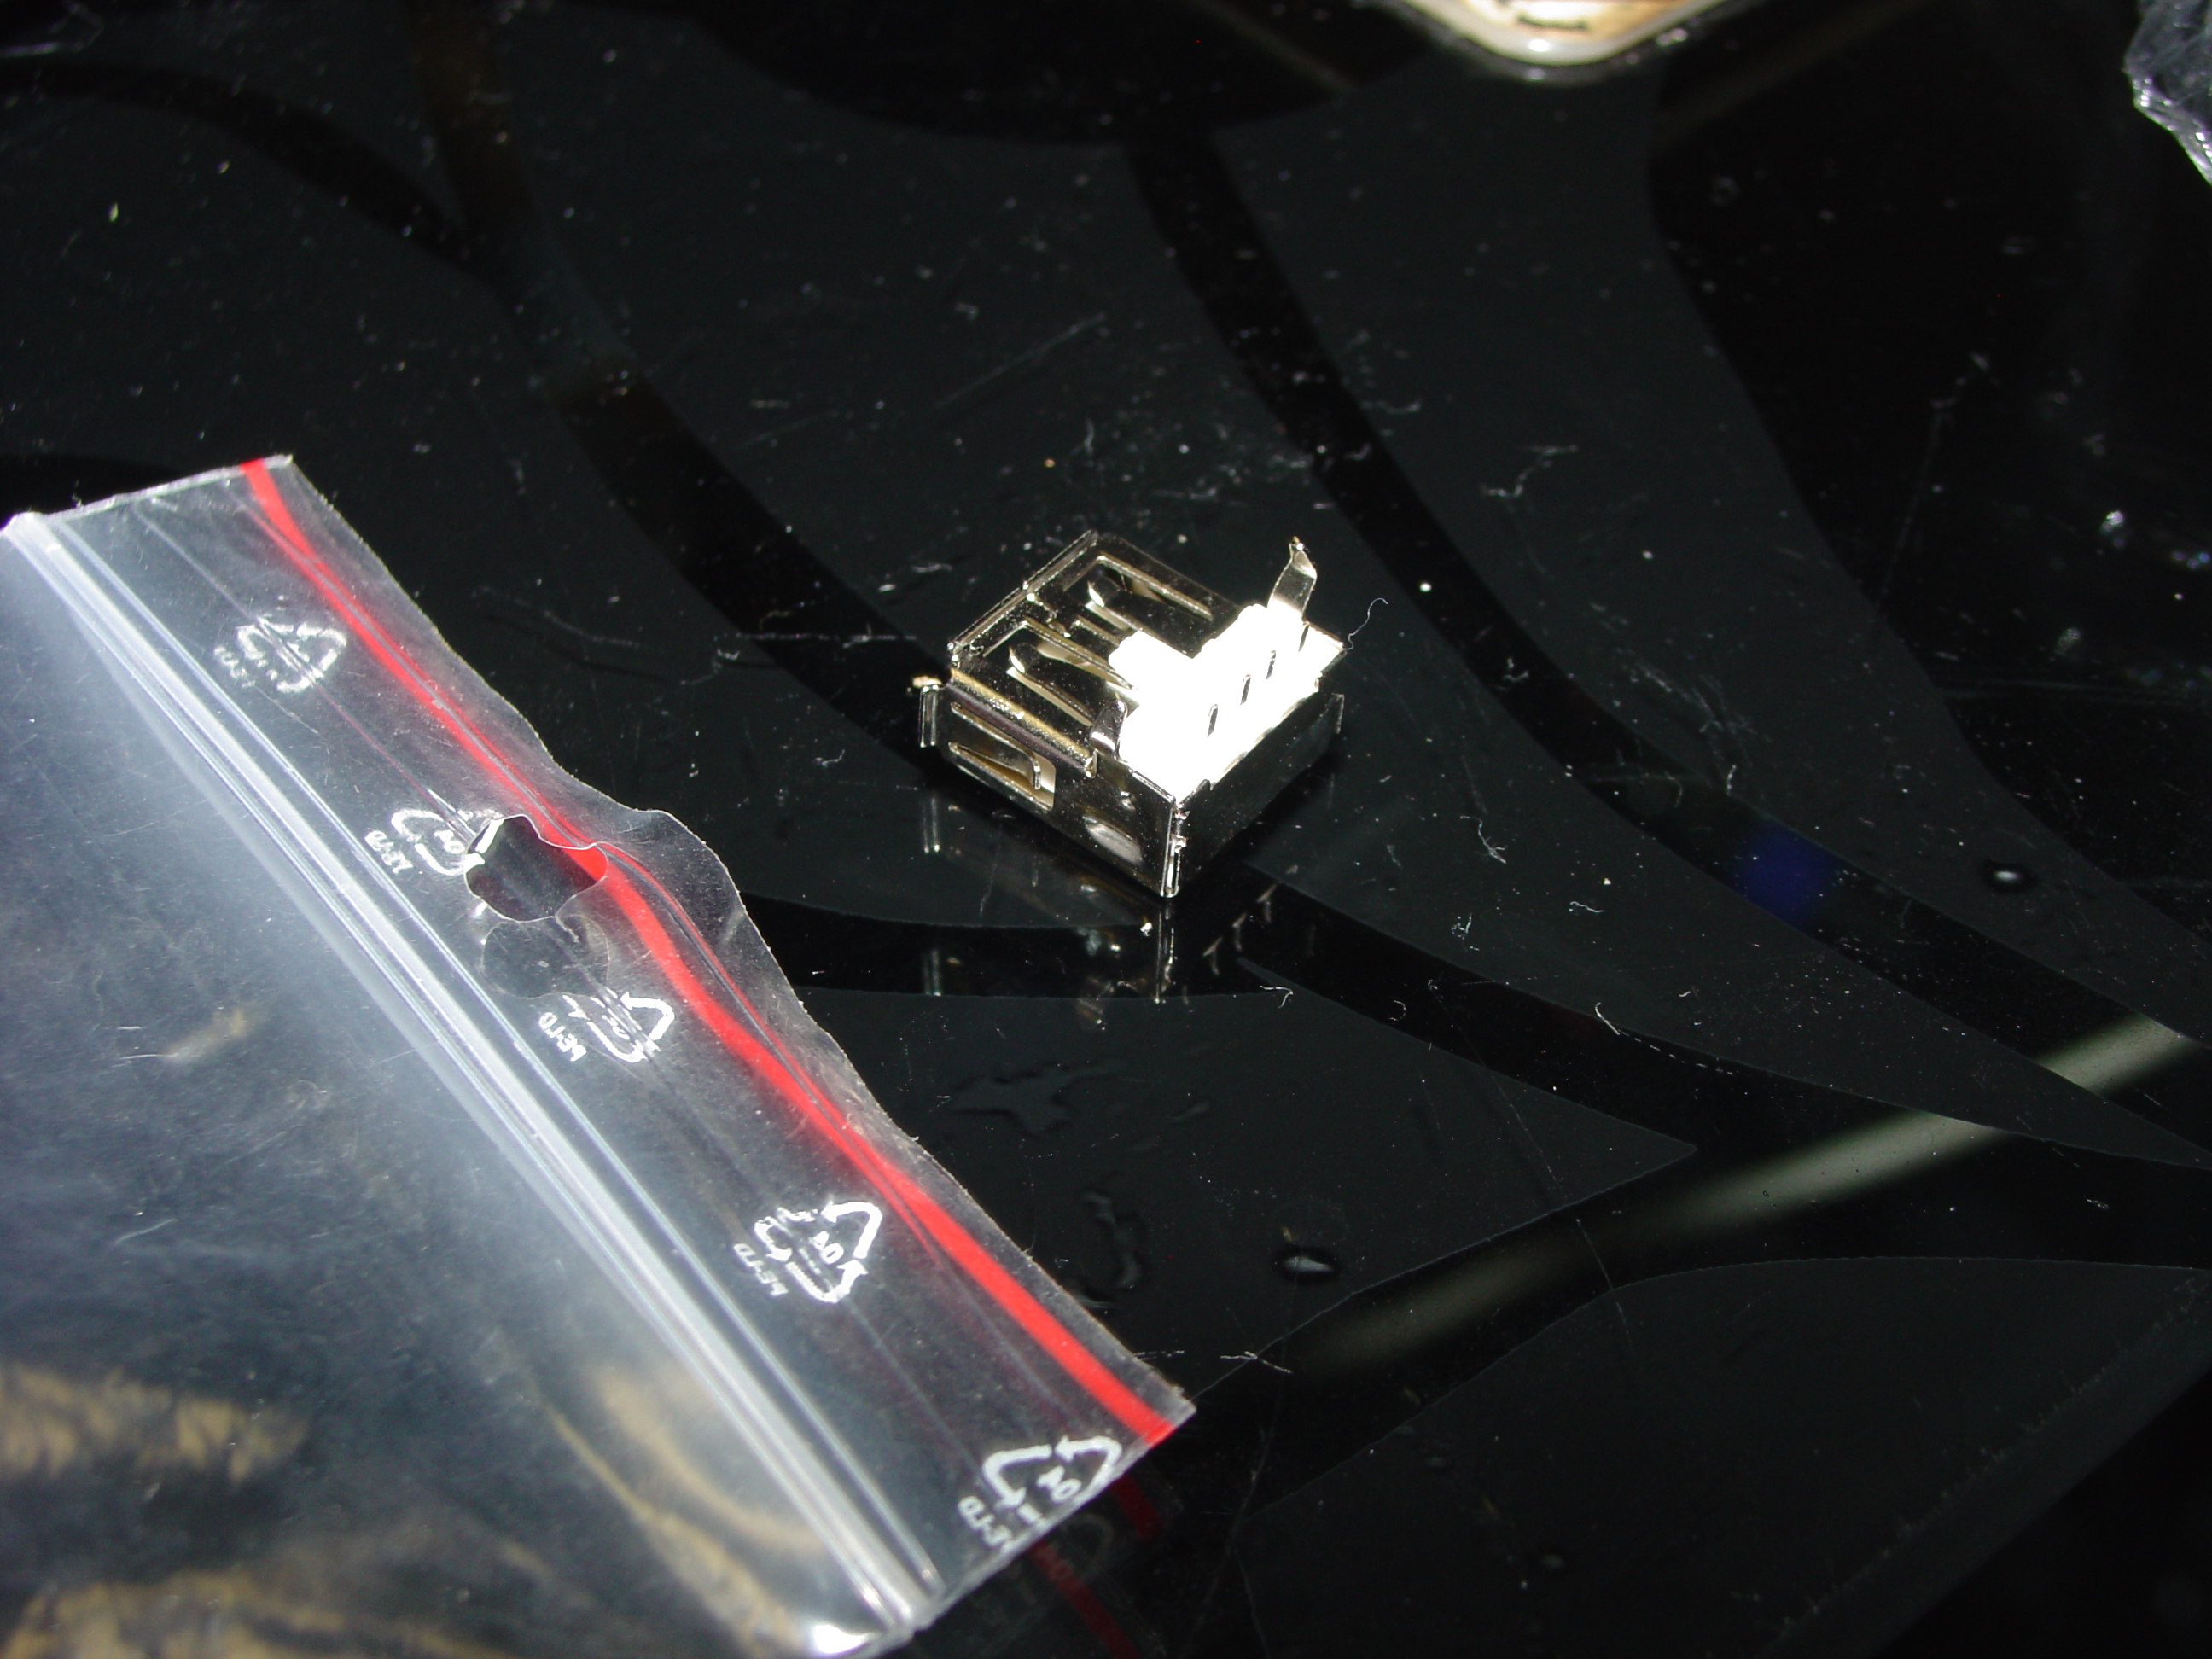
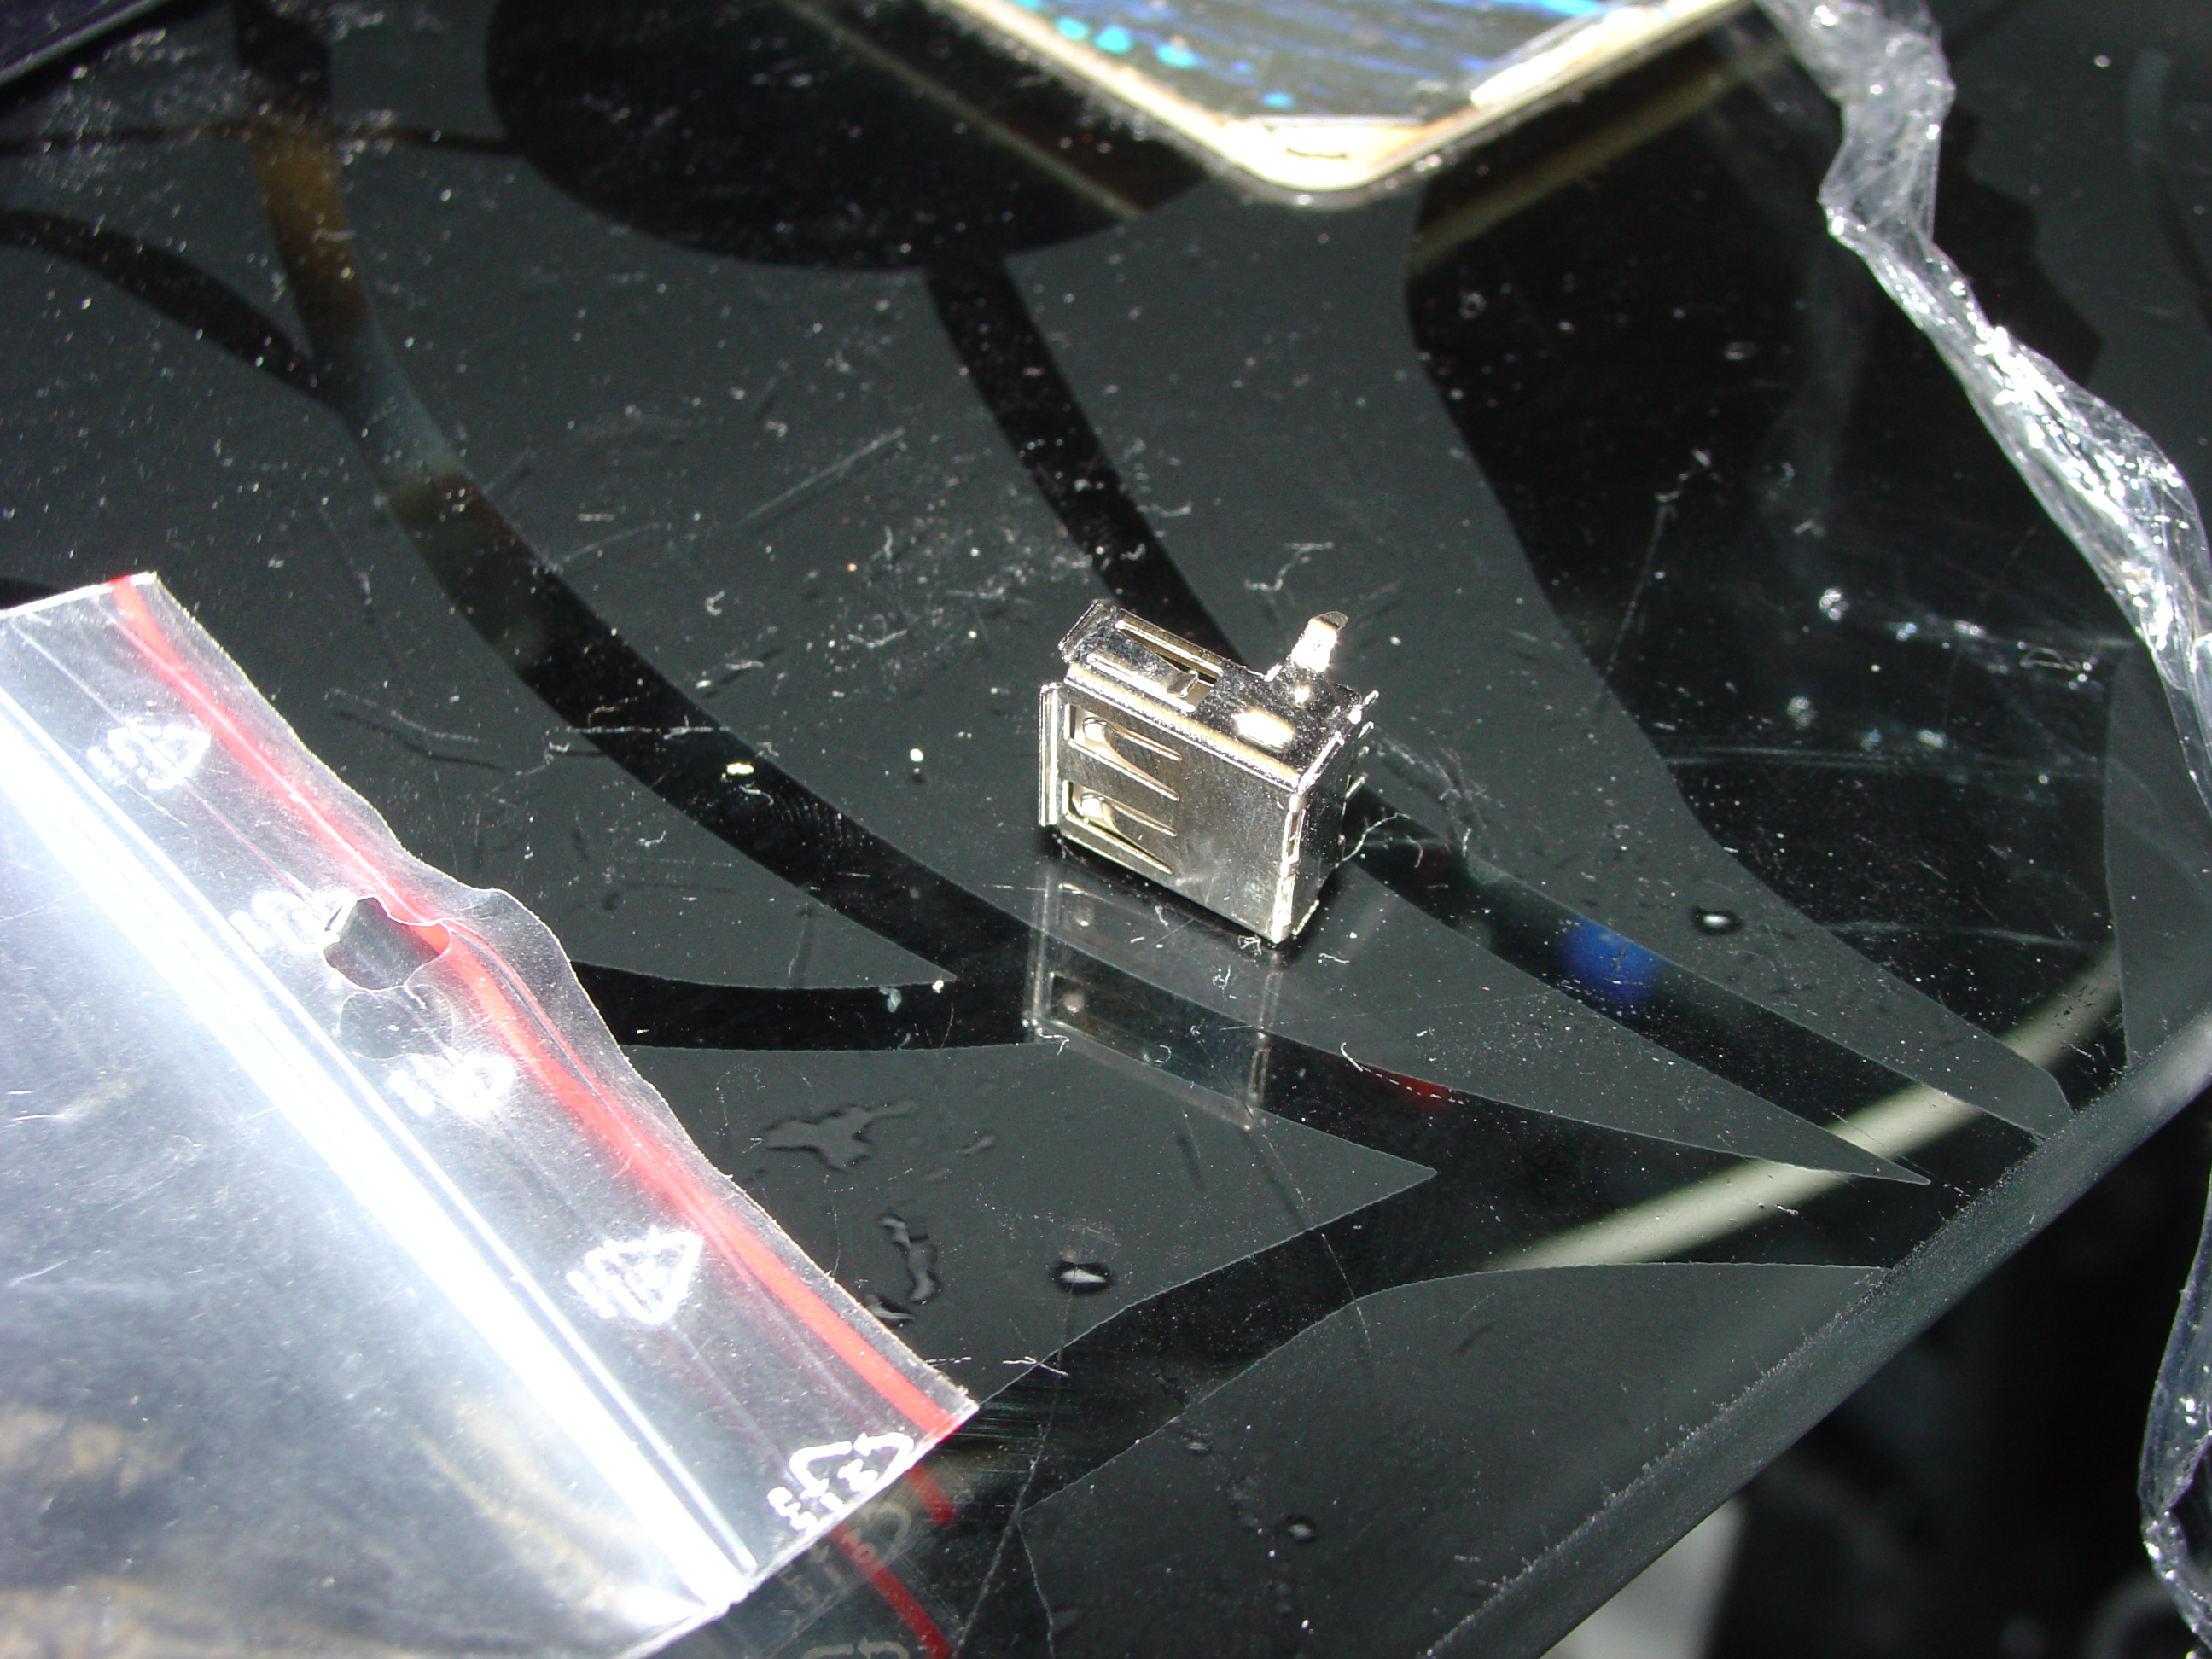
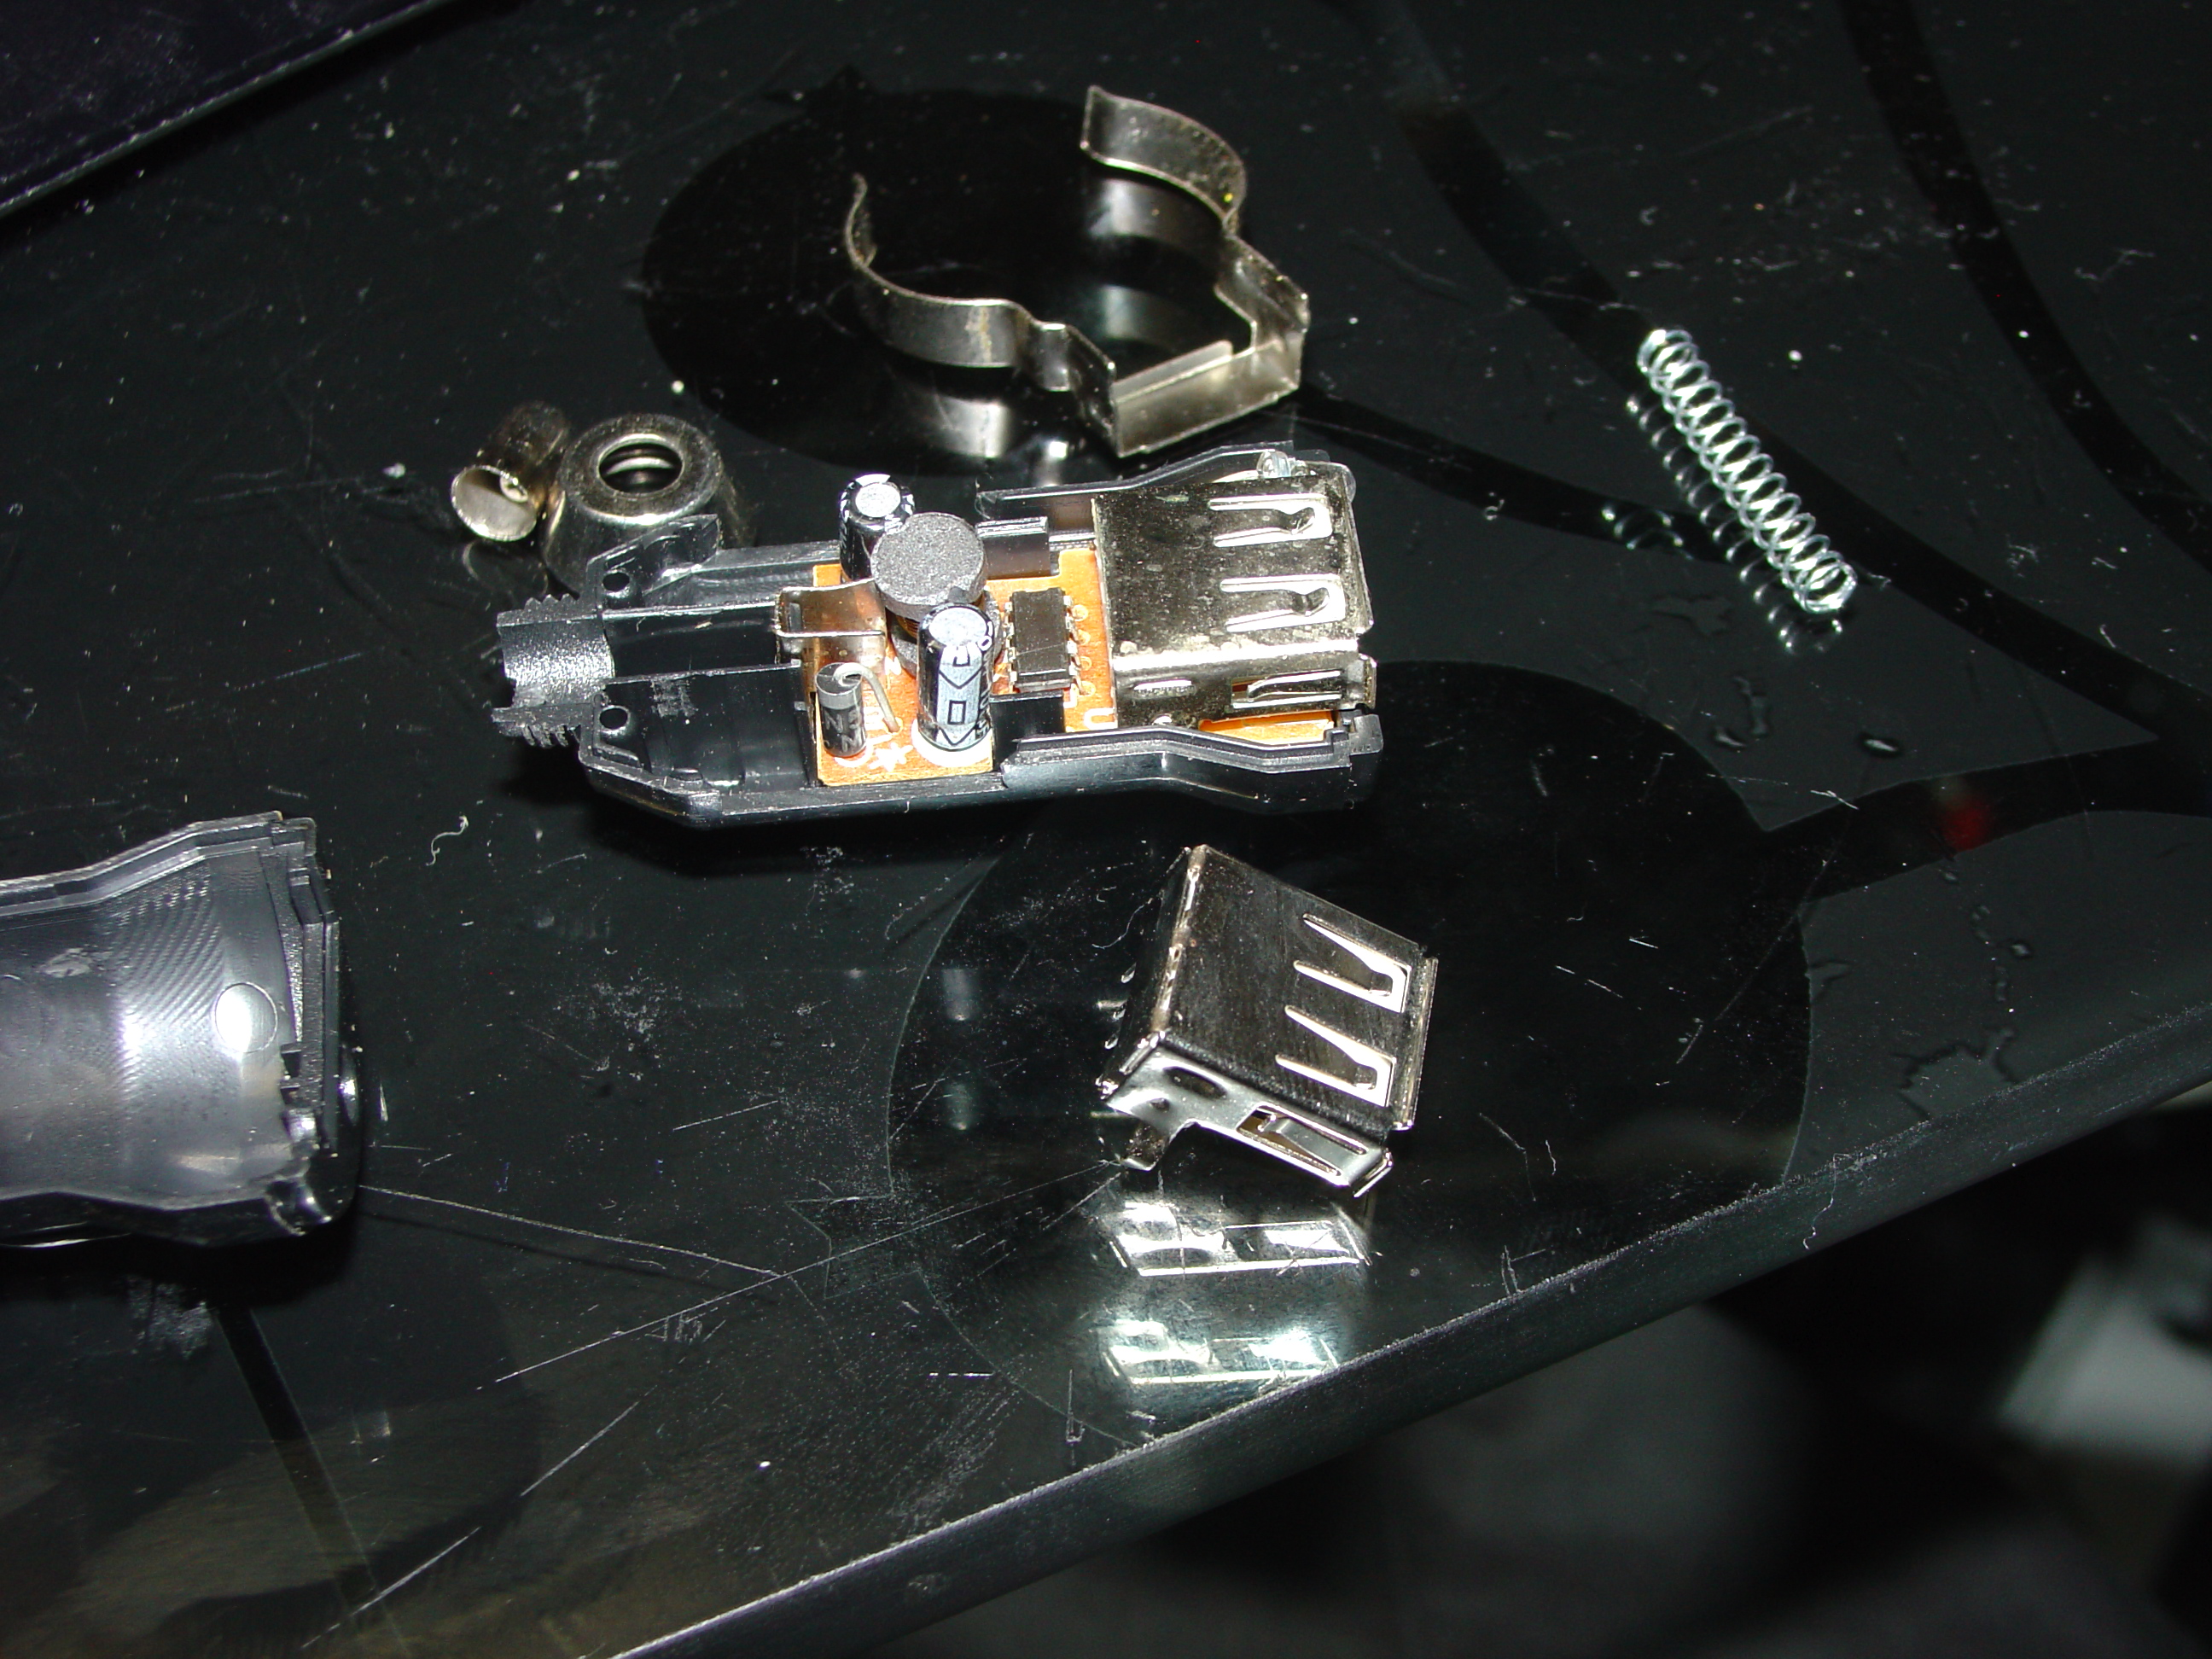
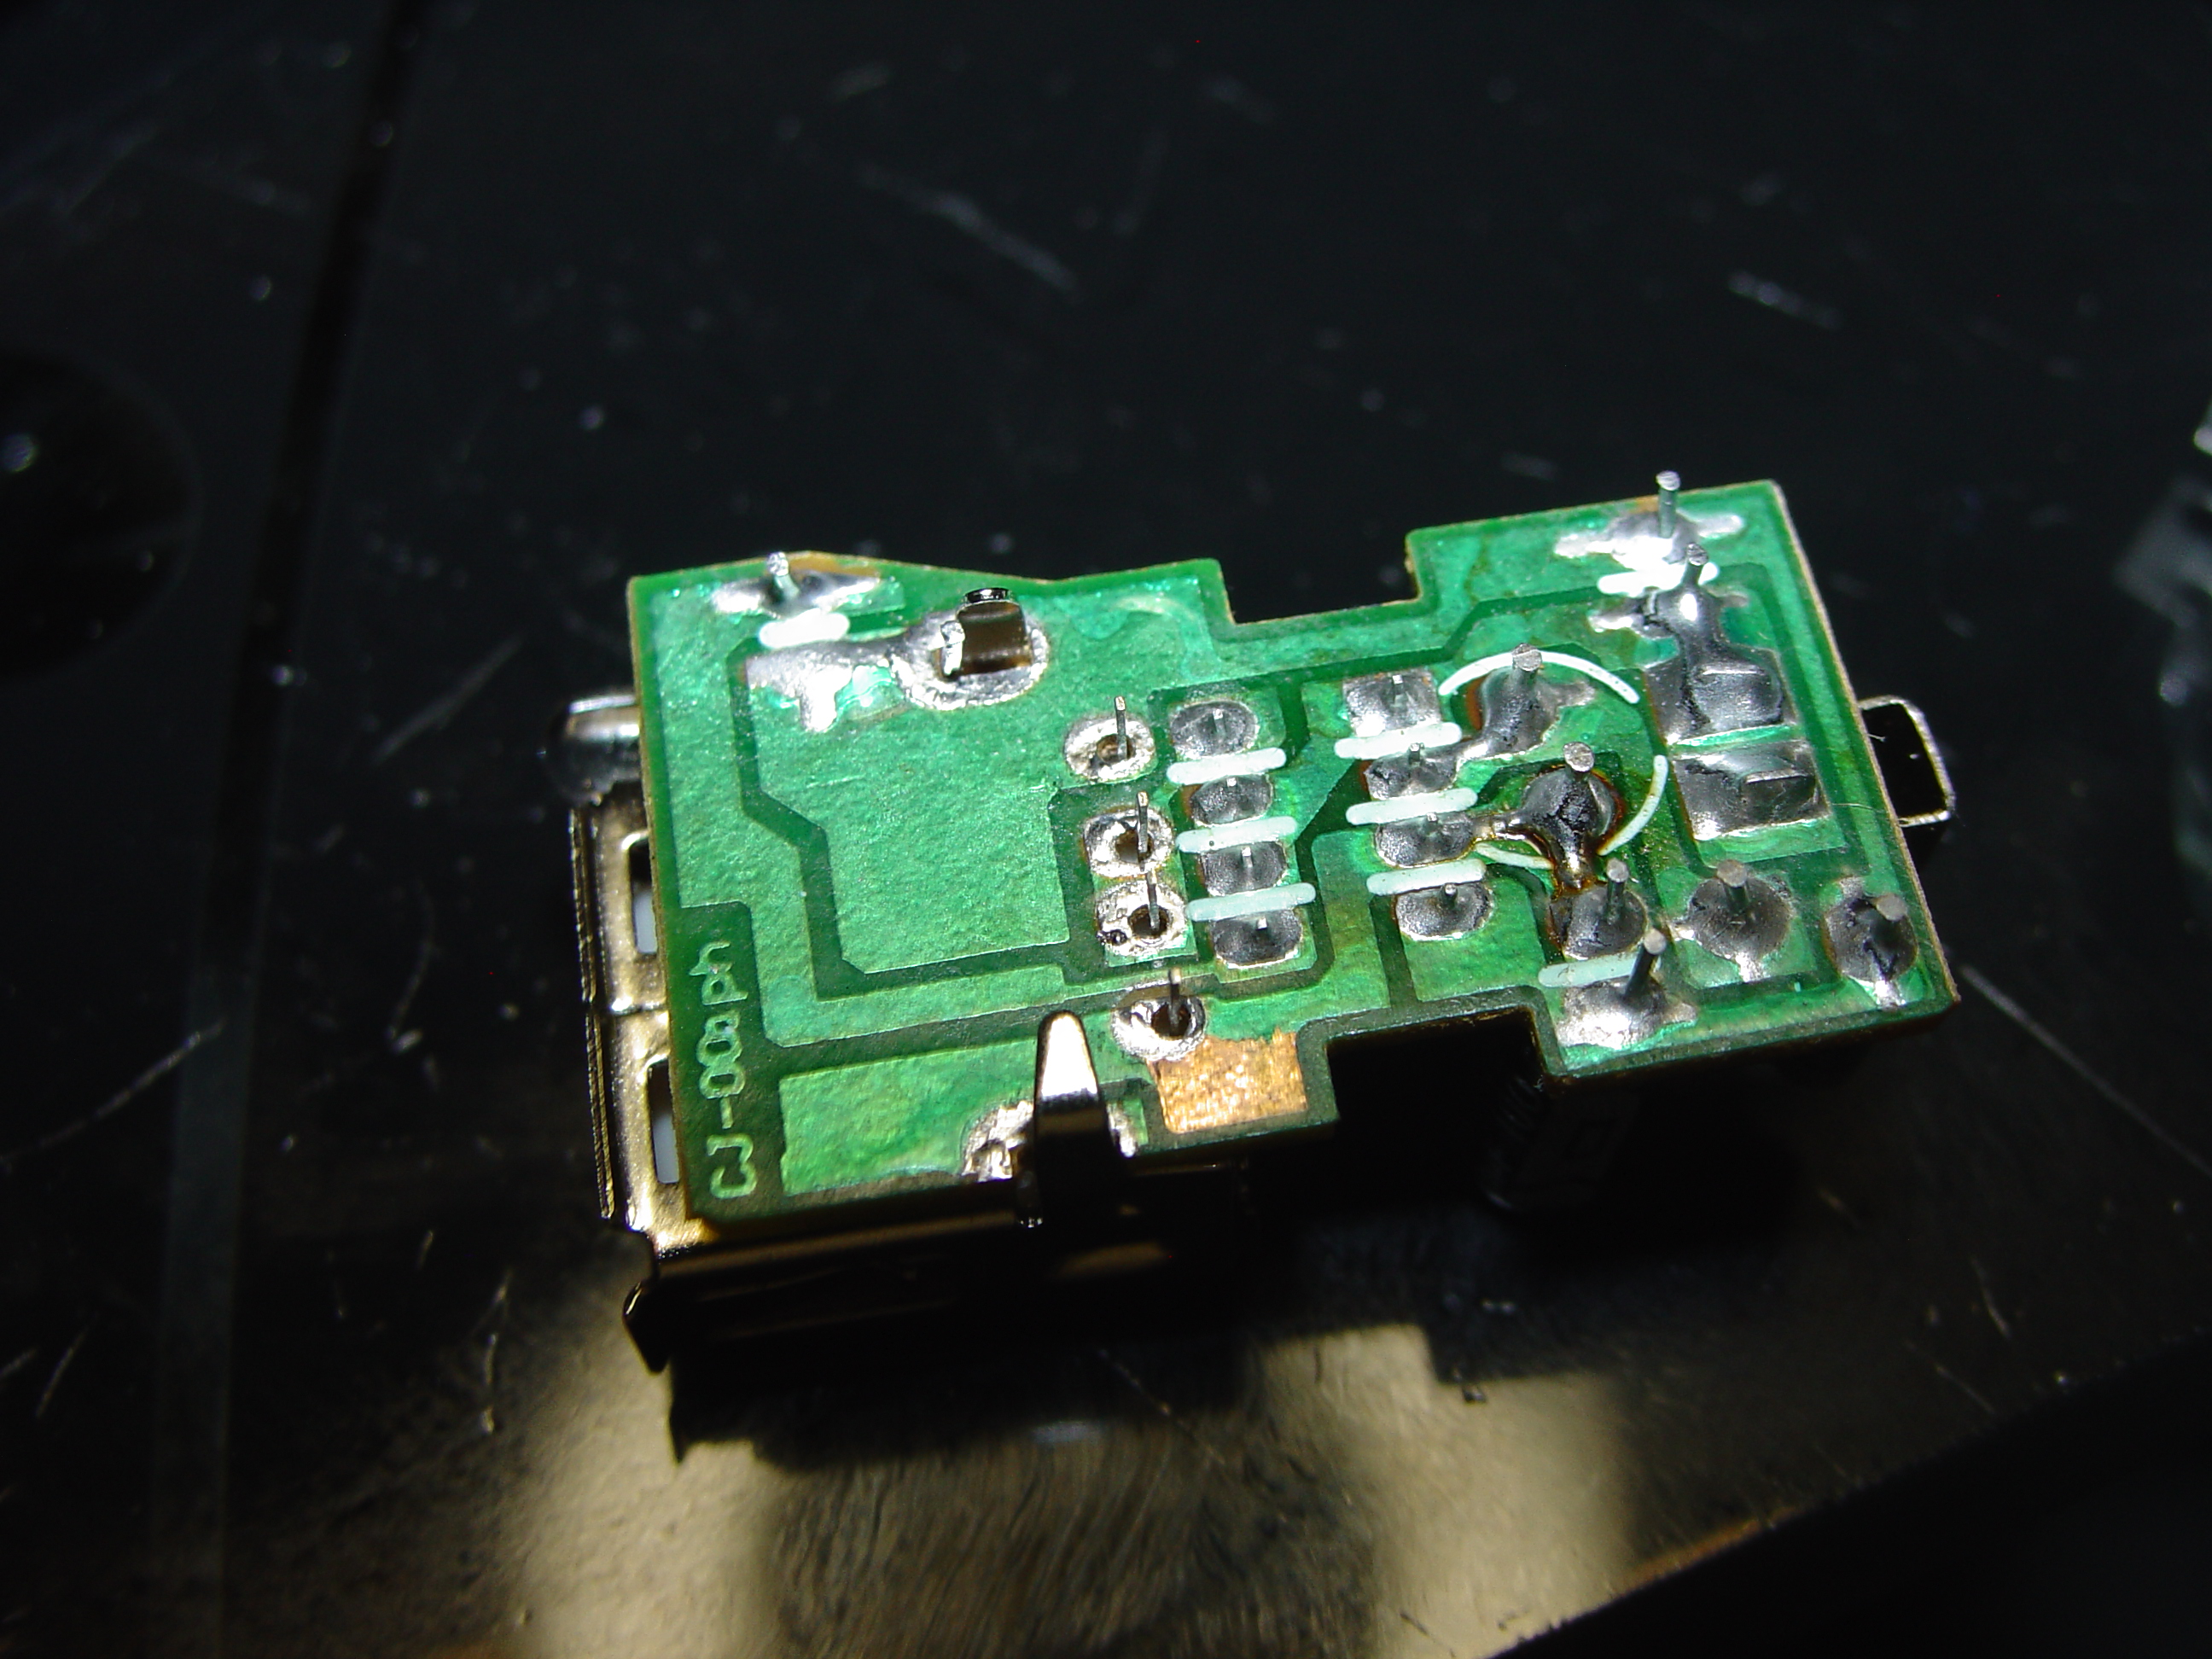
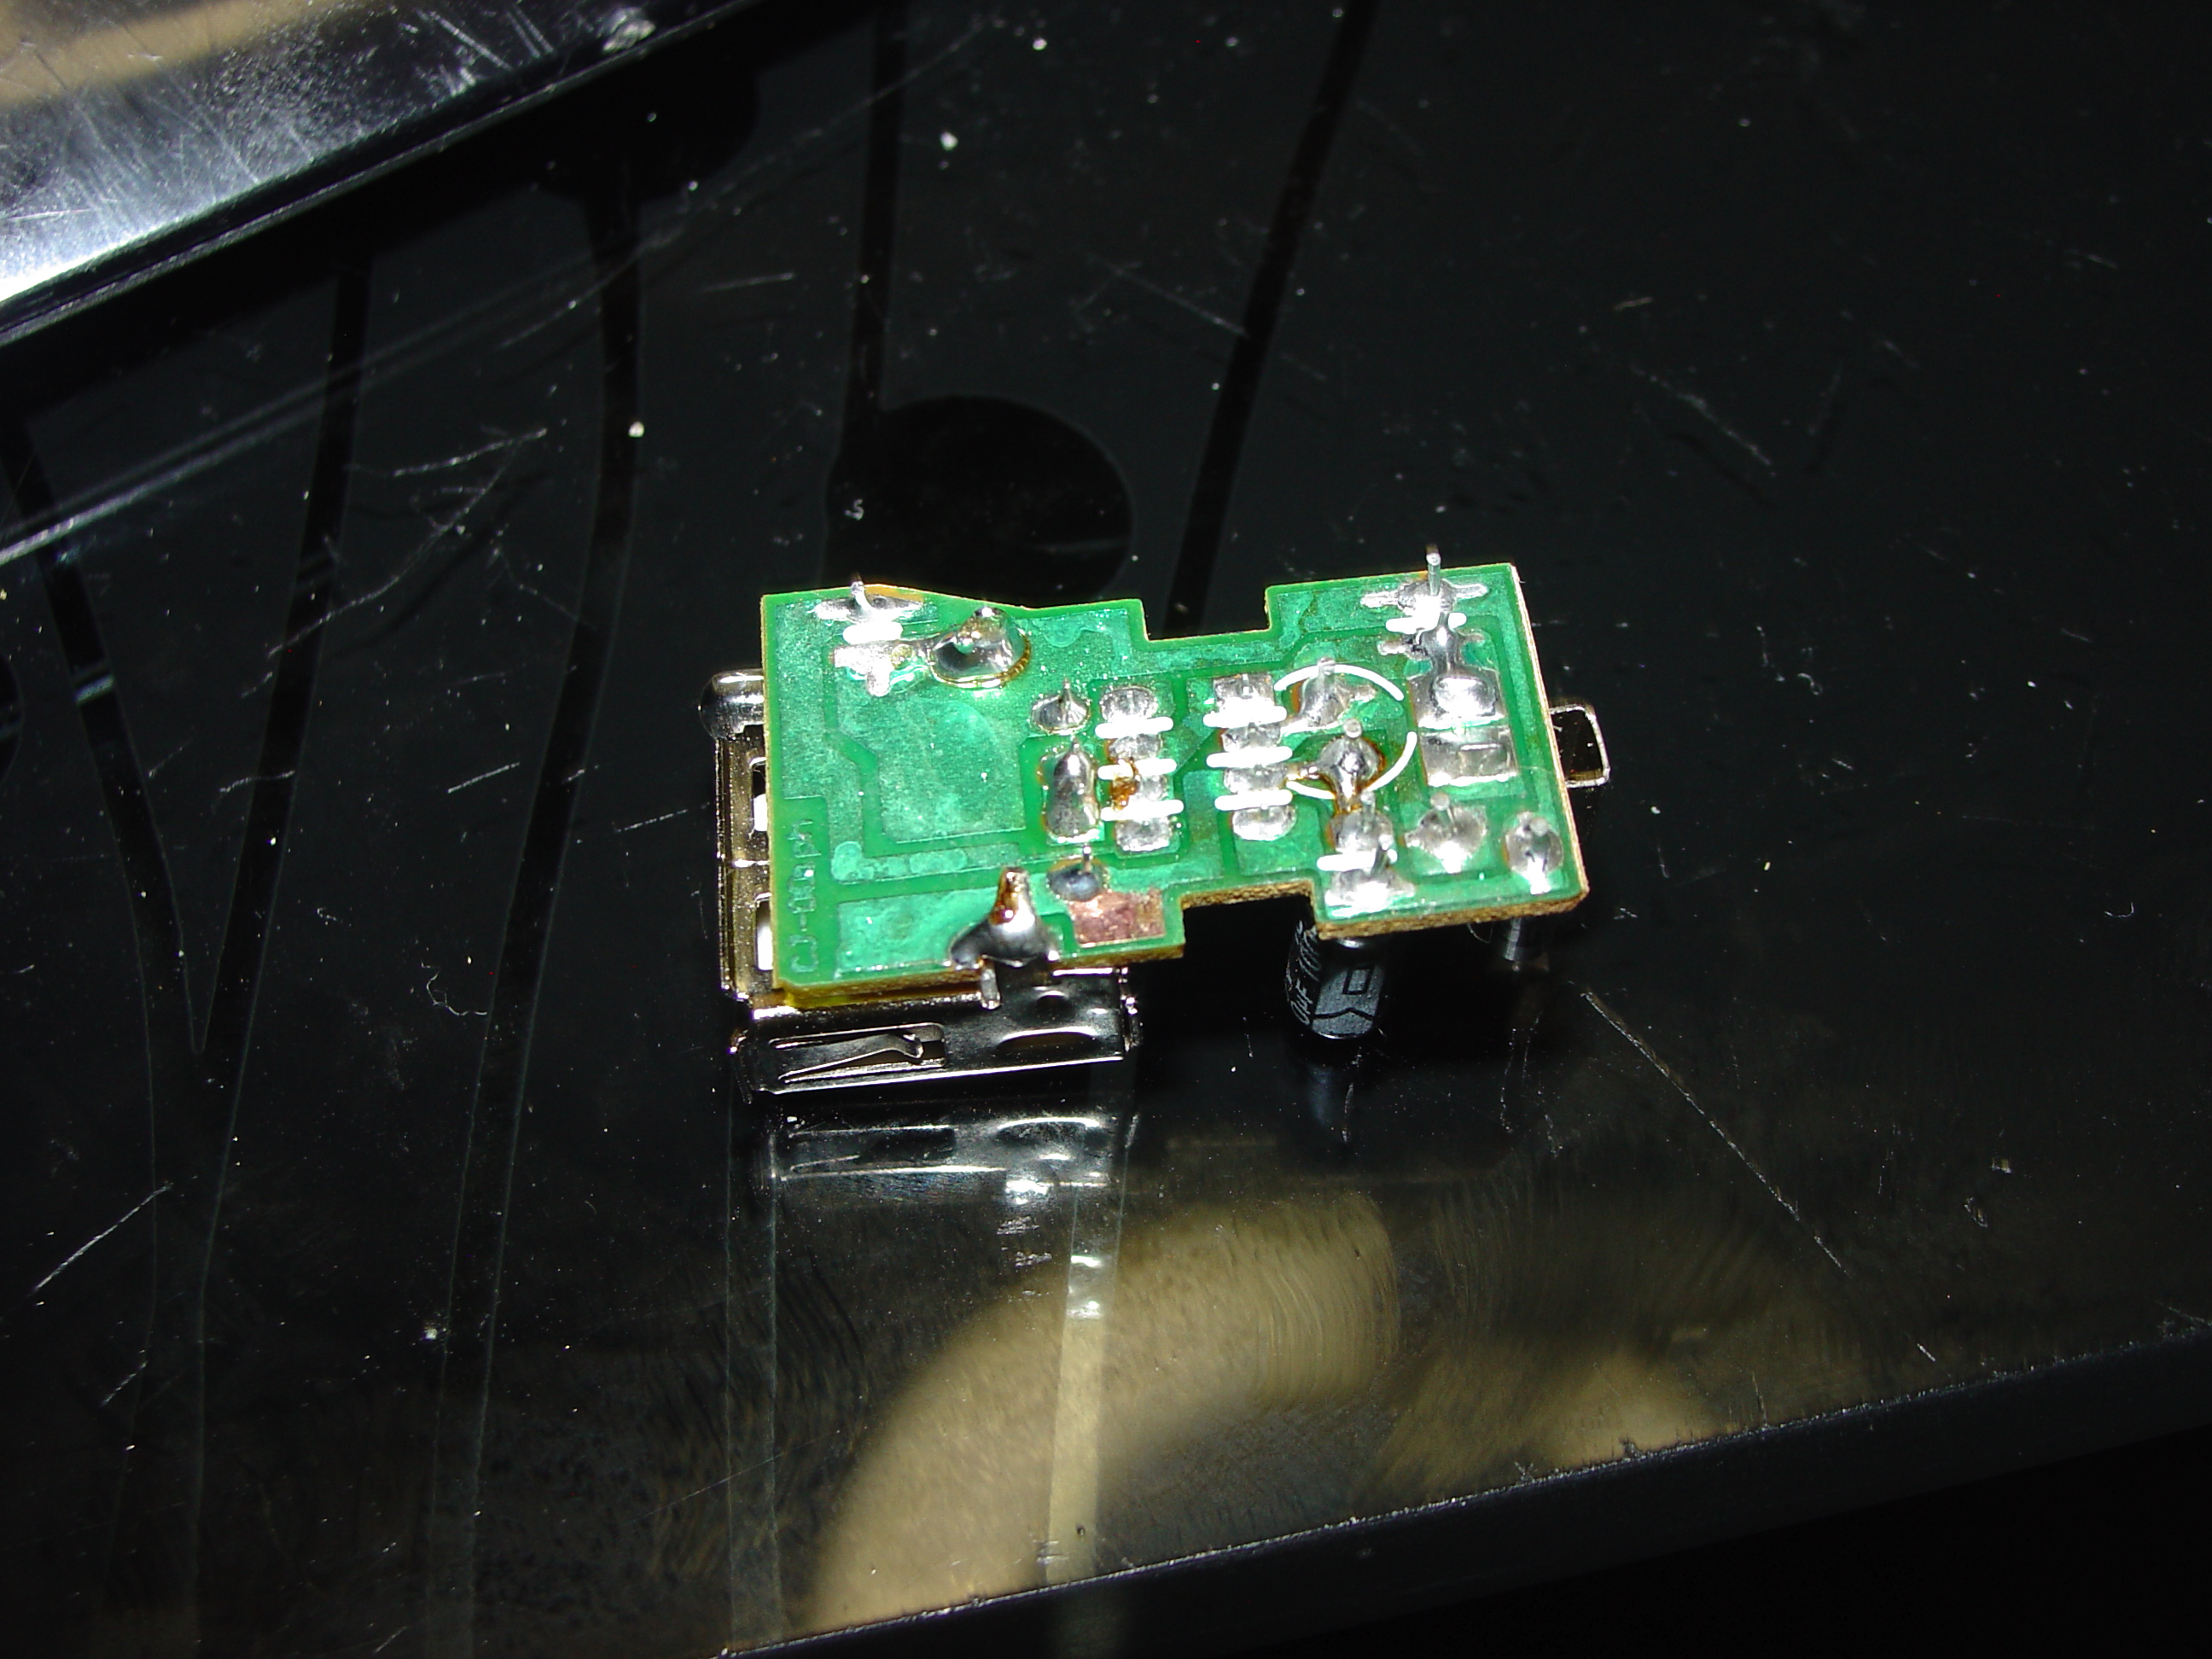
Here are pictures from repair. You can spot “shorted” diode on meter (i measure working for contrast).


Cordless Philips phone, not working / hard working keys ?

Do You have cordless phone (or tv remote) with few not working keys? or maybe You have buttons to press very hard to get them working? Let’s fix it now before You get crazy and smash your device :-).

In this example You need Alcohol (isopropyl) min 99,5% pure (to not leave any pollution after drying) DO NOT USE SALICYLIC ALCOHOL it will leave white “powder” – salycil!

Cotton pads

Pry tool and screwdriver


I have opened my phone and clean PCB contact’s witch alcohol, next i clean rubber (carbon) contacts pads.

After cleaning i put all back together.

As You can see all keys working perfect.

Fixing Logitech mouse “double click” issue ?

Hello, ElectronicNoobBlog viewers!

Today i’v got for You pictures from fixing my Logitech MX mouse.

So at first thing, Logitech MX is really really great and i won’t change it for any other mouse!.

Recently i start having problems with “double click” issue, sometimes when i press LMB its start selecting text, so when i want click at something it’s selecting text…  it’s start to be very annoying so i decide to fix it 🙂

I was suspecting what’s problem, so i grab a similar “cheap” also Logitech mouse for spare parts, they have same type of “switches” made by OMRON. I found there is way to buy on ebay from china only same switches but if i have broken mouse for parts so why spend money if i can grab one from free.

Here are pictures from operation, removing from old mouse and soldering back into MX mouse. I also do a “hot steam” cleanup of  “roller” module, and now mouse looks and work as new one. Some pictures might look stupid, but i made them to make sure i’ll be able to look at them and put my mouse back together in case i forgot something.

I don’t post any tutorial, i was doing this first time in my life. To open mouse i use only my common sense 🙂


Fixing my Sony DSC WX9 (broken screen)

Recently I got (from Hong Kong) replacement for my Sony DSC WX9 display (LCD) because original get’s cracked.  Look, they put “Sony” logo at frame , it Look’s like original!

Here are some pictures form repair ( I don’t record video because that was my camera witch i’m using for make video:) second it was my first time when i was doing lcd replacement in digital camera so it took long  and i was using only my common sense. So there are no educational point in looking at me trying to open it :). But as You can see  i done it successful-y :>

DSC08590 DSC08591 DSC08592 DSC08593 DSC08594 DSC08595 DSC08596 DSC08597 DSC08598 DSC08599 DSC08600 DSC08601 DSC08602 DSC08603 DSC08604 DSC08606 DSC08607 DSC08608 DSC08609 DSC08610 DSC08611 DSC08612 DSC08613


Working perfect!

Replace SCART socket on PCB using Desoldering station ZD-915

Yesterday i had to replace SCART socket soldered to PCB.

That many pins looks very creepy to desolder but i’m being lucky and from around half year i’m owner of ZD-915 “china made :)” desoldering station.

I’v got idea to make movie from it, to let You guys see how useful this device is in real situation.

I could do this faster, but camera on tripod was blocking my movement 🙂


Some pictures

DSC00440 DSC00441 DSC00443 DSC00447 DSC00448 DSC00450

Fixing USB socket in cheap china USB Cigarette light charger 1A JN121 is it worth it?

About month ago i found that my car cigarette lighter USB charger stop working…

After investigation and measuring voltages on output i found that problem is not in charger circuitry but in USB socket itself.


That charger was worth about 1 USD…  but is it worth to repair?

I open charger, and check ebay (china sellers) to found same type USB socket.

I found 🙂 1 USD / 10 pcs with shipping included! I bought and pack all charger parts into ziploc bag for future repair.

After waiting time of 1 month , today my pack of 10 USB sockets arrived and i could start “repair”.

As You can see on last picture, my phone is very happy being charged 🙂

Repair took about 5 minutes

My conclusion:

I could order new one for 1 USD and put old to trash but instead of throwing out this 1 USD i got  10pcs USB sockets. I use one of this and i have 9 left in my “lab” for future experiments and of course working charger. 🙂 As You can see, sometimes it’s worth to fix something cheap 🙂


Warning: Undefined array key 0 in /www/wwwroot/electronicnoobblog.com/wp-content/plugins/wp-google-analytics-scripts/wp-google-analytics-scripts.php on line 602