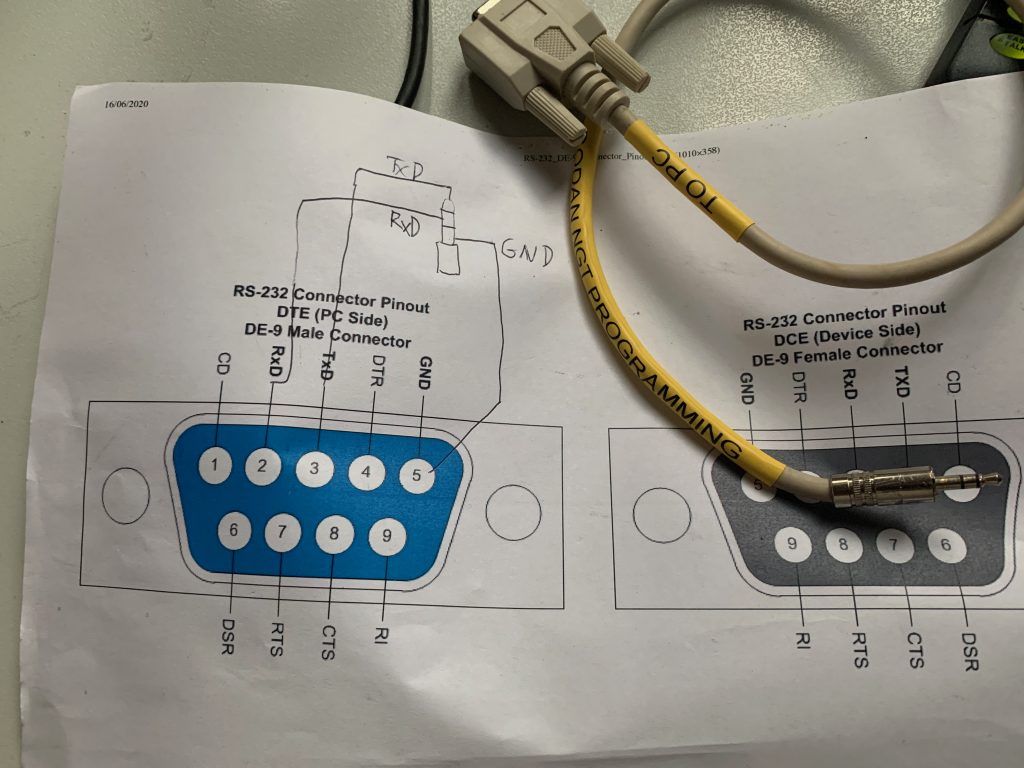
Making own programming cable for Codan NGT radios (whole seriess)
Video and tests:
Making own programming cable for Codan NGT radios (whole seriess)

Video and tests:
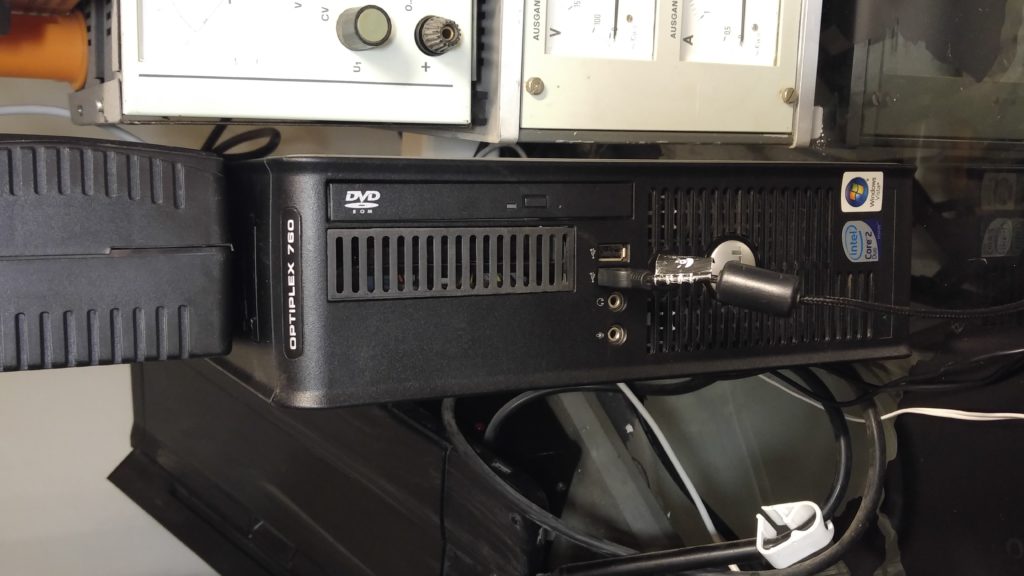
Recently i got Dell Optiplex 760 as computer for driving my 3d printer and web browsing while working on my projects.
This is very good computer dedicated for office use, many things could be replaced without use any tools, just by pulling right lever You can for example extract 3.5″ HDD drive without need of using screwdriver, same thing goes to DVD-ROM.
There is also a FDD drive, with today i call obsolete (i still have couple 3.5″ floppy drives around but with USB port, in case i need read – write FDD i can) but having it hard mount on computer it’s not necessary.
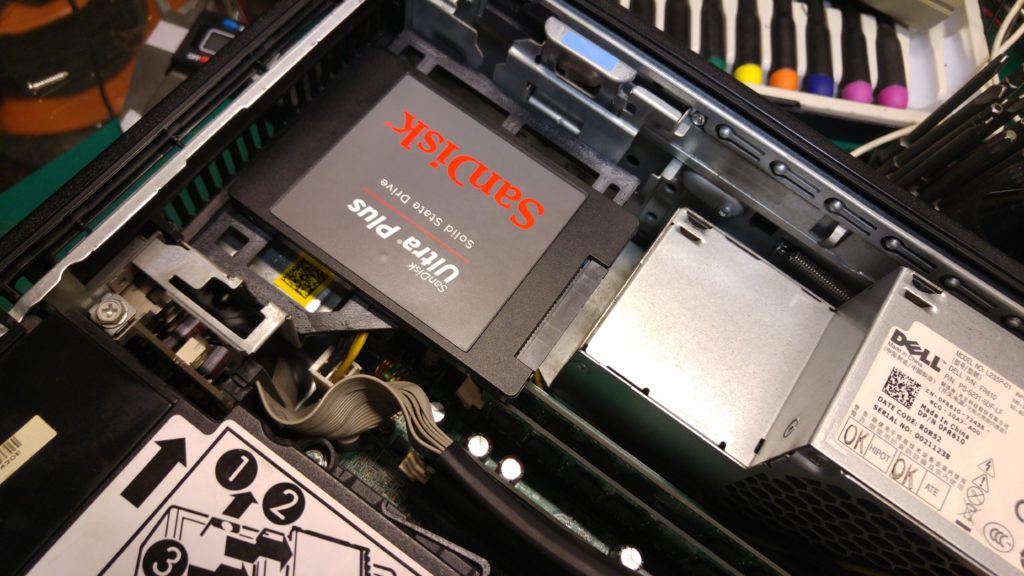
I want mount old SSD drive, 2.5″ in place of floppy disc drive, but because it was using latches and special bracket i will left in option throwing it inside without securing in place…. but? i found answer… we have 3d printer.
Before designing anything myself i always check Thingverse to make sure i won’t reinvent wheel second time… and… i get everything i need!
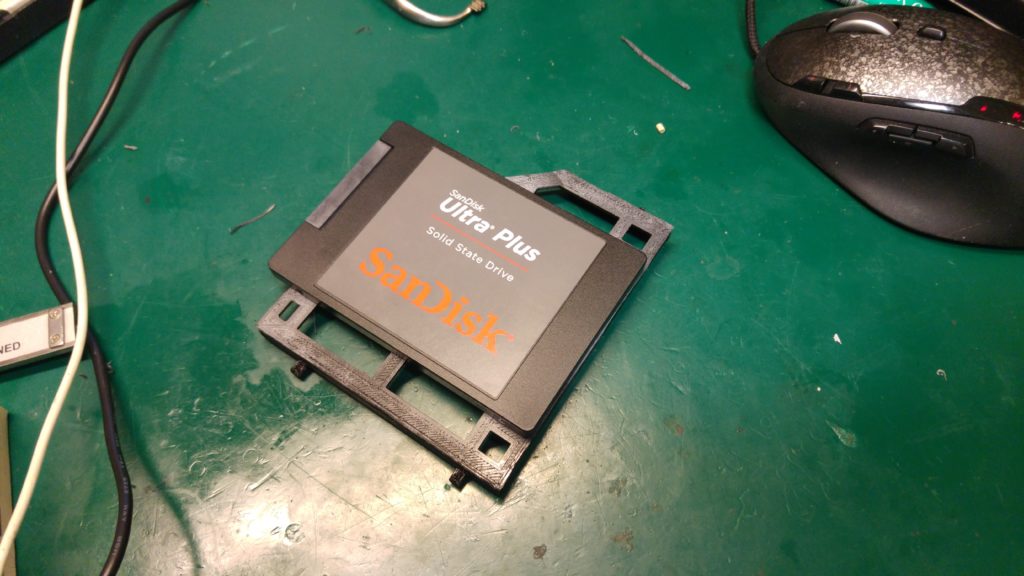
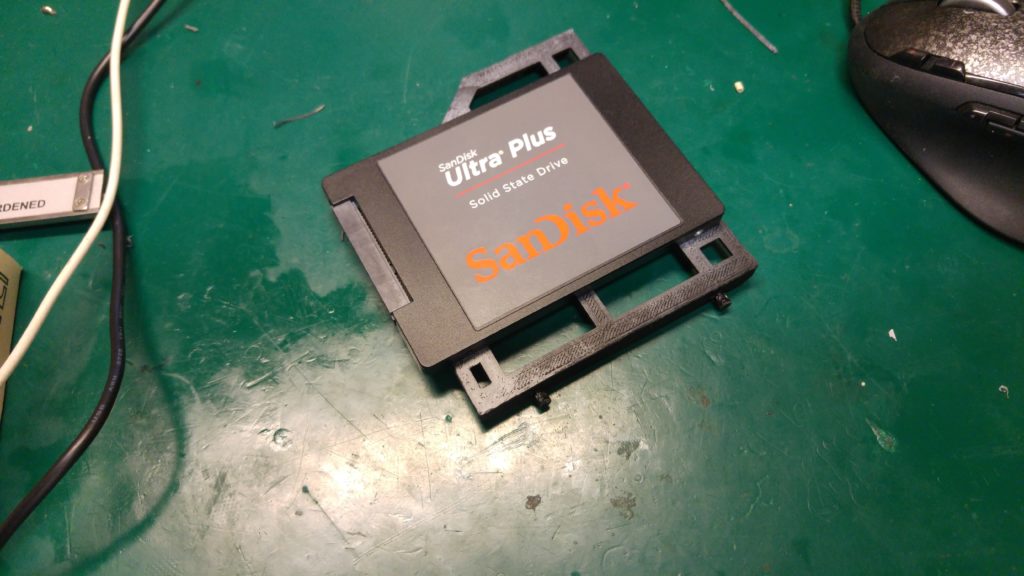
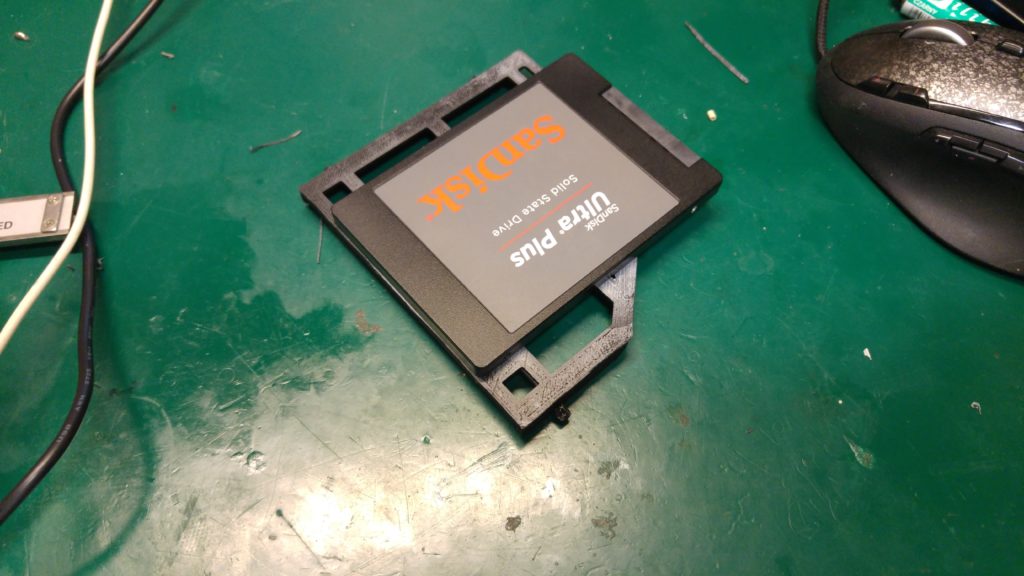
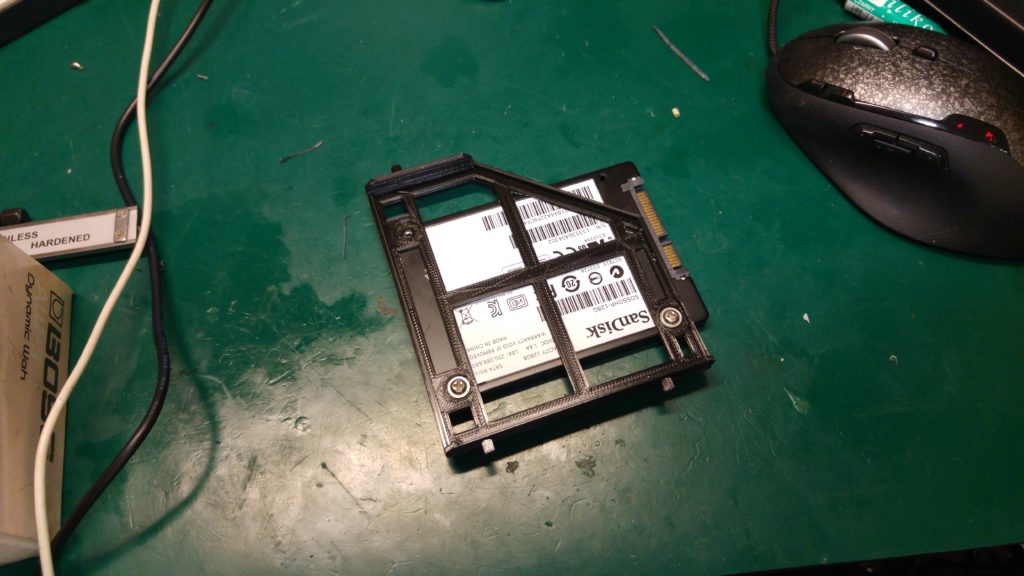
Special adapter that convert 2.5″ SSD for caddy that will swap in place of FDD and also COVER in exactly right size to fill hole after FDD.
I send picture to friend, and he realize that i 3d printed it after i told him to look for it.
Here are pictures of ready print before and after install:
Here You can download STL files for print:
CADDY:
https://www.thingiverse.com/thing:3229517
FDD cover:
My DVD drive was broken on old Power MAC G5.
Im not interested in finding replacement because it’s anyway obsolete but i need to install Mac OSX.
Lucky G5 have Open Firmware that allow booting up straight from USB flash drive and take install painlessly!
First You need to create RAW image of Your Mac OSX DVD into file.
Than using for example DD on linux put it straight to USB flash-drive.
There many tutorials about that topic.
I have Microsoft keyboard while starting up Your mac press and hold four keys at once:
Windows key + alt + o + f
until You get a gray screen with letters “Welcome to Open Firmware” and command prompt.
type
boot ud:3,\\:tbxi
and press enter
after while You will get standard installer just like on DVD.
ud:3 is device id, to not confuse Yourself remove all USB storage devices except that one You want boot from.
Here is mine video in real live:
This was a prototype, i’m not proud of it but it was cheap and working.
You can use pico fuse for reset toner level after refilling. (connect fuse, it will be burn after powering up printer and give signal to reset toner level)
After you can change in firmware status of printer for “factory” then toner status won’t be going down (in case You refill it on daily basis and don’t need any notifications)
Couple pictures of tear down TRI PRC 152 and check if possible to replace audio accessory connector with real one.
Video of re-celling process
Pictures.
This is newer plastic one (i do not recommend for re-celling)