Category Archives: Simple Repairs

Shuttle XPC SG31G2 Drivers, BIOS and Manuals — Archive Backup

While bringing a Shuttle XPC SG31G2 back to life, I wanted to preserve its support files before another old download page disappears. This archive brings together the files available in Shuttle’s historical SG31G2 directory and its newer official mirror, including the original descriptions and BIOS notes.

Use Shuttle’s own downloads first while they remain available. This is an independent preservation backup, captured on 14 November 2026. It is not a Windows installer or recovery image.

Download the archive

Download the Shuttle SG31G2 driver, BIOS and manual archive (ZIP, 596 MiB)

The ZIP is 625,025,254 bytes (about 596 MiB) and contains 104 files. After extraction, open START-HERE.html for a browsable catalogue, or START-HERE.txt for the plain-text guide.

SHA-256:
3ea4e3857fc3c0cf66196df22b682af9e18b1ec94aa3648eeb5247c50b147f61

What is included?

  • Drivers: chipset, integrated graphics, network, audio and the USB patch. The official mirror includes packages labelled for Windows 2000, XP, Vista and Windows 7, with 32-bit and 64-bit variants where provided.
  • BIOS: the historical SG31S revisions and the separately labelled BIOS files from the newer mirror, including its Bios_USA directory.
  • Documentation: manuals, quick-start material, original per-file text descriptions, BIOS release notes and saved directory listings.
  • Legacy utilities: available flashing tools and other files found in the original model directory. Their presence is archival, not a recommendation to run every utility.
  • Provenance and integrity: source URLs, download status, per-file SHA-256 hashes and a record of the broken downloads.

Where to start with Windows XP 32-bit

Use the following files in Official-mirror/Driver/. These are the usable packages recovered from Shuttle’s newer mirror. The filenames identify the supported operating systems; a package can cover more than one version.

Component Archive filename
Chipset CHIPSET_V64_V32_XP64_XP32_W2K.ZIP
Integrated graphics VGA_XP32_W2K.ZIP
Network LAN_XP64_XP32_W2K.ZIP
Audio AUDIO_XP64_XP32_W2K.ZIP

A practical installation order is chipset, graphics, network, then audio. Extract each package and read its included instructions. The USB patch is preserved separately; check its documentation before deciding whether it applies to your installation. An additional graphics card or other expansion hardware needs its own driver.

This archive does not supply Windows, a product key or activation tools. The drivers have not yet been tested on my restored machine.

BIOS: check the PCB revision first

Shuttle’s original notes explicitly distinguish two board revisions:

BIOS file Required PCB revision Release date in original notes
SG31S110.BIN V1.2 only 7 July 2009
SG31S201.BIN V2.0 only 7 July 2009

Confirm the physical PCB revision before choosing a BIOS. The chassis label alone is not enough. Older revisions and the separate Bios_USA files are retained for historical completeness, not presented as interchangeable upgrades. A working machine does not need a BIOS flash merely to install XP.

Broken files found during preservation

The older download directory is already imperfect. Five ZIP files failed integrity checks: win2kxp.zip, win64.zip, AHCI_driver.zip, v 32 64.zip and w 2k xp.zip. These original bytes are kept only in Damaged-originals-DO-NOT-INSTALL/. Do not use them as installers.

For XP graphics, use VGA_XP32_W2K.ZIP or VGA_XP64.ZIP in the official-mirror folder instead. The legacy AHCI ZIP was not recovered as a usable package. The old Utilities/xpctools.zip link returned HTTP 404 and is absent. The broken lowercase USB link was resolved by downloading the actual USB_patch.zip file from the directory.

All 15 driver ZIPs in Official-mirror/Driver/ passed a full ZIP CRC check. The outer preservation ZIP also passed its integrity check. These checks detect damaged archives; they do not establish hardware compatibility, and no installer or BIOS was executed during archiving.

Original sources and descriptions

The archive retains the original descriptions alongside the files, plus a searchable local catalogue and JSON manifests. Mirror modification dates should not be mistaken for driver release dates. Coverage is limited to the accessible directories listed above; unavailable files are documented rather than silently omitted.

This backup is not affiliated with Shuttle. Software remains the property of its respective owners and retains its original licence terms.

Brother QL-1100 macOS Driver 4.0.7a — Tested on macOS 27.2 (Archive Backup)

My Brother QL-1100 has been with me for years, and it is still my favourite printer for parcel labels. I have just set it up on my Mac and successfully printed a shipping label, so I am keeping a backup of the working driver here for future use.

Archive notice: Always check Brother’s official support website first for the latest driver and compatibility information. This copy is provided for archival and backup purposes in case the original download becomes unavailable or support is removed. It is not a replacement for the manufacturer’s download page. Keeping backups like this has already saved me before!

Tested setup

  • Printer: Brother QL-1100, connected by USB.
  • System: macOS 27.2, Apple Silicon.
  • Driver: Brother QL-1100 CUPS, download version 4.0.7a (released 30 September 2019).
  • Installer: pd1100m407ax14all.dmg.
  • Labels: 102 × 152 mm self-adhesive shipping labels.
  • Result: a shipping label printed successfully from Adobe Acrobat.

This records what worked on my own Mac; I have not tested every macOS version or other Brother models.

Printing a shipping label from an A4 PDF

After installing the driver, add the printer in System Settings → Printers & Scanners and select Brother QL-1100 CUPS. In Acrobat, use the Snapshot tool to select the label area, then open Print. Select the Brother printer, set the paper size to 102 mm × 152 mm in Page Setup, and choose Selected graphic and Fit. Check the preview before printing.

I also saved 102 × 152 mm as the default paper size for this printer, since it is the only label size I use. Applications may retain their own paper settings, so check Page Setup if one still shows A4.

Archived driver download

The ZIP archive below contains the original pd1100m407ax14all.dmg installer used for this successful test. Extract the ZIP, open the DMG, and run the installer. Please check the official Brother download page first.

Fixing MacBook Air Touchpad Scrolling Direction in Windows 10

When running Windows 10 on an older Intel MacBook Air, one small annoyance becomes immediately obvious: the touchpad scrolling direction is reversed compared with macOS.

Windows uses the traditional scrolling direction, while macOS uses natural scrolling. Unfortunately, Windows 10 does not expose a simple setting for changing this on Apple’s built-in Multi-Touch hardware.

In my case, I was running Windows 10 Enterprise LTSC 21H2 on a MacBook Air with Apple’s built-in Multi-Touch trackpad.

Finding the correct device

The first step is to identify the actual HID device used by the trackpad.

Open:

Device Manager -> Human Interface Devices -> Apple Multi-Touch -> Properties -> Details -> Hardware Ids

On my machine the relevant hardware ID was:

USB\VID_05AC&PID_0291&MI_02

The important part is:

VID_05AC&PID_0291&MI_02

05AC is Apple’s USB vendor ID. The device is exposed to Windows as an Apple Multi-Touch HID device.

Finding the registry path

The scrolling direction is controlled through a registry value called:

FlipFlopWheel

The relevant device is located below:

HKEY_LOCAL_MACHINE\SYSTEM\CurrentControlSet\Enum\HID

On my machine the complete registry path was:

HKLM:\SYSTEM\CurrentControlSet\Enum\HID\VID_05AC&PID_0291&MI_02\7&31AA6F5B&0&0000\Device Parameters

The part:

7&31AA6F5B&0&0000

is the device instance ID and may be different on another installation.

Changing the scrolling direction

PowerShell must be started as Administrator.

I used this command:

New-ItemProperty -Path 'HKLM:\SYSTEM\CurrentControlSet\Enum\HID\VID_05AC&PID_0291&MI_02\7&31AA6F5B&0&0000\Device Parameters' -Name 'FlipFlopWheel' -PropertyType DWord -Value 1 -Force

This creates or changes the DWORD value:

FlipFlopWheel = 1

After restarting Windows, the touchpad scrolling direction should be reversed.

The result is the natural scrolling behaviour familiar from macOS:

Swipe up   -> content moves up
Swipe down -> content moves down

Why this is useful on a MacBook

This is particularly useful when Windows is installed natively on an Intel MacBook Air. The Apple Multi-Touch hardware works under Windows, but some of the macOS-specific behaviour is not exposed through the normal Windows Settings interface.

Instead of installing additional software just to reverse scrolling, the behaviour can be changed directly in the Windows registry.

Important note

The exact registry path is specific to the particular Windows installation and device instance.

Do not assume that:

7&31AA6F5B&0&0000

will be identical on another MacBook.

The safest approach is to find the Apple Multi-Touch device in Device Manager and inspect its Device Instance Path or Hardware IDs before changing the registry.

Sony XDCAM – firewire camera (FAM) driver for MAC and Windows

This driver allow You to connect camera like Sony PDW-F335 into computer via firewire to offload footage stored on XDCAM disk that is inserted inside camera drive.
After installing camera will be mounted like any external USB / Firewire external drive and will support drag and drop copying from finder/explorer.

Update firmware on SIRUI SNIPER series lens using MacBook computer

Above there is firmware that i used for E23 (sony mount) F1.2 – treat is as backup in case website down – always reach first there to SIRUI to get latest.

Roda Rocky RK9 – Audio Drivers (Tested On Windows 10 IOT)

Audio Driver – Critically Important – without it You will not see speakers (audio output device, headphones output)

Toughbook CF-19, docking station (port replicator) CF-WEB184, Ubuntu 19.04 – external VGA and 1920×1080 1080p resolution

Today I mounted my Toughbook CF-19 port replicator, model WEB184.

I’m using it mounted on wall, with disabled built in screen, only using my TV as main display in 1080p resolution.

While i was using VGA port on Toughbook CF-19 i had no problem in setting up 1080p resolution, but after using port replicator, maximal allowed to select resolution was 1024px !

Here is how i mannaged to get proper resolution

sudo cvt 1920 1080 60

This command will display calculated data for Your screen called newmode, copy it and paste in bellow code

Create new sh file, and add +x execution

!/bin/bash
xrandr –newmode “1920x1080_60.00” 173.00 1920 2048 2248 2576 1080 1083 1088 1120 -hsync +vsync
xrandr –addmode VGA-1 1920x1080_60.00
xrandr –output VGA-1 –mode 1920x1080_60.00

You can add this script to Your desktop or menu, click it while being docked and it change resolution to 1080p

Hiroyasu HI-R23 – make Zello fit screen

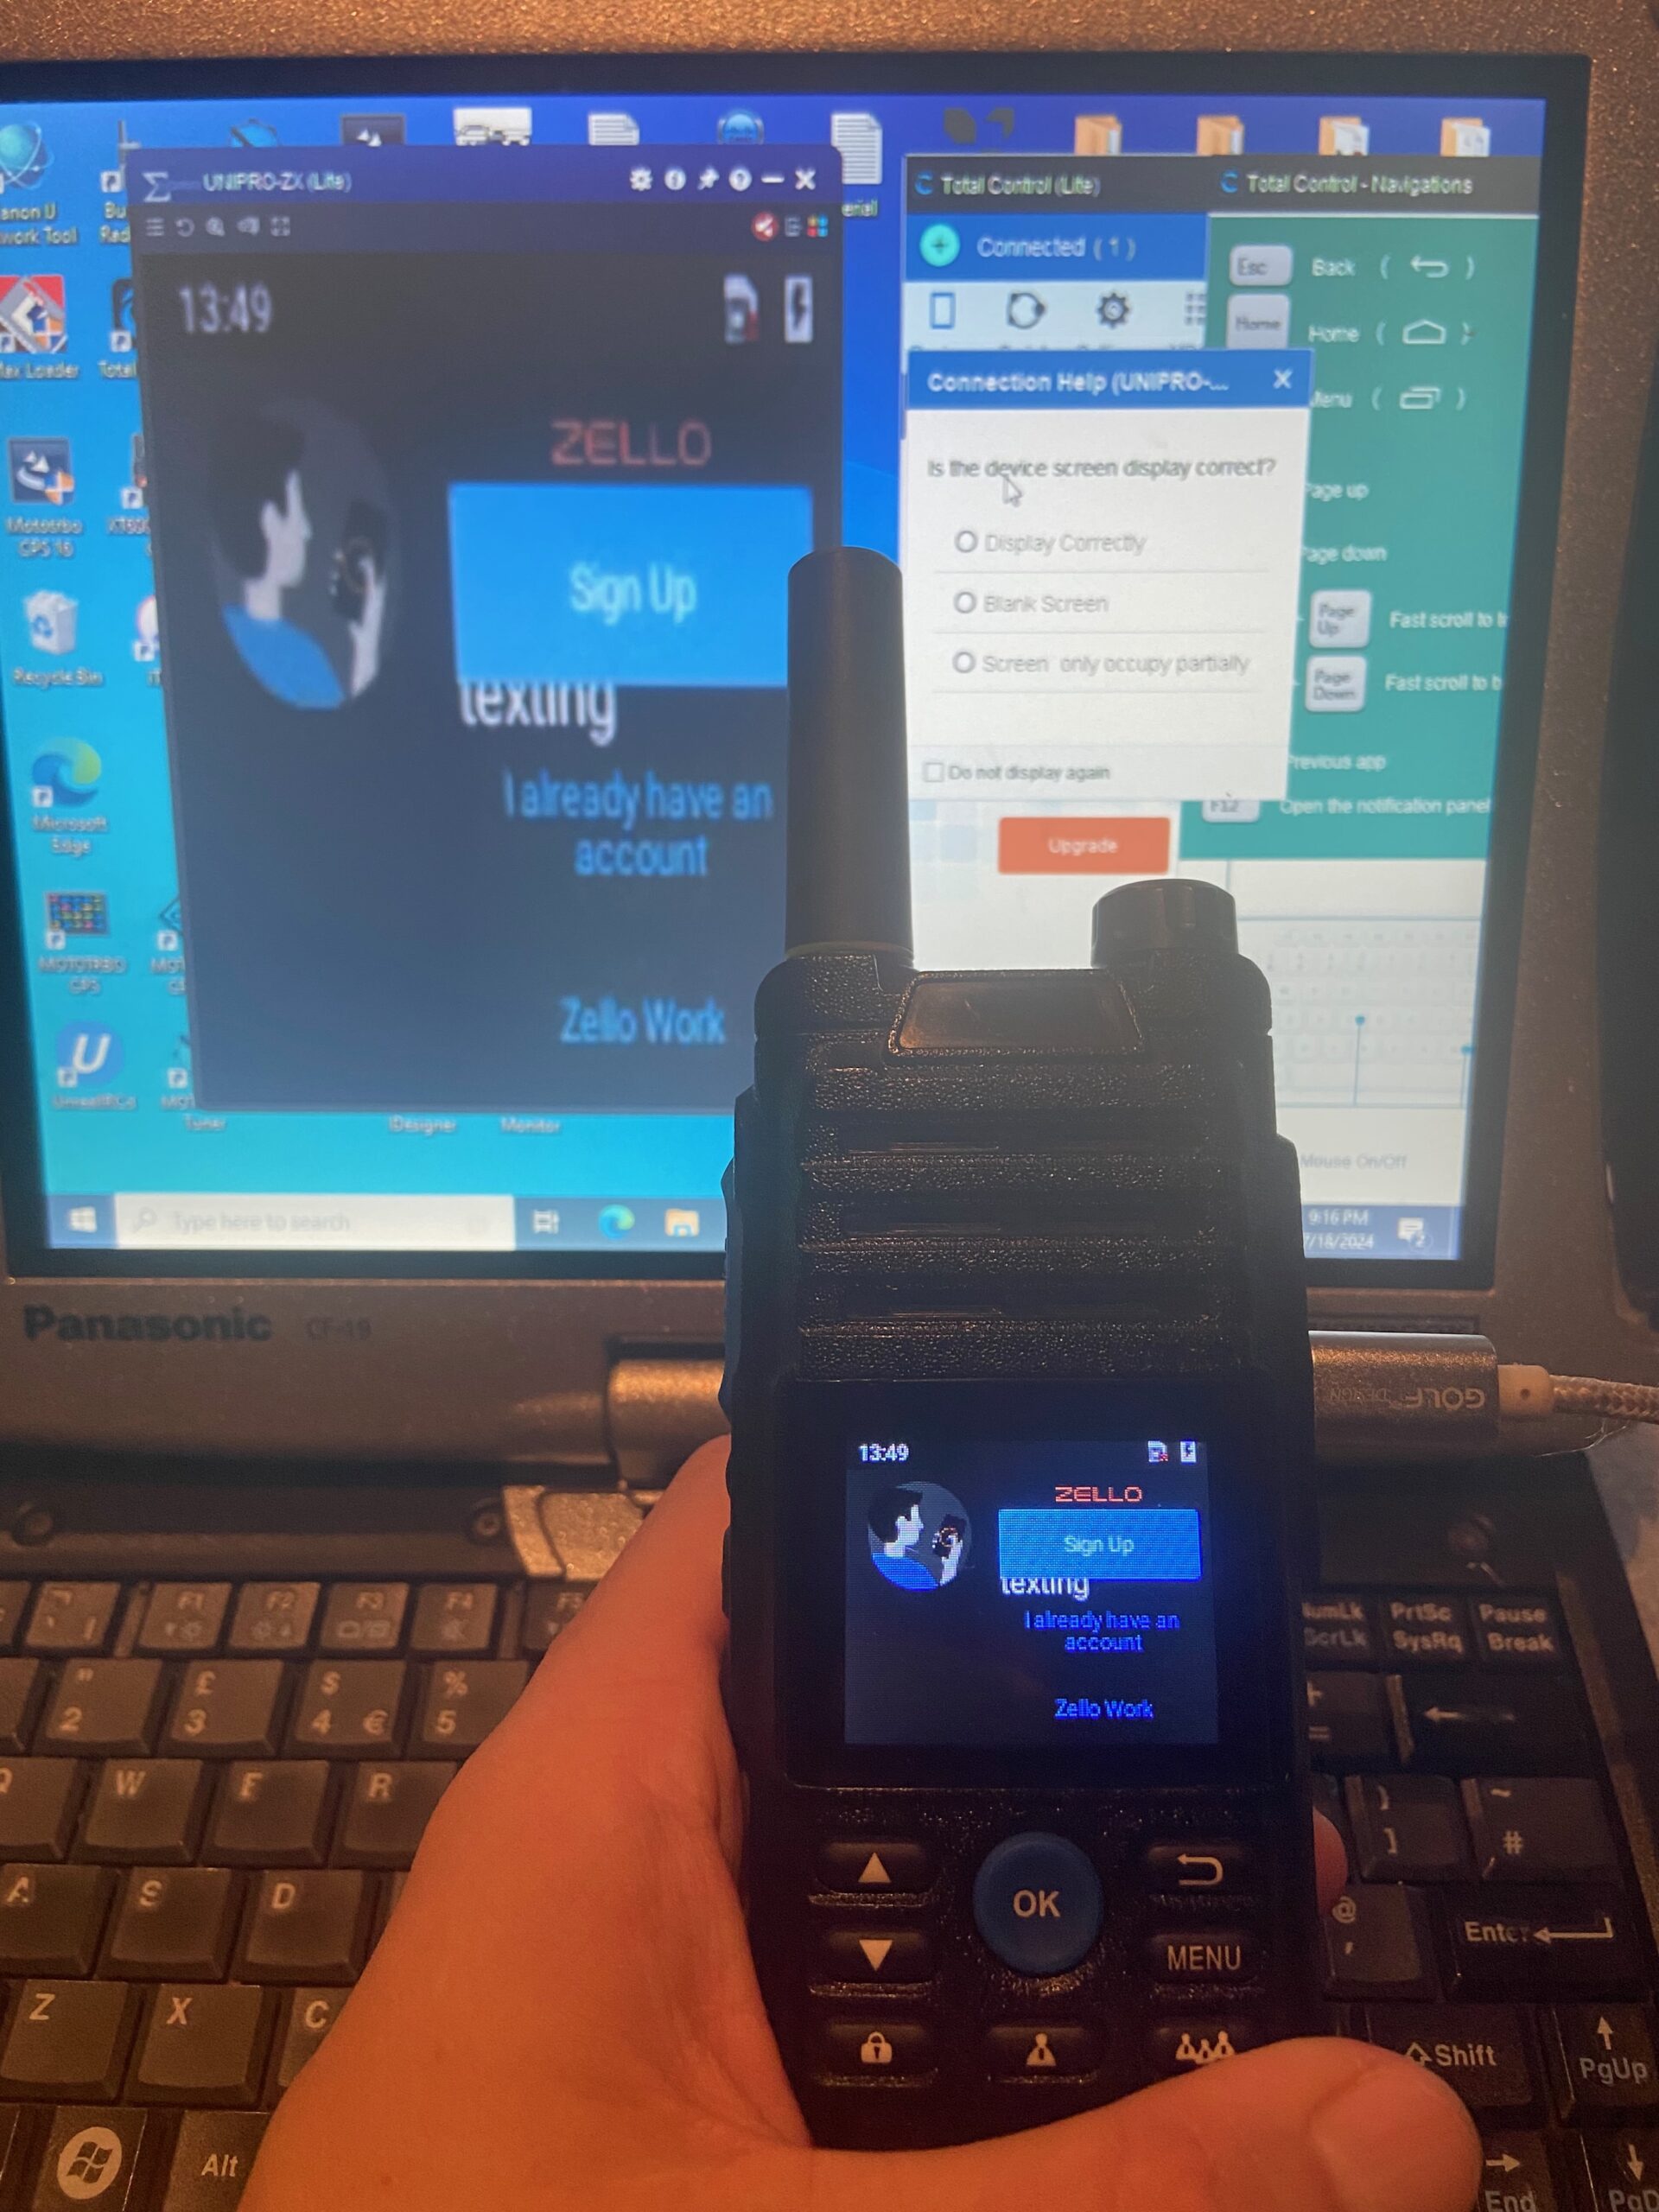
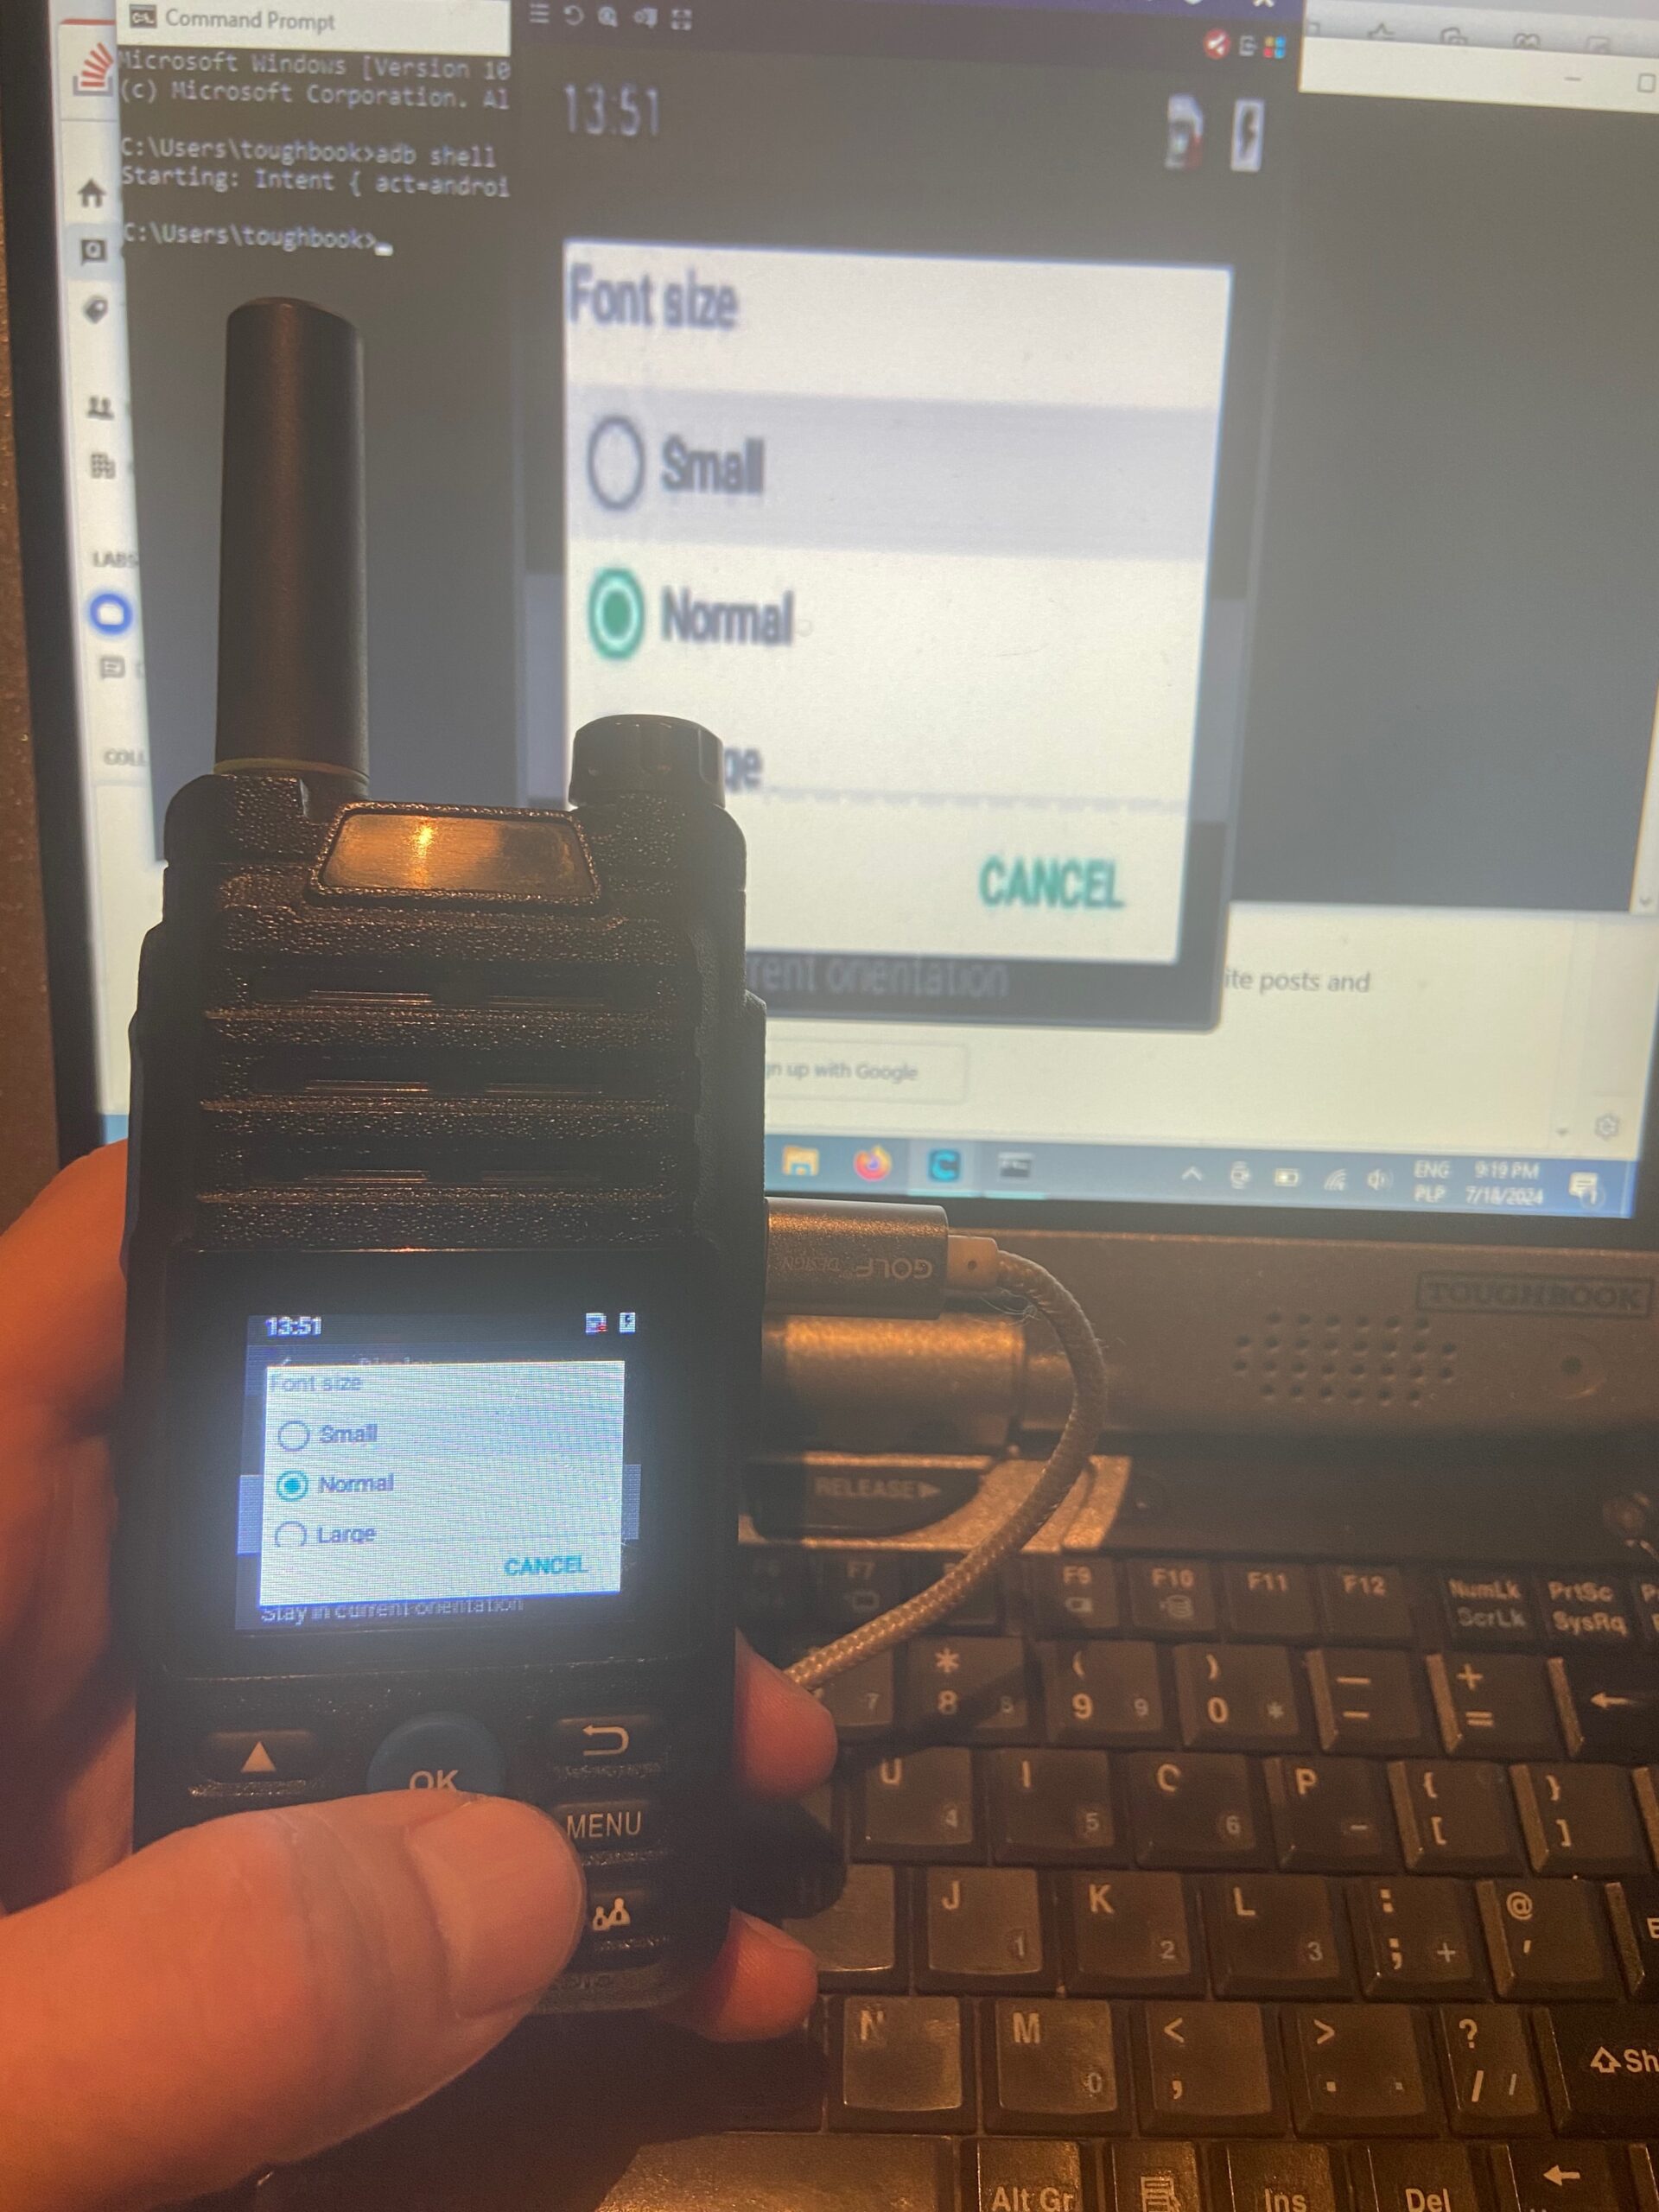
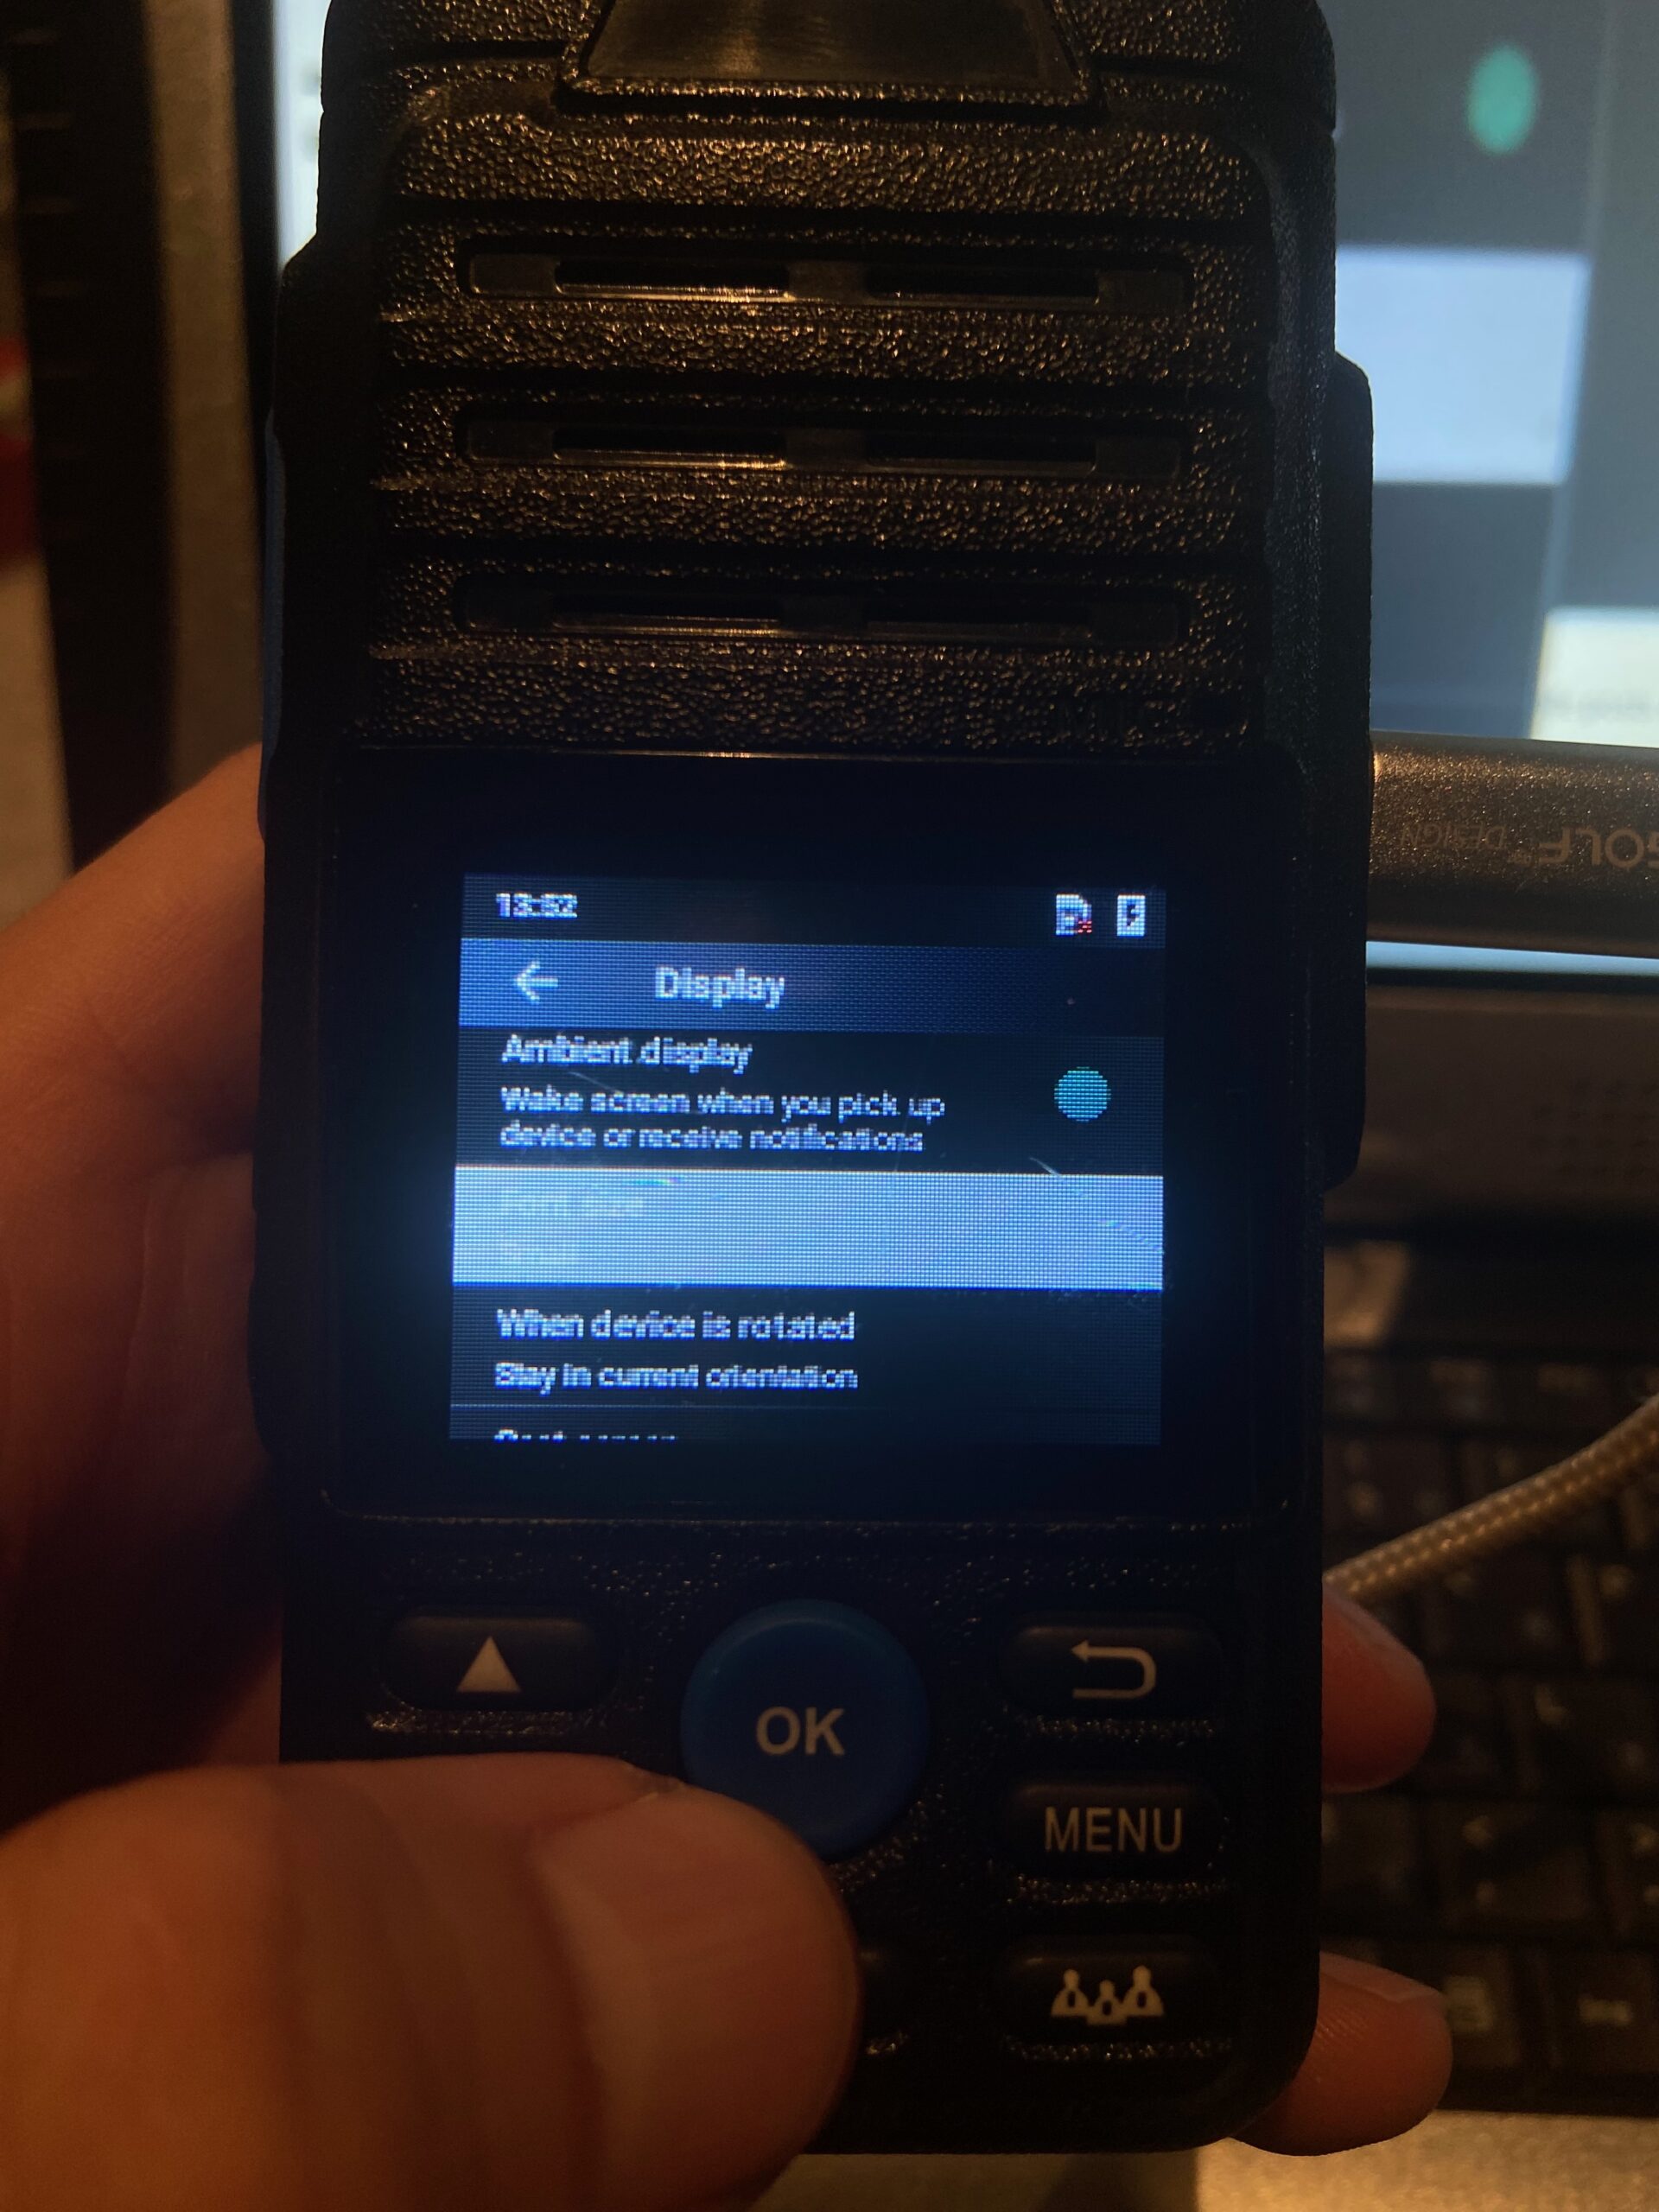
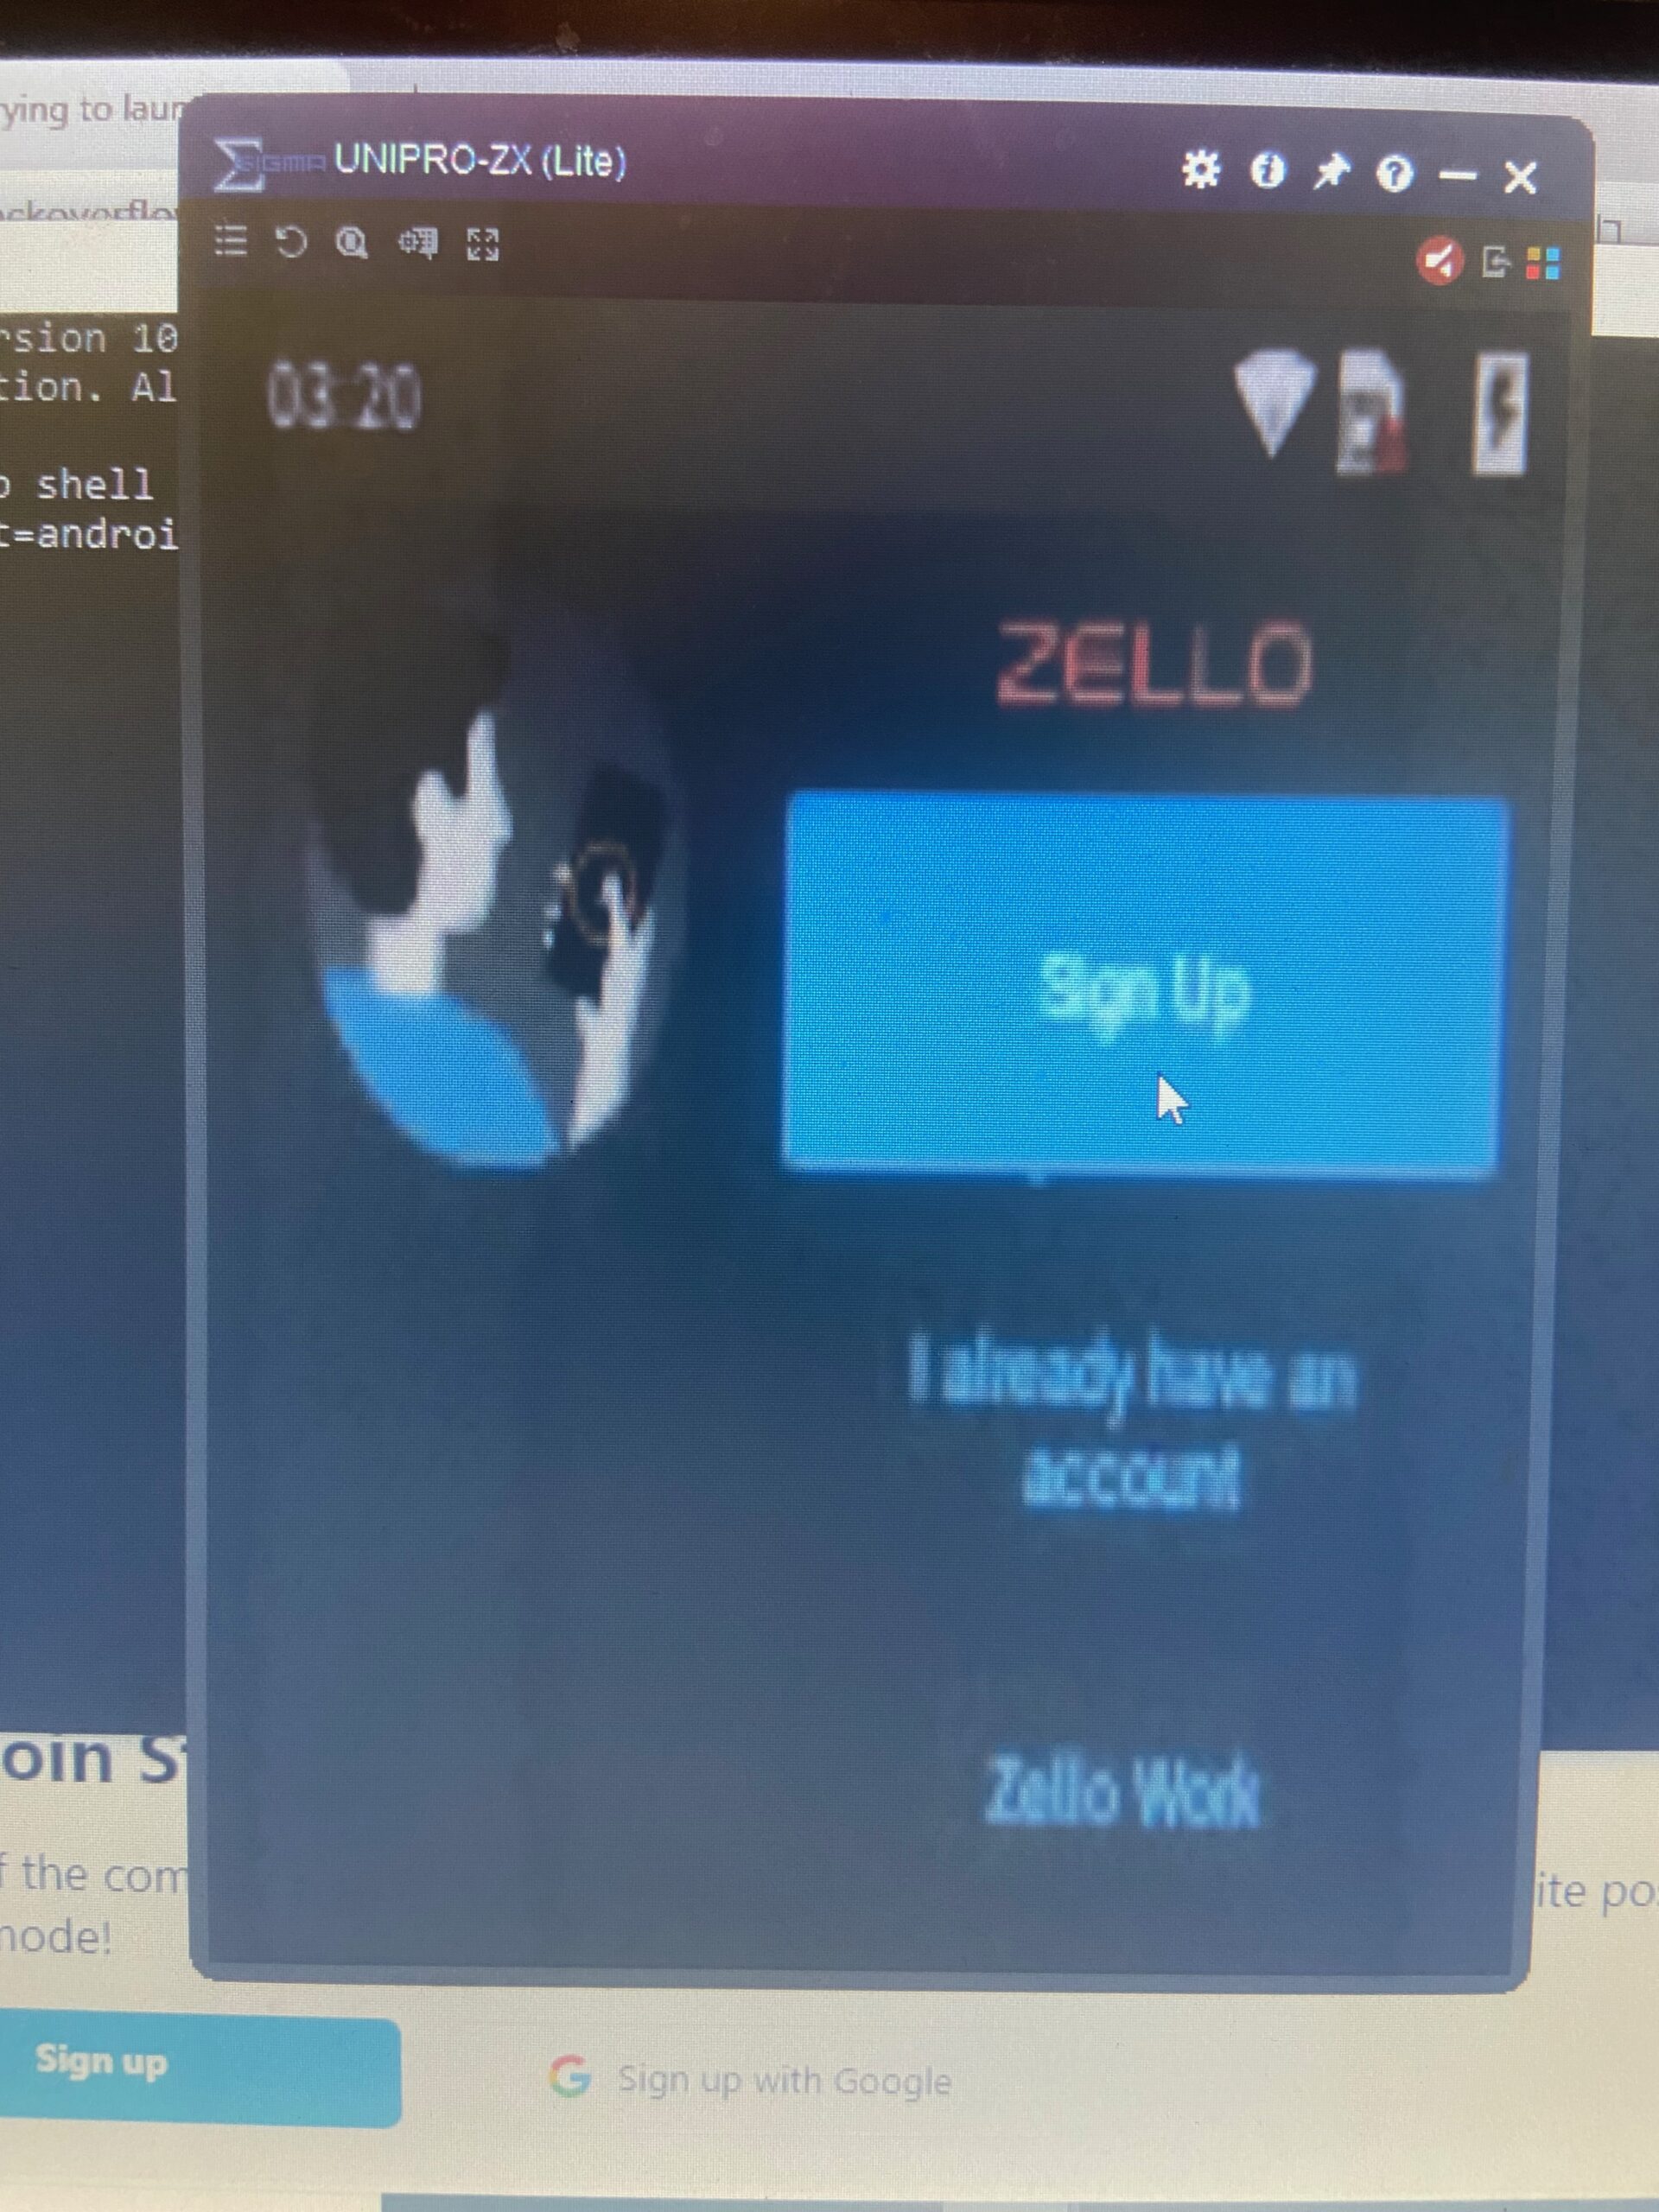
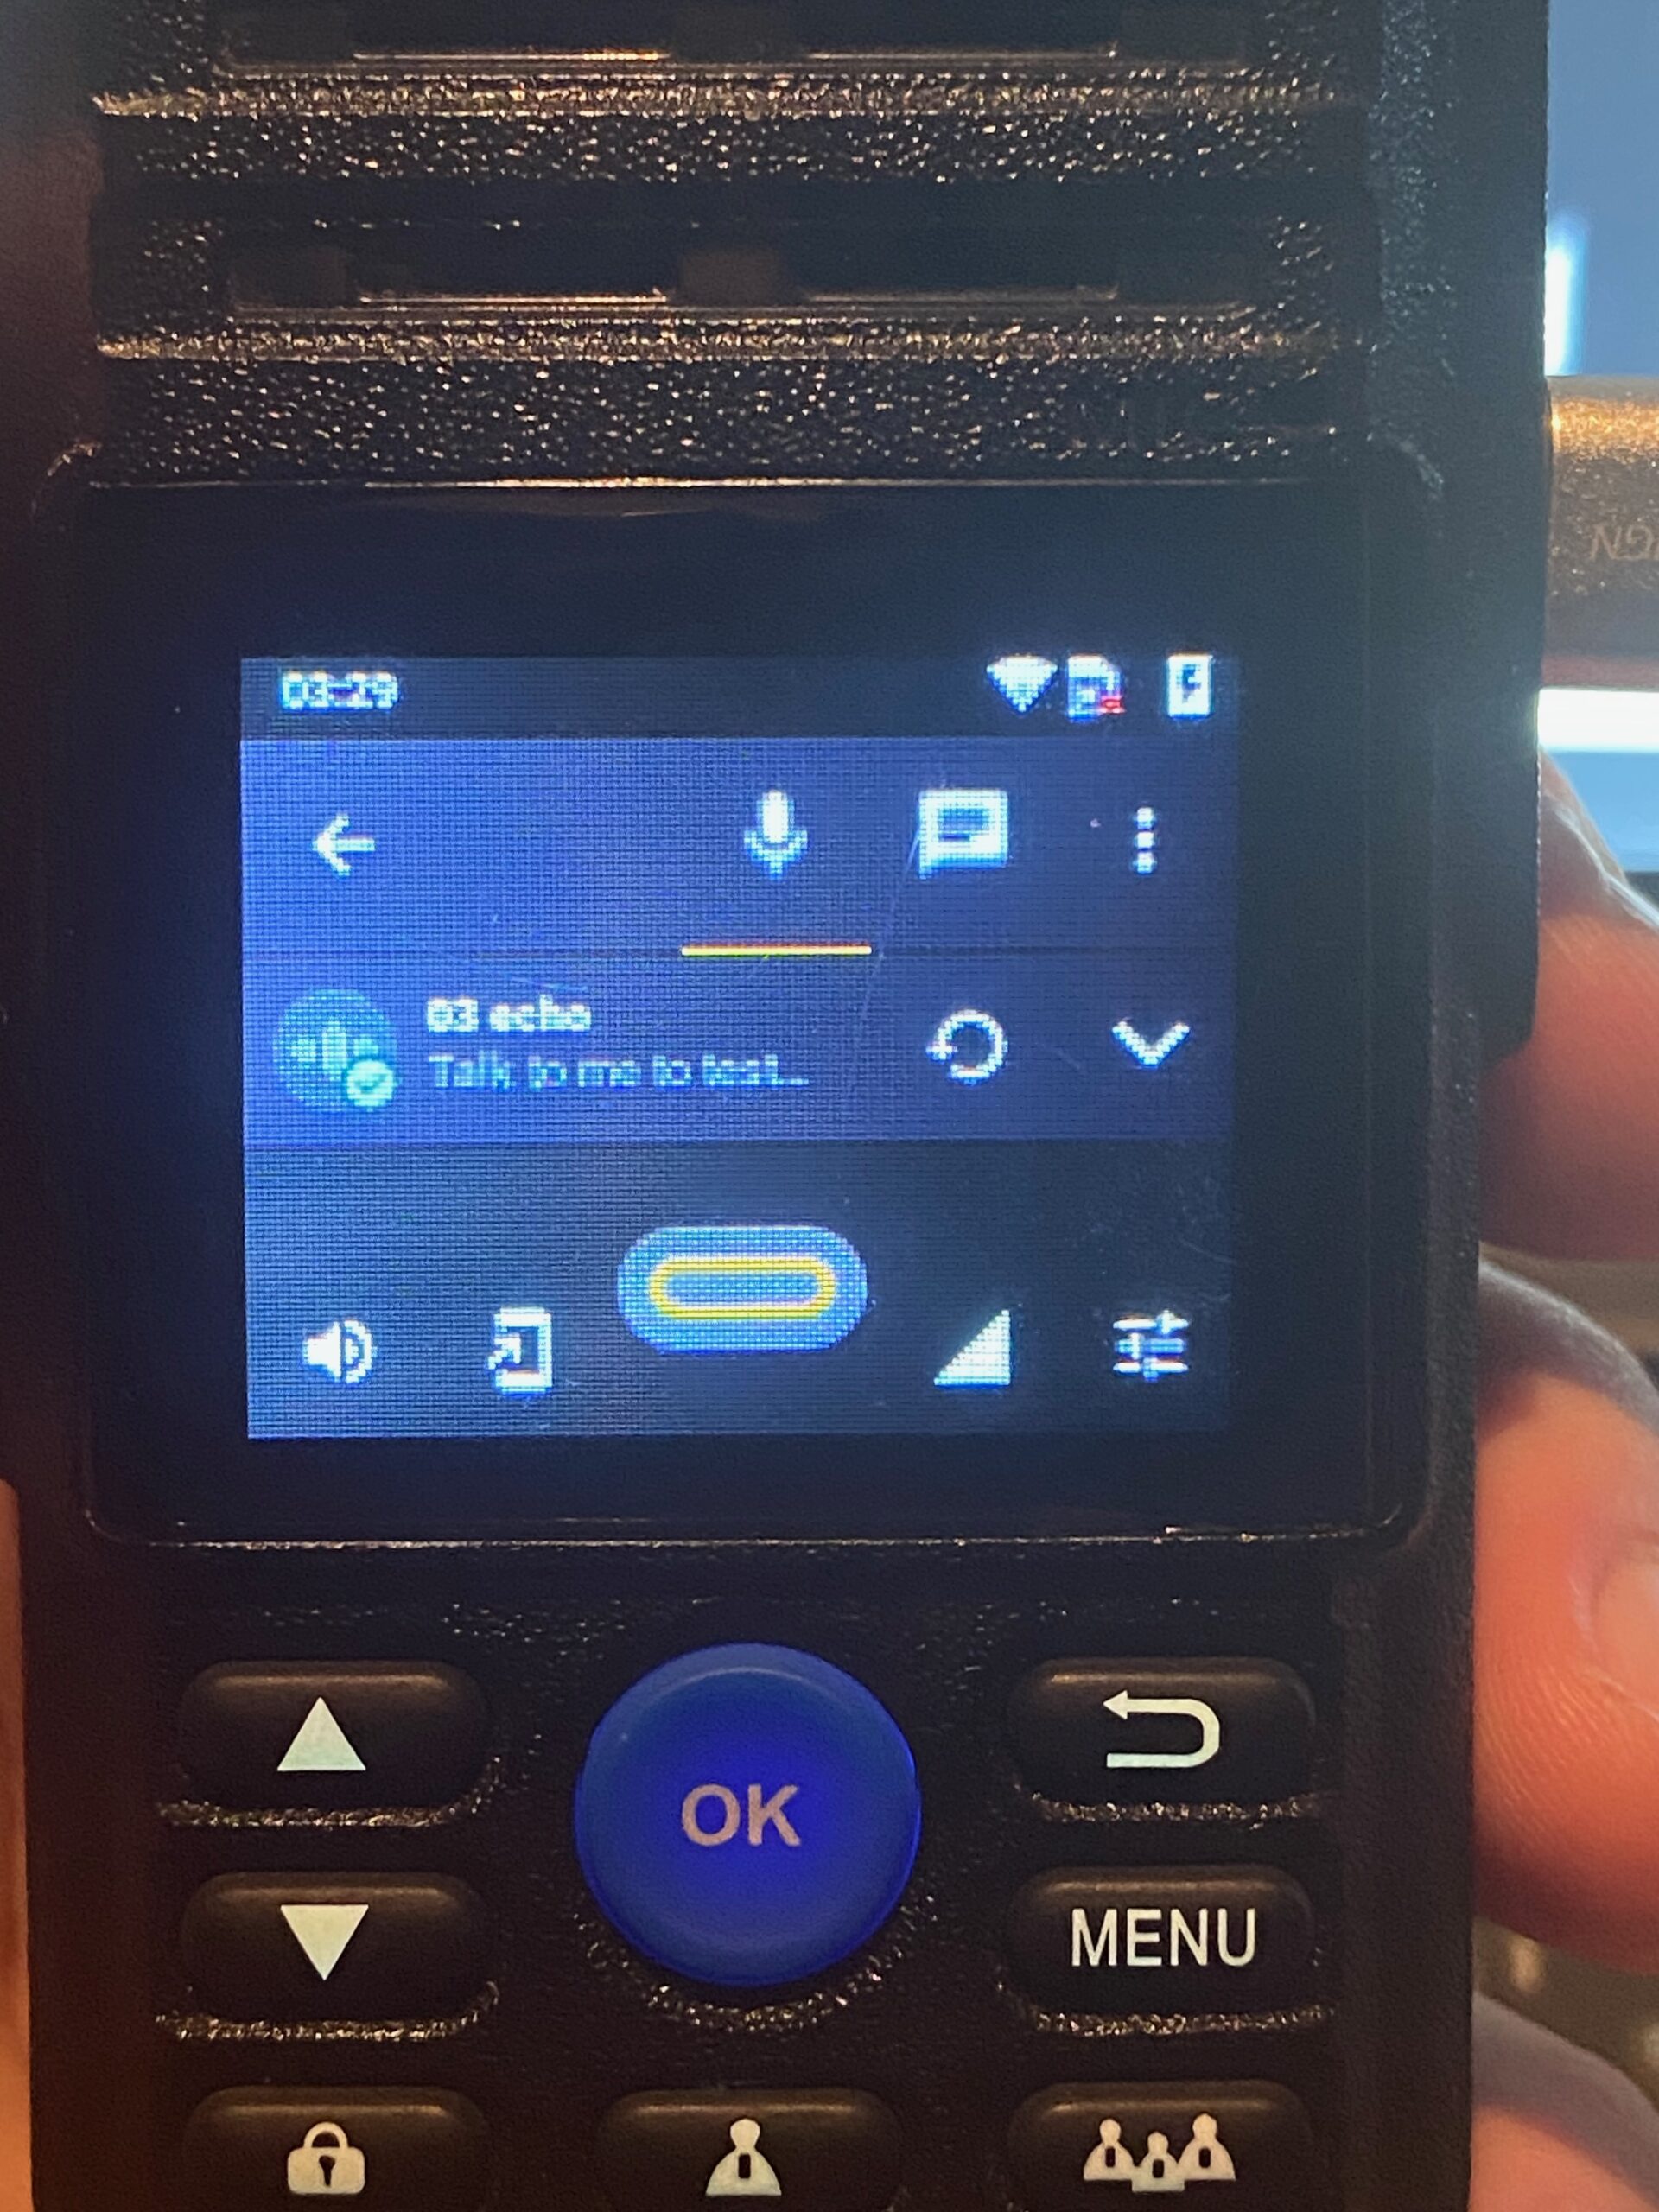
Hiroyasu HI-R23 – BUDGET Zello PoC 4G LTE Walkie Talkie – making it more civilized by changing system font size. God know why it’s not delivered with smallest possible font! Default setting make Zello “unusable” – thankfully couple clicks make it “fine”. Connect via degular micro USB cable and execute

"adb shell am start -a android.settings.SETTINGS"

then navigate to “display” and change font size.

I recommend use also “total control” and connect to WiFi and Zello using computer keyboard… most like You do it only once… why not help Yourself?

NAS server + Apple Time Machine (use all space) – how limit backup size

Recently I observed that my Terramaster NAS server start being filled up to it’s max capacity (11TB), I conclude reason for that state are my RAW Youtube Videos but it’s ended up NOT being case, let’s take look what took over 5TB of space.

Above You can see over 5TB in TimeMachine backups! By design Apple TimeMachine was intended to use TimeCapsule or external drive that should be dedicated strictly for making backups, after being fill to it’s max capacity (it delete oldest backups) and proces keeps cycling, everything looks perfect unless we have NAS server with RAID storage that will allow store size that’s being multiple times of MacBook HDD… You will end up with NAS being full.

How to resolve this issue and make TimeMachine backup stop using all space and limit itself?

Copy and unzip following file into root directory of Your afp:// NAS server.

Unzip File and edit it via any code editor (press command + shift + dot to show hidden files) – file that I uploaded have limit of 2.5TB – adjust it if needed to reflect Your HDD size + 150% – make sure entire hdd can be backed up entirely + have at least 150% space for things that get deleted in meantime and replaced by new data.

Wait some time until You’r Time Machine detect it and start freeing up space(backup now does not trigger it in my case!)

Sign-in into NAS and be happy from space You just reclaimed!