Quite interesting story, we have website running WordPress with two noticed problems:
- After making call to REST API it return valid JSON response (debugged in Postman) but when trying raw json_decode in PHP it fail.
- In PHP, after echoing (readfile) random file into client (wget), SHA1 sum of file on server and downloaded does NOT match, but content of downloaded file is exactly the same (tested via FileMerge)
- Opening downloaded file in PHPStorm does not reveal any special characters in downloaded or original file
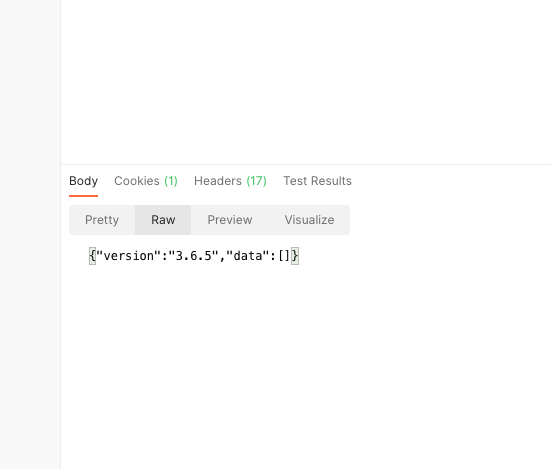
Postman report 100% valid JSON response
Trying this malformed CURL command reveal hidden from naked eye problem.
curl -d "auth=something" -X POST https://somewebsite.com/index.php\?rest_route\=/plugin/route/test --trace-ascii --

In front of JSON data there is UTF-8 BOM code (\ufeff) (it’s being ignored by most of application but not all, it should never be present in JSON response since encoding is send in HTTP header – some code is ignoring it, some will fail on decode JSON and thread it as invalid syntax.
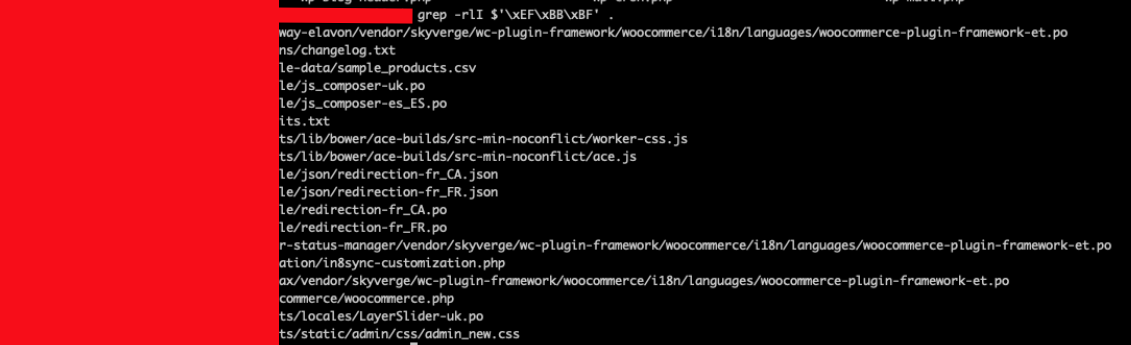
When we know what to look for, we need scan all PHP files on server and locate ( 0xEF, 0xBB, 0xBF ) string in root website directory using following command:
grep -rlI $’\xEF\xBB\xBF’ .
From result ignore anything that is not .PHP since those files can have BOM and not directly parsed via PHP interpreter.

Ignore anything except PHP files (only they are interpreted in PHP)
Download those PHP file and examine with “HexEditor” reveal BOM before PHP code that is being send along ANY content served from PHP.
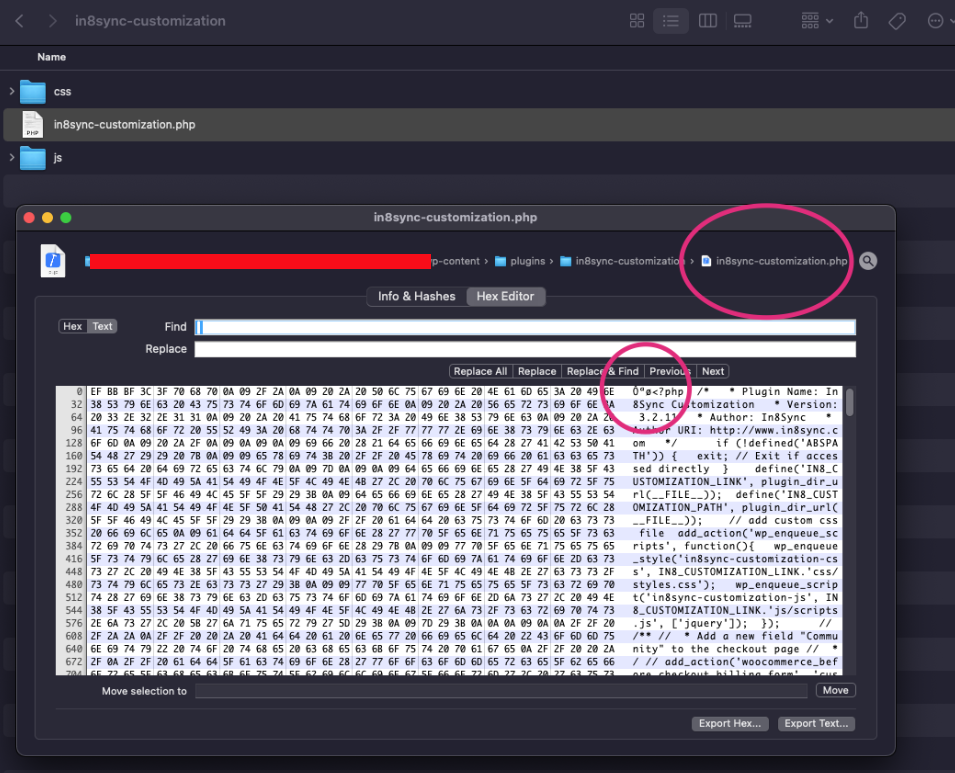
Here is PHP source file (on server) containing BOM mark that’s being forwarded to browser on each page request that include this file.
Cleaning file from “BOM” mark (on MAC):
sed $’1s/\xef\xbb\xbf//’ < in8sync-customization.php > clean-in8sync-customization.php
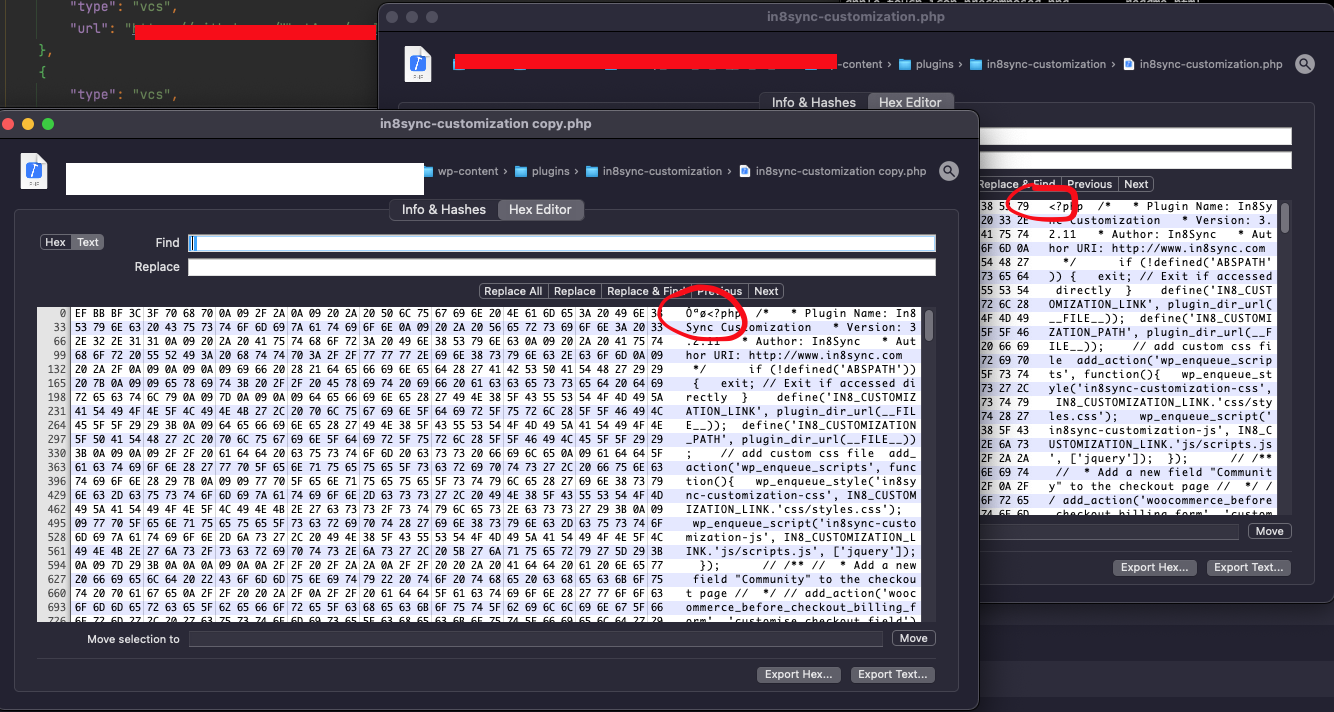
Compare two files together to make sure only BOM is removed.
Upload cleaned file in original location and repeat process if there is more than one. Be happy fixing unusual issue!!