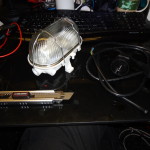
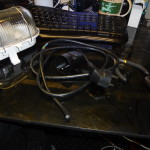
Have You trying to repair device witch blow fuses ?
Recently I was fixing a power supply witch shorted rectifier bridge and then i was using series light bulb trick to let me try find cause of short and prevent blowing fuses in my lab and melting traces on PCB. Then i just solder bulb into fuse holder.
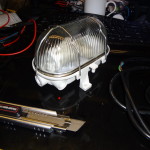
Few days ago i got a computer PSU to fix, and he’s also blowing fuse in my lab, so i decided to use light bulb trick again, but this time i build more usable device for this and future uses.
So what’s series light bulb trick in few words.
You are putting for example 100W light bulb in series with Your device.
Light bulb will act like resistor and allow to pass only 100W to device (full brightness) and let You actually see how “short” looks, for example is it solid or blinking when transistors get switched on.
If Your device is working and took for example 50W, (You put 100W bulb in tester) when using light bulb trick You should get 50% of brightness, if took 25W You should see just glowing etc.
If device is fully shorted always 100% brightness.
You can put different bulbs 20W 40W (etc) to make Your check diagnose more accurate.
For example when You put a switching wall plug PSU to 20W bulb, it should for few seconds glow bright (charging capacitors) then goes dark or amber…. if not and it’s lighting ( full brightness – that should be a short) for example 50%… you possible have shorted output or input filter capacitors and they adding fiction load to Your PSU. Bad output filter capacitors may also be spotted by hot psu without any load.
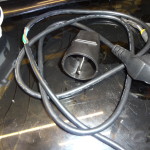
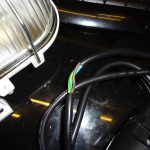
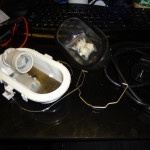
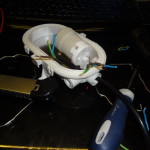
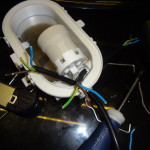
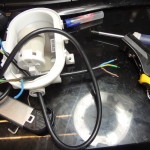
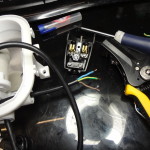
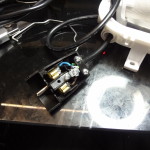
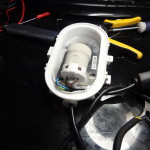
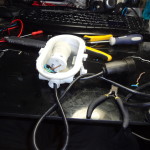
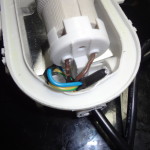
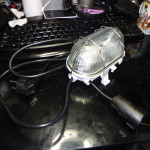
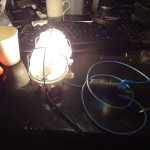
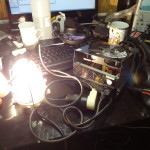
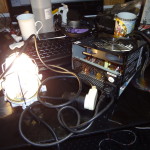
Here are some pictures from building and seeing “in action”.
Make sure You put PHASE wire by bulb, this will show You light also when You will be shorted to ground not only neutral wire!
Play witch 230V is dangerous, if You don’t know what are you doing! DO NOT FOLLOW this tutorial and stay safe witch low voltage circuits !
I spend few Years witch low voltage circuits before feel confident to start fixing high voltage sections!
!Notice, PSU show short also when switch is turn to OFF!

