Audio Driver – Critically Important – without it You will not see speakers (audio output device, headphones output)
ElectronicNoobBlog
My "fight" with electronics devices :-)

Author Archives: ENB
Toughbook CF-19, docking station (port replicator) CF-WEB184, Ubuntu 19.04 – external VGA and 1920×1080 1080p resolution
Today I mounted my Toughbook CF-19 port replicator, model WEB184.
I’m using it mounted on wall, with disabled built in screen, only using my TV as main display in 1080p resolution.
While i was using VGA port on Toughbook CF-19 i had no problem in setting up 1080p resolution, but after using port replicator, maximal allowed to select resolution was 1024px !
Here is how i mannaged to get proper resolution
sudo cvt 1920 1080 60
This command will display calculated data for Your screen called newmode, copy it and paste in bellow code
Create new sh file, and add +x execution
!/bin/bash
xrandr –newmode “1920x1080_60.00” 173.00 1920 2048 2248 2576 1080 1083 1088 1120 -hsync +vsync
xrandr –addmode VGA-1 1920x1080_60.00
xrandr –output VGA-1 –mode 1920x1080_60.00
You can add this script to Your desktop or menu, click it while being docked and it change resolution to 1080p
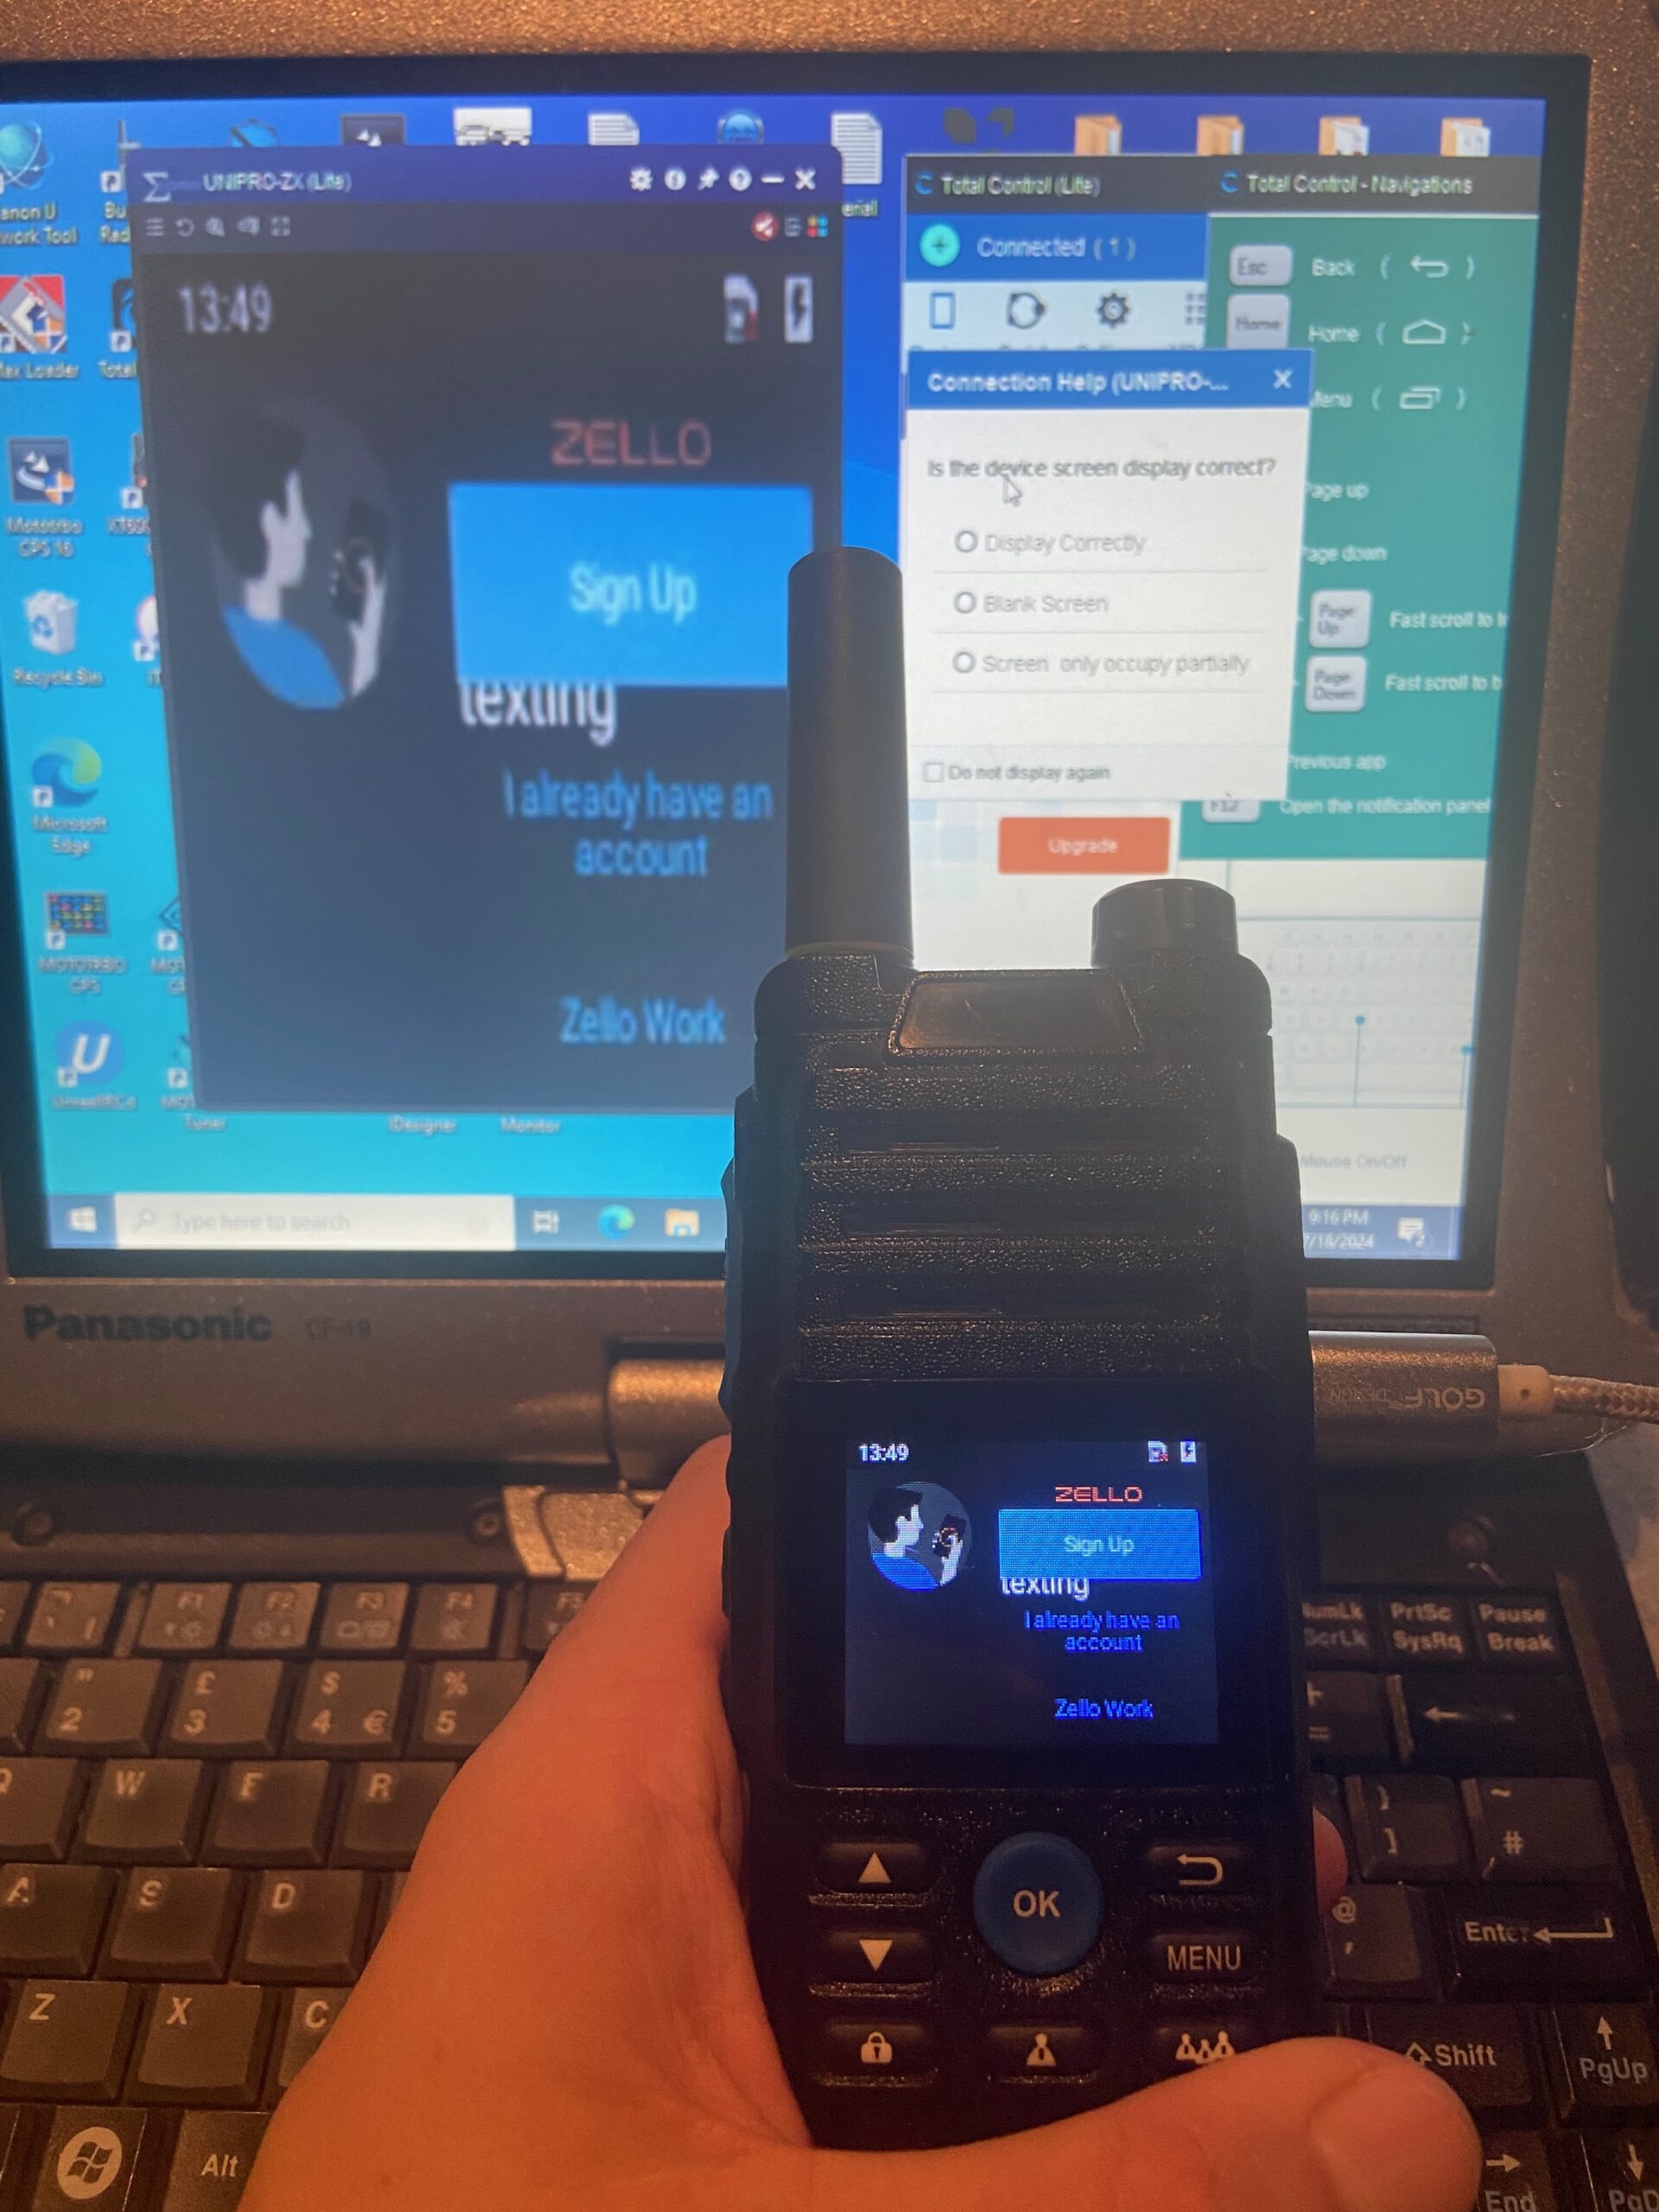
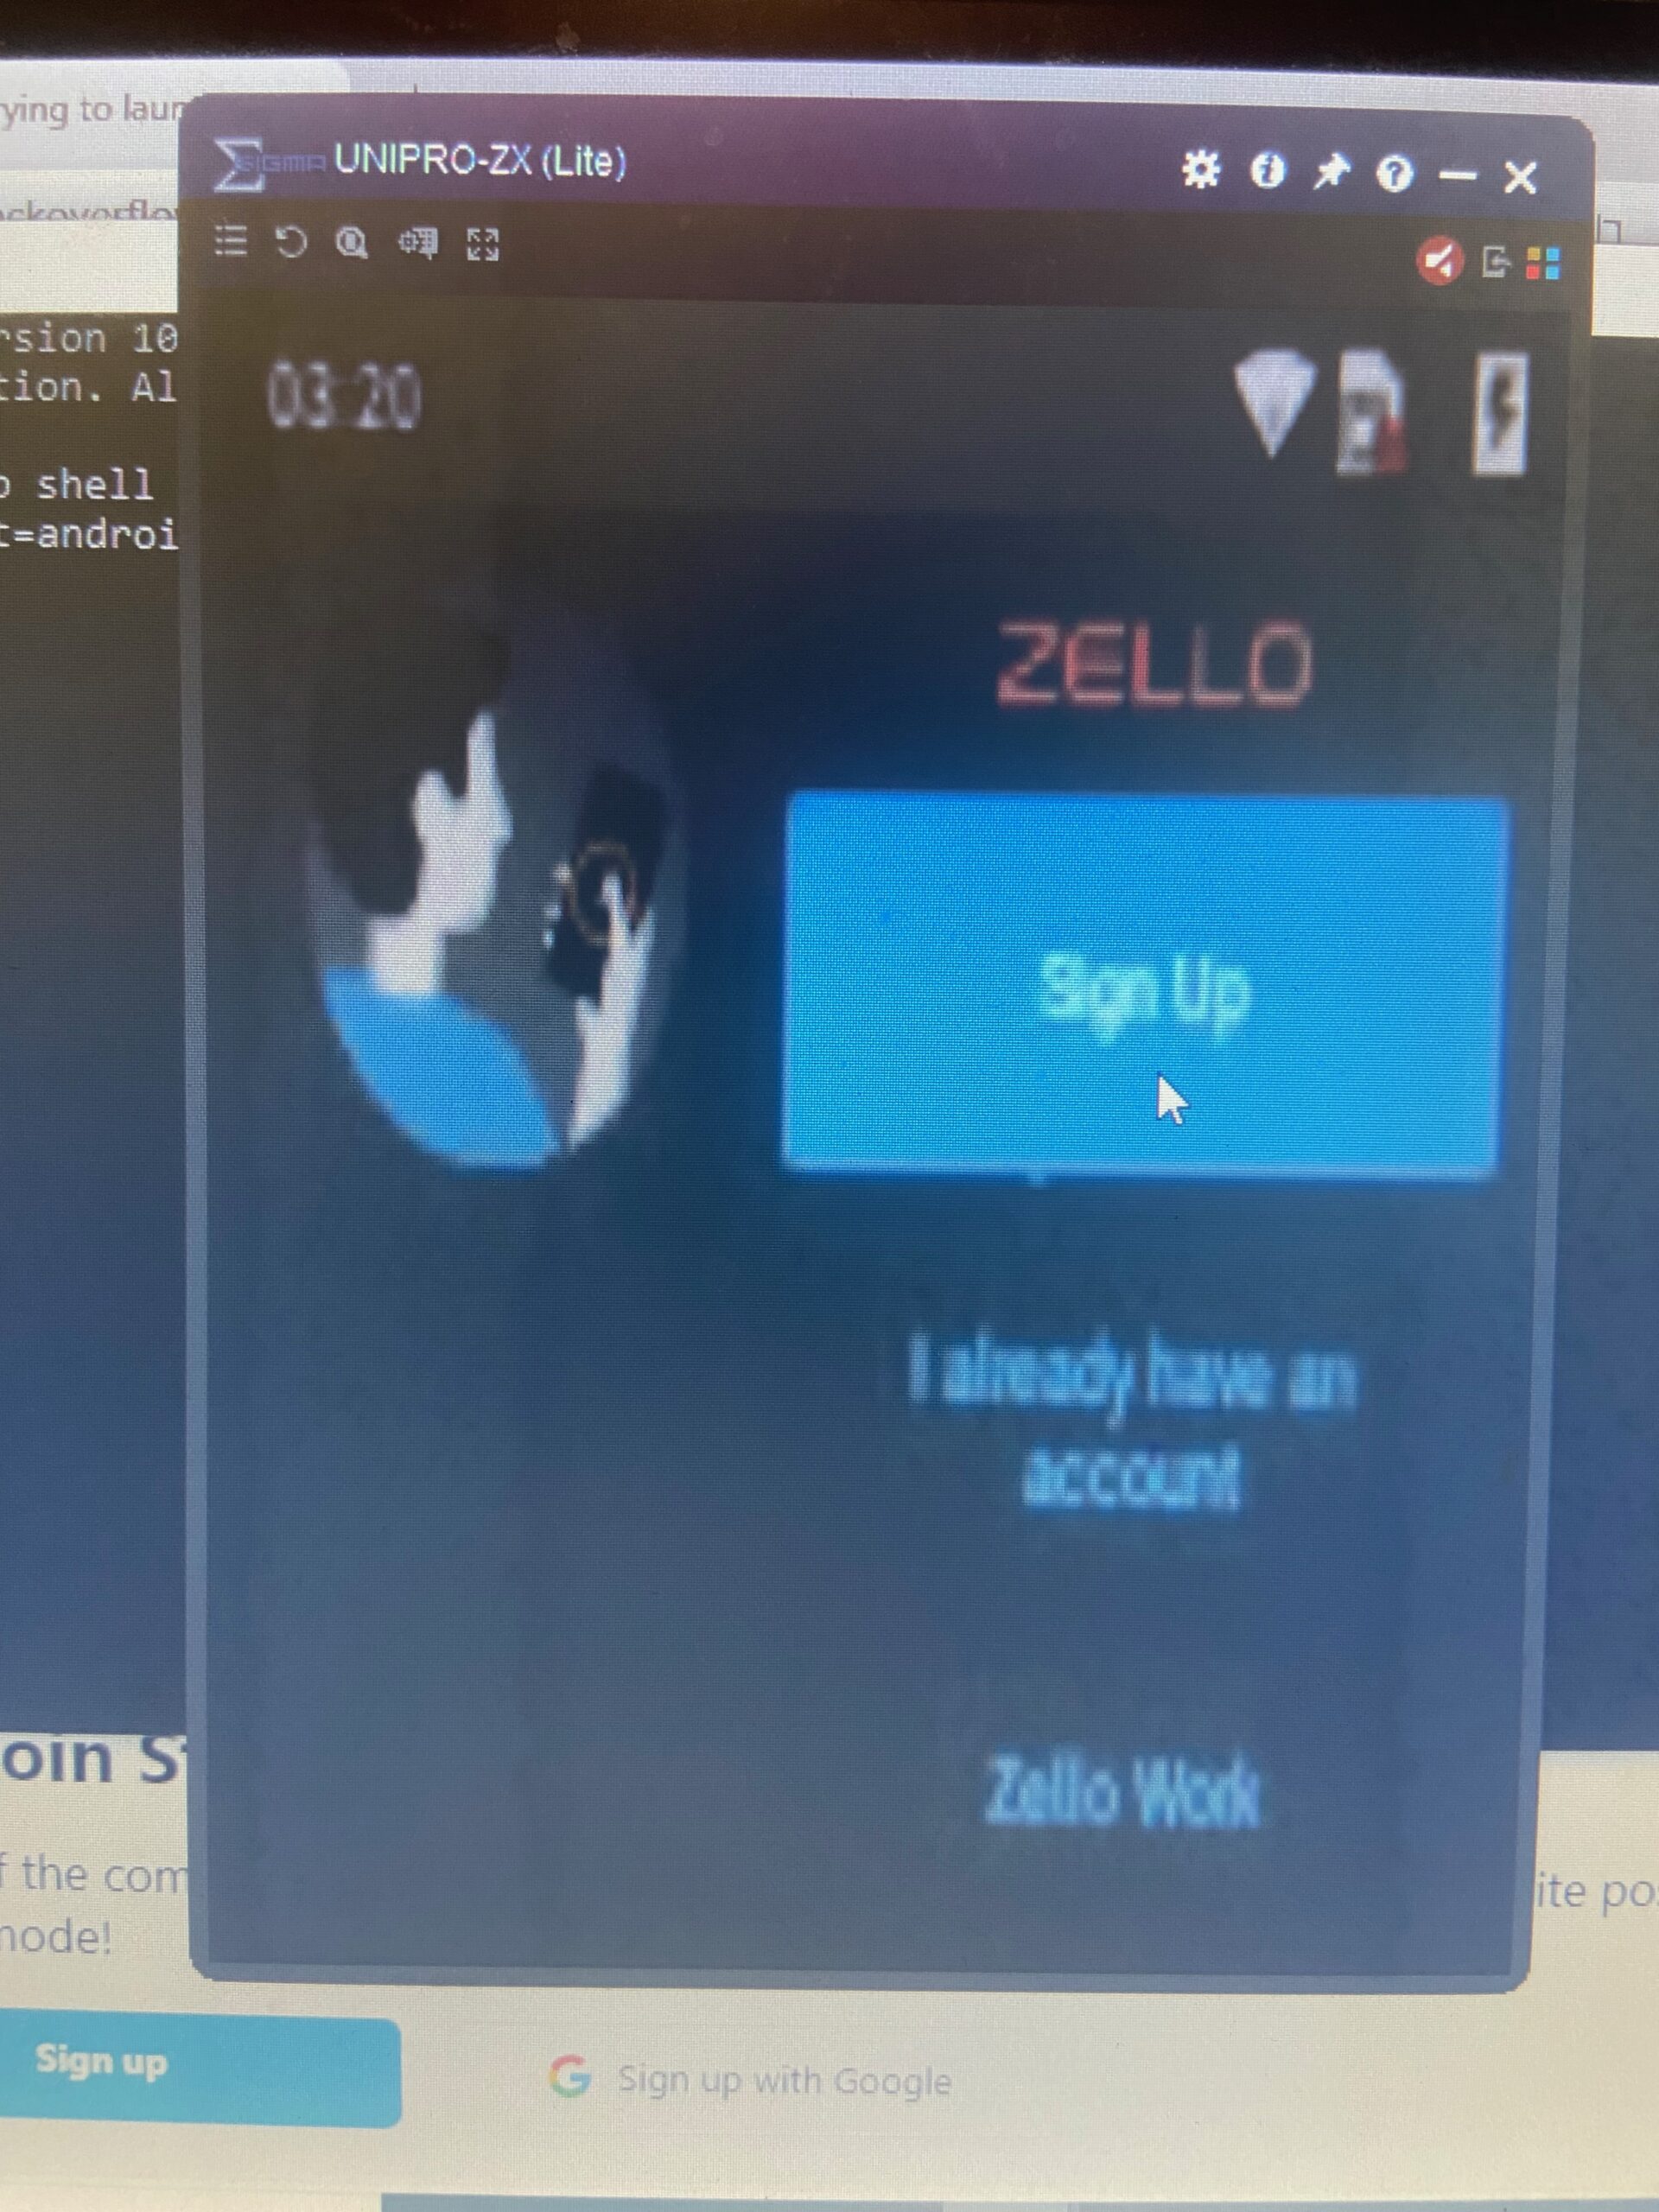
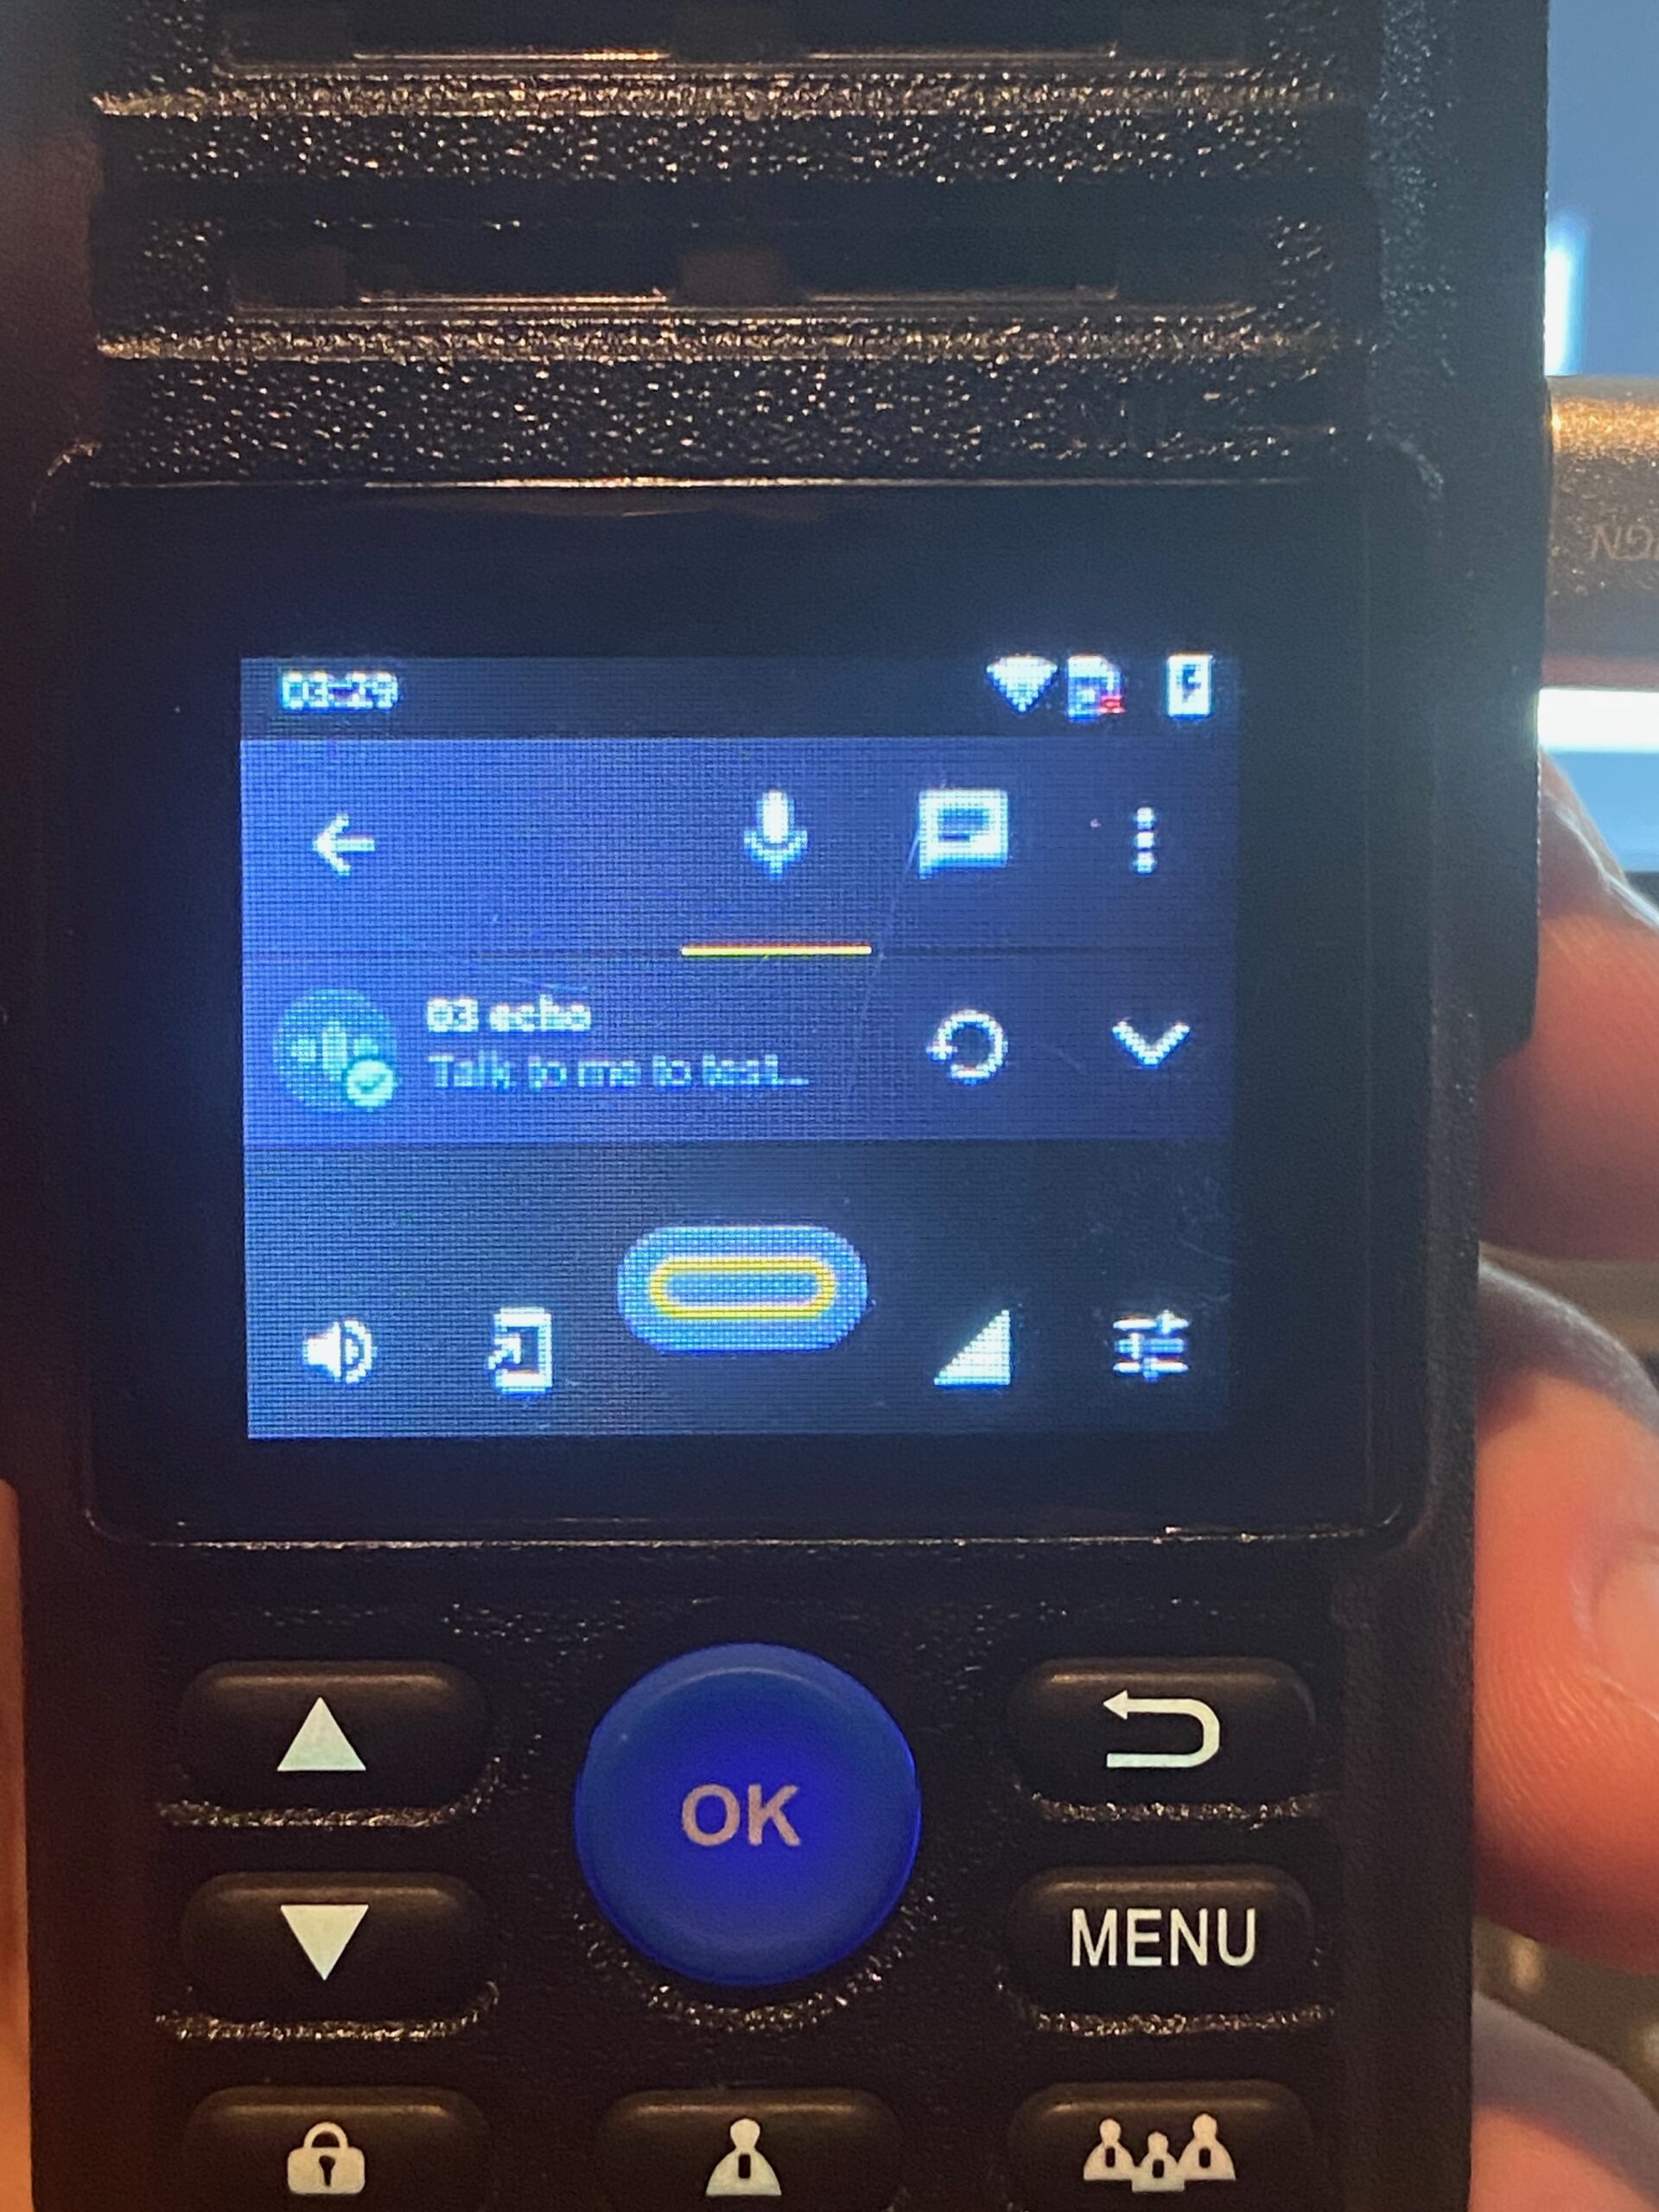
Hiroyasu HI-R23 – make Zello fit screen
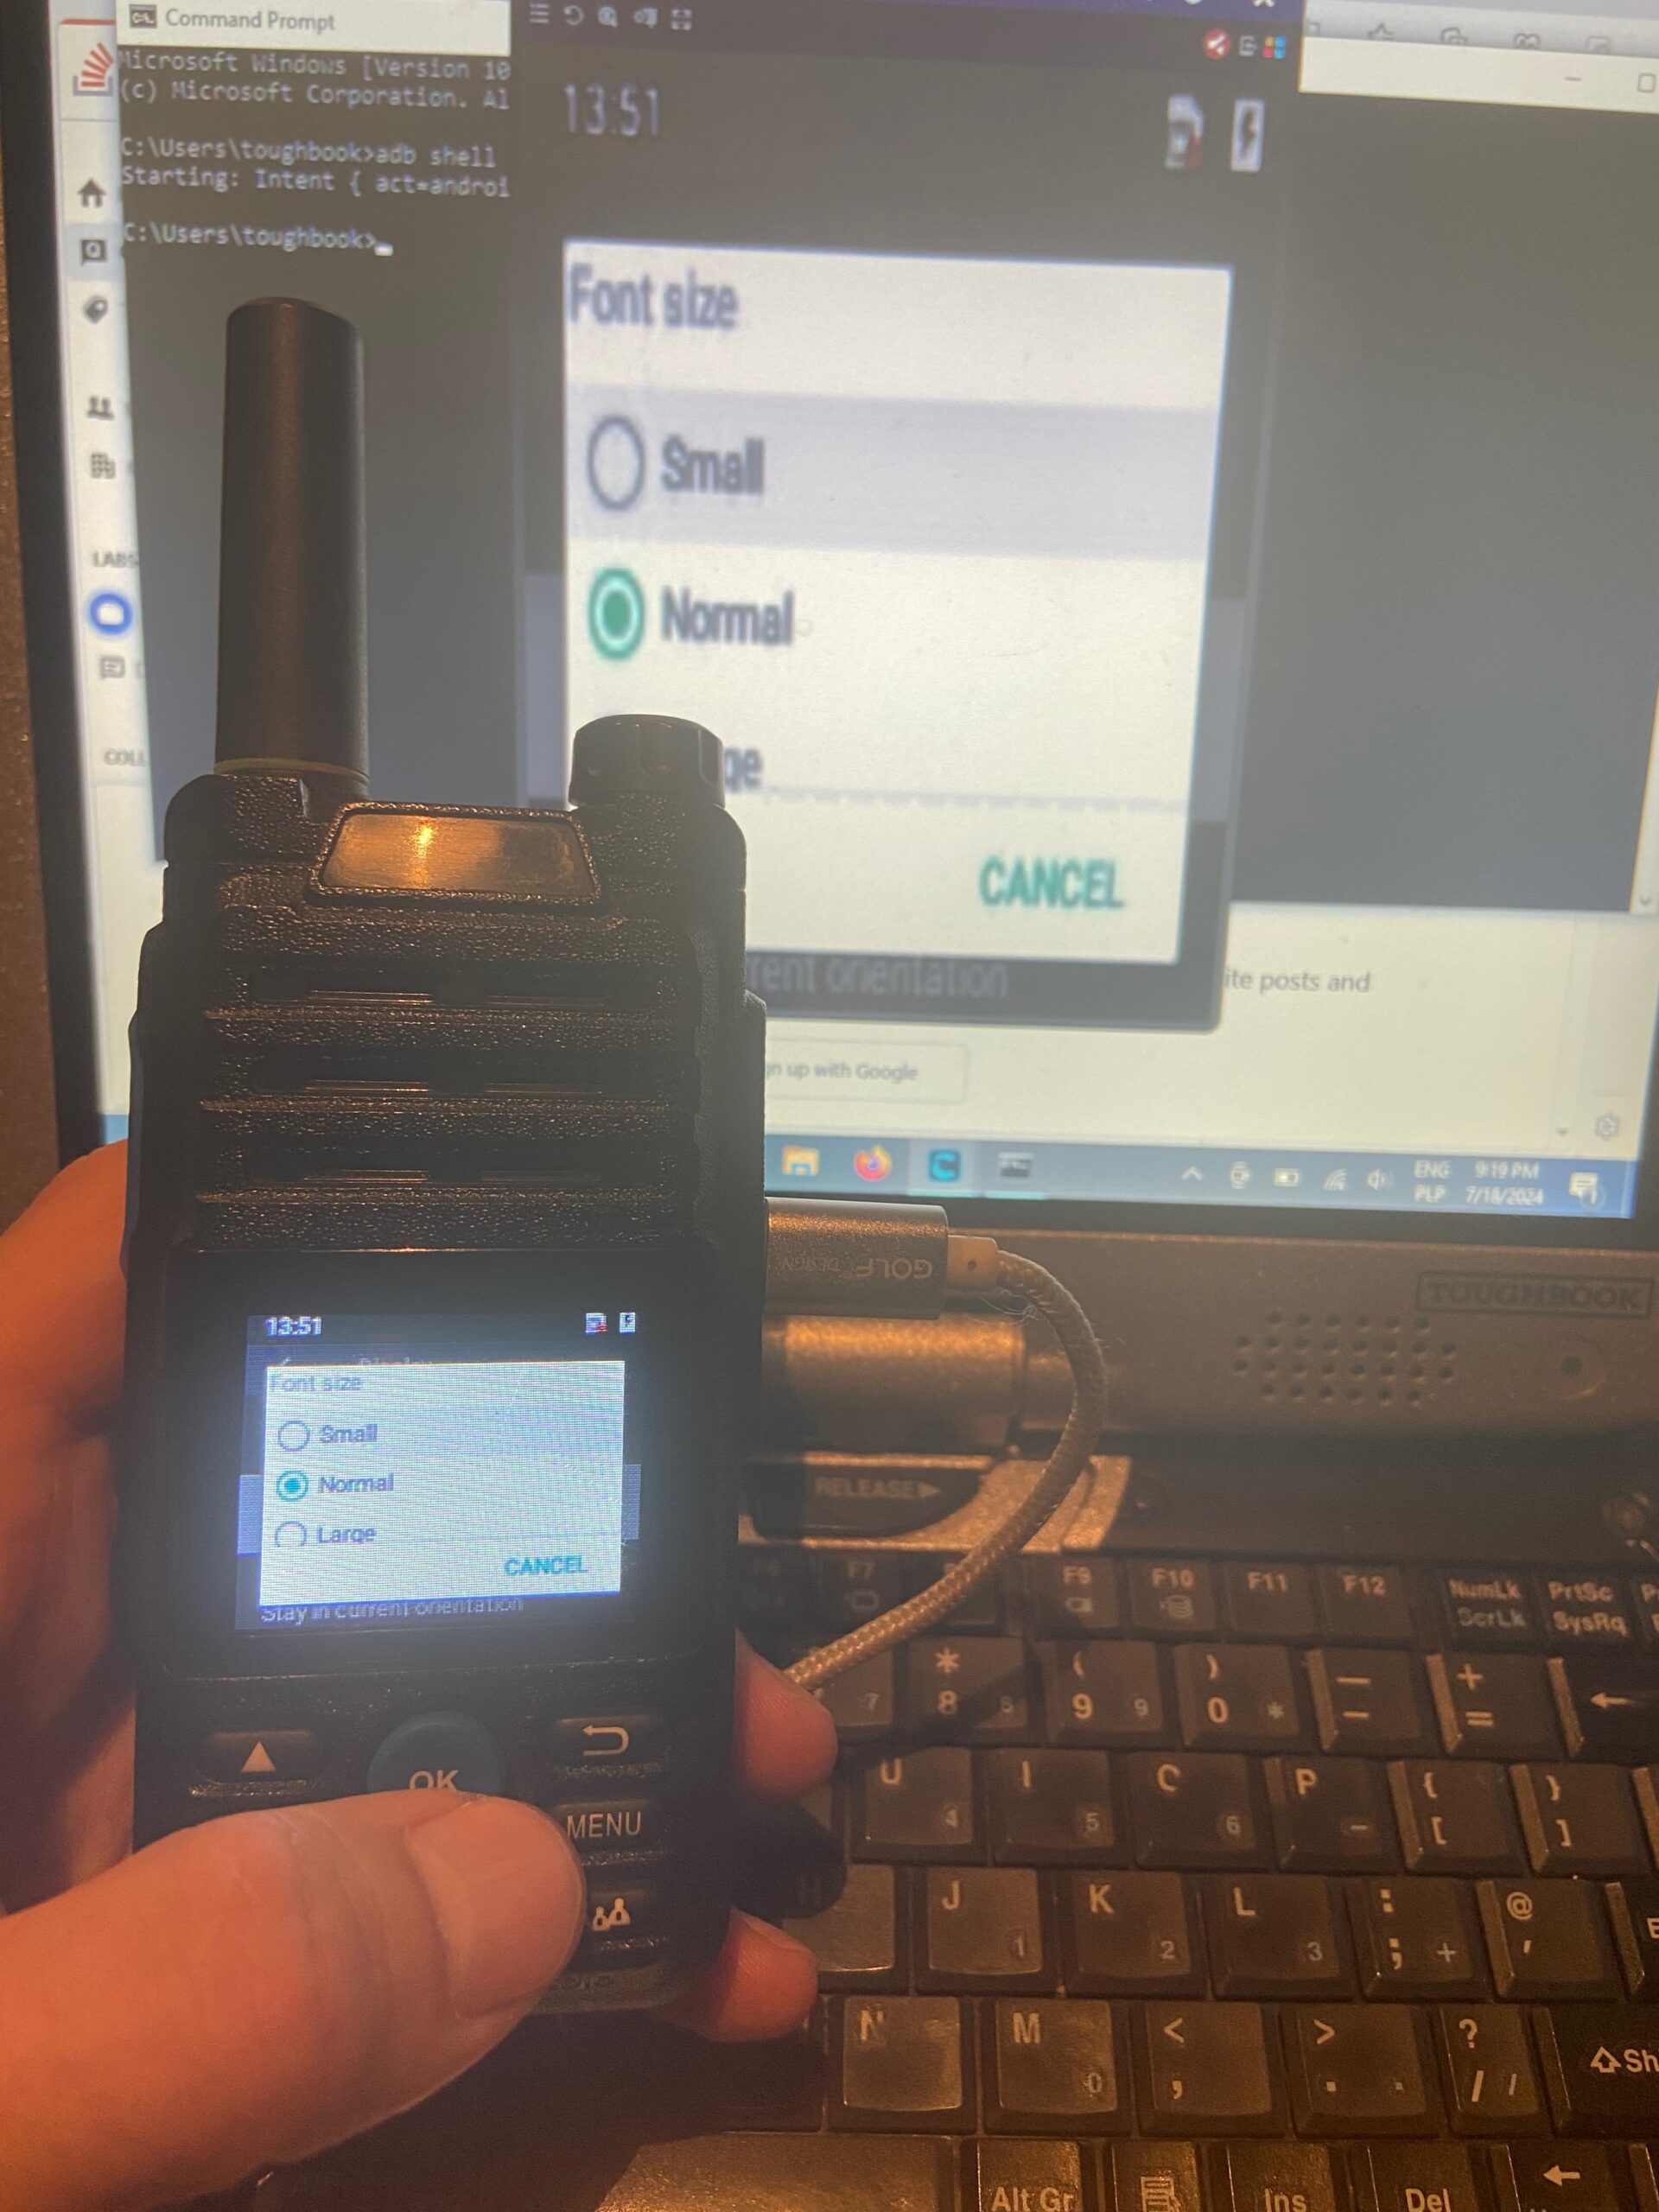
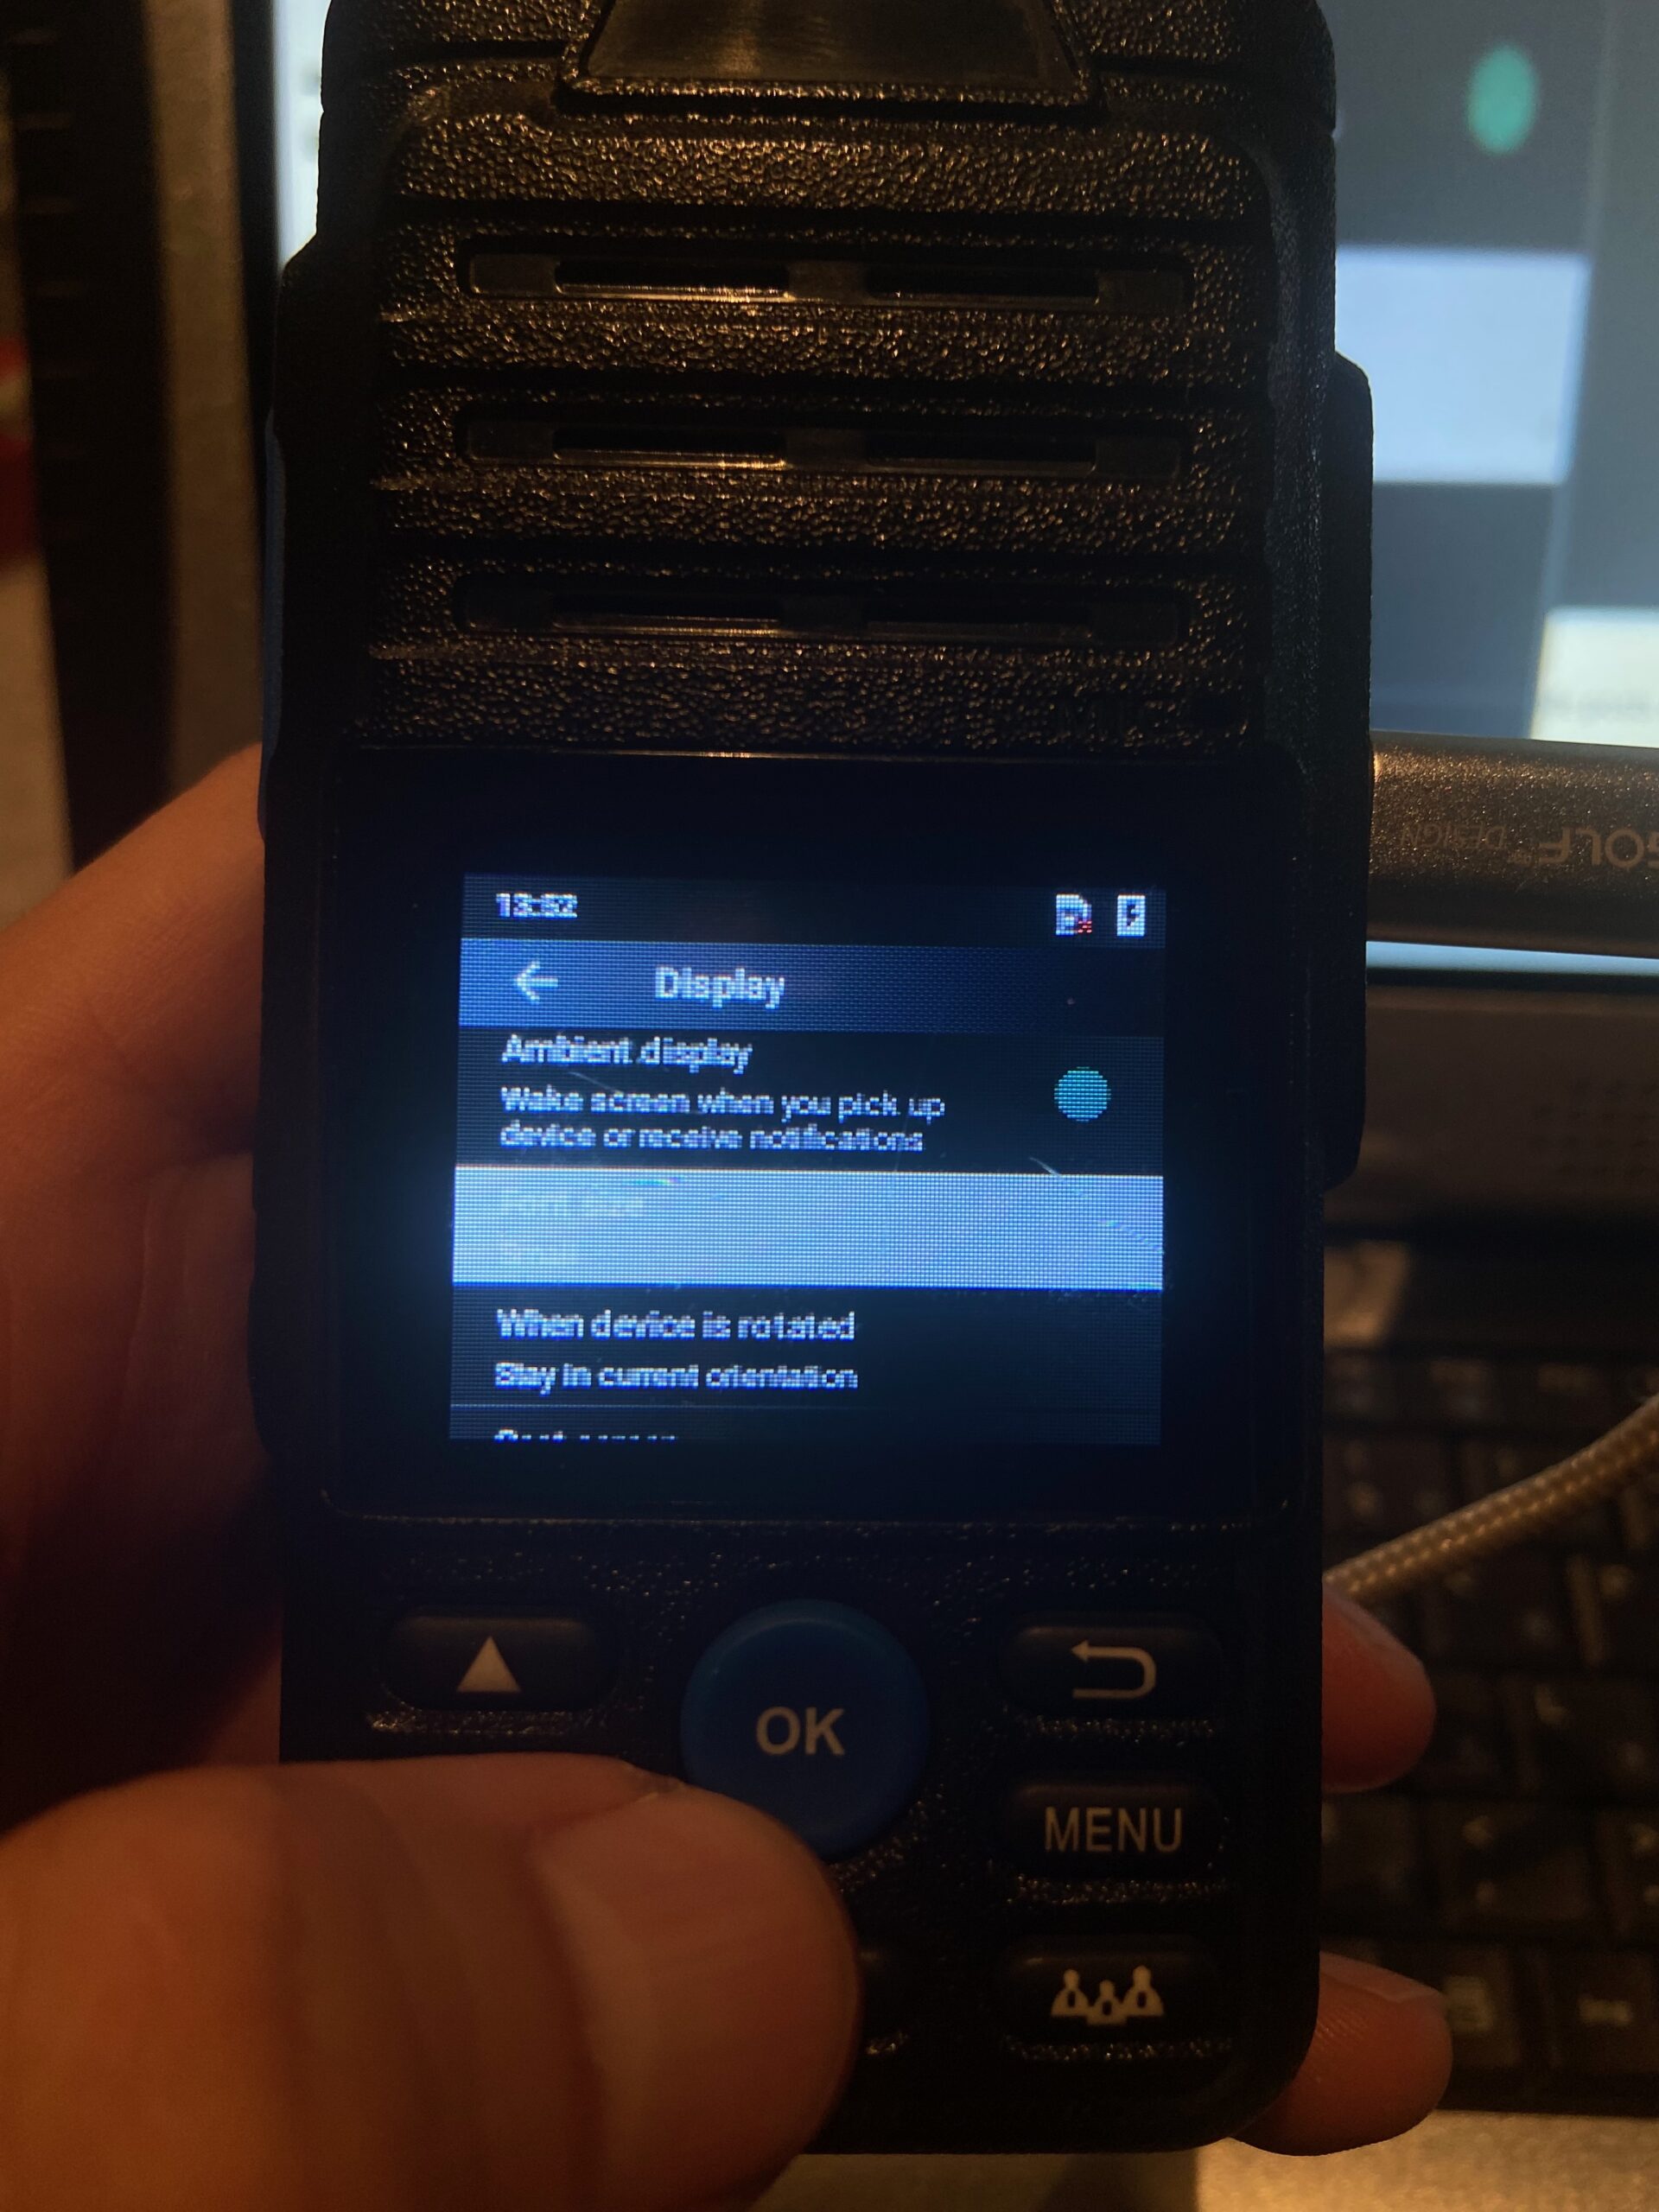
Hiroyasu HI-R23 – BUDGET Zello PoC 4G LTE Walkie Talkie – making it more civilized by changing system font size. God know why it’s not delivered with smallest possible font! Default setting make Zello “unusable” – thankfully couple clicks make it “fine”. Connect via degular micro USB cable and execute
"adb shell am start -a android.settings.SETTINGS"then navigate to “display” and change font size.
I recommend use also “total control” and connect to WiFi and Zello using computer keyboard… most like You do it only once… why not help Yourself?
How remove sim-lock from B2368-66 Huawei modem – router
Recently I got outdoor modem/router from Huawei B2368-66 – it was purchased with Play contract and contain Play branded firmware (EU Distribution) – when I wanted try use Orance sim card I got error code:
Uploading following firmware thru “update” section resolve sim-lock issue.
WNDAP350 NETGEAR – FIRMWARE
Firmware that work without any issues with network controller, after loading firmware disable netgear cloud and enable remote simple monitoring then detect using network controller.

Zoom F2 – Firmware v1.20 & Editor (configuration) software download
Warning: This is archived copy in case Zoom website will be down, or they remove support for it – please go to official Zoom website to make sure You get latest version!

brew update – display error “DVTPlugInLoading: Failed to load code for plug-in com.apple.dt.IDESimulatorAvailability ” and want install “clang”
While executing brew update – I get following error code + pop up window from mac os telling me to install “clang”. This process repeat each time.
xcodebuild[2122:12638] [MT] DVTPlugInLoading: Failed to load code for plug-in com.apple.dt.IDESimulatorAvailability (/Applications/Xcode.app/Contents/PlugIns/IDESimulatorAvailability.ideplugin), error = Error Domain=NSCocoaErrorDomain Code=3588 "dlopen(/Applications/Xcode.app/Contents/PlugIns/IDESimulatorAvailability.ideplugin/Contents/MacOS/IDESimulatorAvailability, 0x0109): Symbol not found: (OBJC_CLASS$_SimDiskImage)
Referenced from: '/Applications/Xcode.app/Contents/PlugIns/IDESimulatorAvailability.ideplugin/Contents/MacOS/IDESimulatorAvailability'
Expected in: '/Library/Developer/PrivateFrameworks/CoreSimulator.framework/Versions/A/CoreSimulator'" UserInfo={NSLocalizedFailureReason=The bundle couldn’t be loaded., NSLocalizedRecoverySuggestion=Try reinstalling the bundle., NSFilePath=/Applications/Xcode.app/Contents/PlugIns/IDESimulatorAvailability.ideplugin/Contents/MacOS/IDESimulatorAvailability, NSDebugDescription=dlopen(/Applications/Xcode.app/Contents/PlugIns/IDESimulatorAvailability.ideplugin/Contents/MacOS/IDESimulatorAvailability, 0x0109): Symbol not found: (OBJC_CLASS$_SimDiskImage)
Referenced from: '/Applications/Xcode.app/Contents/PlugIns/IDESimulatorAvailability.ideplugin/Contents/MacOS/IDESimulatorAvailability'
Expected in: '/Library/Developer/PrivateFrameworks/CoreSimulator.framework/Versions/A/CoreSimulator', NSBundlePath=/Applications/Xcode.app/Contents/PlugIns/IDESimulatorAvailability.ideplugin, NSLocalizedDescription=The bundle “IDESimulatorAvailability” couldn’t be loaded.}, dyldError = dlopen(/Applications/Xcode.app/Contents/PlugIns/IDESimulatorAvailability.ideplugin/Contents/MacOS/IDESimulatorAvailability, 0x0000): Symbol not found: (OBJC_CLASS$_SimDiskImage)
Referenced from: '/Applications/Xcode.app/Contents/PlugIns/IDESimulatorAvailability.ideplugin/Contents/MacOS/IDESimulatorAvailability'
Expected in: '/Library/Developer/PrivateFrameworks/CoreSimulator.framework/Versions/A/CoreSimulator'
2022-10-18 10:11:18.484 xcodebuild[2122:12638] [MT] DVTAssertions: ASSERTION FAILURE in /System/Volumes/Data/SWE/Apps/DT/BuildRoots/BuildRoot2/ActiveBuildRoot/Library/Caches/com.apple.xbs/Sources/DVTFrameworks/DVTFrameworks-21304/DVTFoundation/PlugInArchitecture/DataModel/DVTPlugIn.m:374
Details: Failed to load code for plug-in com.apple.dt.IDESimulatorAvailability (/Applications/Xcode.app/Contents/PlugIns/IDESimulatorAvailability.ideplugin)
Solution for following error is executing:
xcodebuild -runFirstLaunch